
The DeWalt nail gun jams and work on your construction project comes to a screeching halt. You were balancing on a framing square or standing on a ladder, but then the gun quit firing fasteners. Frustrating right?
It always seems to happen at a key point in the process. But it’s typically just a mechanical fix. Here are some steps that will help you get it going again.
How To Fix A Jammed Dewalt Nail Gun
Why Your DeWalt Nail Gun Jams
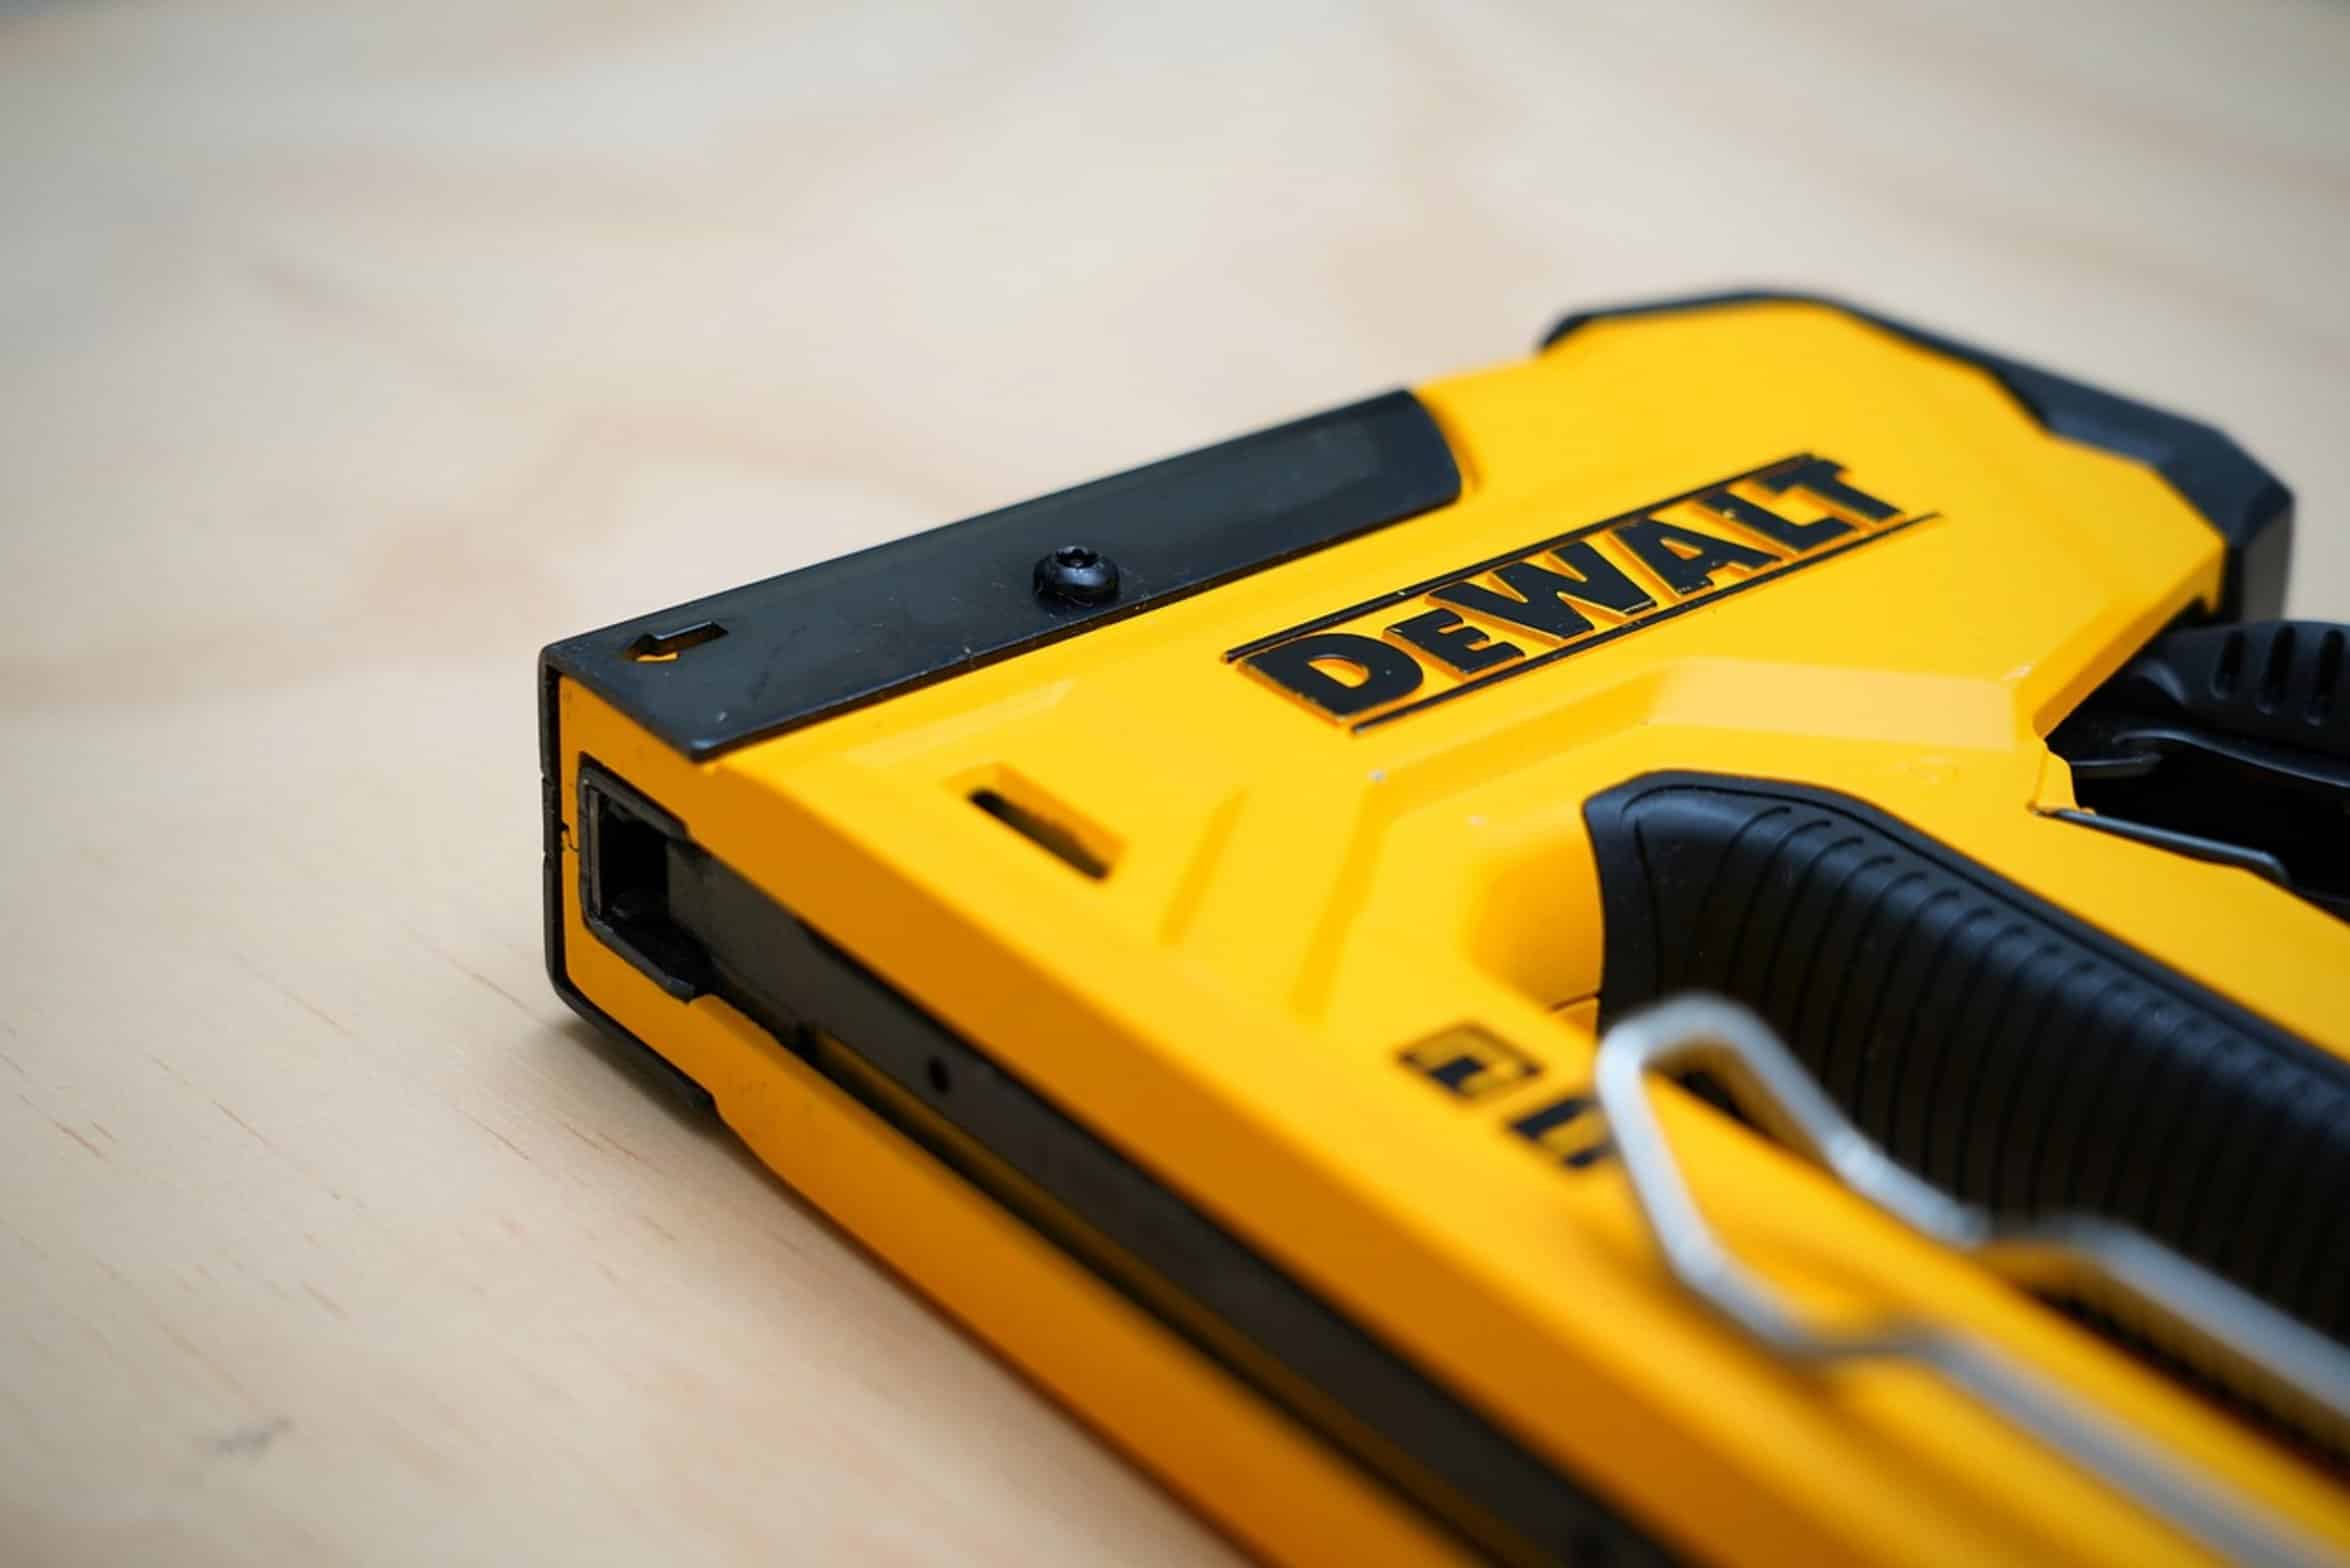
The most common jams comes from a bent nail within the magazine or when the driver blade become stuck. They’re a non-catastrophic issue that’s easy enough to fix. Knowing why will speed your repair time.
Safety Steps Before Repairing
And it keeps you from smashing valuable components when rushing things. Force doesn’t work well here; patience do. For starters, always turn off the tool prior to making a repair.
For cordless tools, remove the battery pack. If it’s pneumatic, then disconnect air hose and relieve pressure. For cordless tools like DeWalt, remove the battery pack.
You don’t need the tool firing up with your hands in there, so safety first. Most tool-related injury come from skipping this step. Examine the nose of your nailer for any broken pieces of nails or dirt/dust that might be lodged in there.
Clearing the Magazine and Nose Assembly
Gently remove it with a plastic stick or wood dowel. Do not use metal object such as a screwdriver, or you may bend the internal rails. It needs to have a clear path through so it operate smoothly.
If you can see nail is bent then try backing it out. If the nail won’t budge, open magazine. Most jams happen because a nail bends or the driver blade get stuck inside the magazine.
To get into the nose assembly on most DeWalt nailers, there’s a release latch. If you’re not sure how to take yours apart refer to your manual. Odds are you’ll notice a driver blade or even a misfed nail in there.
Inspecting and Replacing the Driver Blade
Clean the track out and inspect rubber seal for tears. Air leaks due to a bad seal can cause problems down the road so swap it out if damaged. It is an easy, inexpensive fix.
Look for a worn, damaged driver blade. Repeated jamming are the result of a bent blade. Examine it carefully in good light.
If the blade appears warped, replace it at once. Don’t attempt to bend it back into shape with pliers… Under pressure the metal will fail.
Carry extra blades in the toolbox. It’s a little investment that’ll save frustration and time later. Oil helps keep everything running smoothly.
Routine Maintenance and Cleaning
On pneumatic guns, add a drop or two each morning into the inlet. For cordless models, keep the inside free from grit and other debris. Moving parts will gets damaged by dust and sawdust over time.
Also, blow out the magazine with compressed air and wipe down the exterior. Keeping the tool cleaned on a regular basis will extend its life. Clean tool equals good tool.
Using the Correct Nail Settings
Feeders: Don’t feed nails the wrong size. Don’t mix nails; don’t use multiple sizes/types on one project. Check if the nail gauge and length settings is correct.
The setting should correspond with the nails being used. If not, mismatched settings can cause jamming. Adjust the depth of drive if you need to.
Try it out on some scrap wood first. Avoid making that mistake on real deal. So how do you solve it?
And what is the right way to do it? By solving it right, you can get back to building and not hurt anything. Don’t tear up machine.
Not being flustered and unplugging it before trying to fix it makes all the difference. Check out that thing thoroughly then go through this process. Take care of your equipment, and it will take care of you.