
Sometimes things go wrong with tools…in a way that’s just frustrating. You’re running along, doing some framing for a cabinet installation or a bit of trim work and WHAM! The tool is dead.
Not like “oh well I’ll have to do this another day” dead but rather “what the heck happened?” dead. It is dead in the sense that there is nothing left but a bunch of clicking and a driver blade shooting out at nothing because pin never followed. It’s an embarrassing time because more times than not you’re holding said nail gun on a piece of fancy trim or finished wood.
You can’t bang it into the wall to fix it, time for something calm and precise. When your pin nailer stops working, most owners think it’s an internal mechanical issue. It must of have a seized piston, or a broken spring!
It’s this fear that sends them to the scrap heap in short order. In reality, it’s rarely so dramatic. These tools is robust enough for heavy use.
They fail because of small oversights that accumulate over time. They fail because of many small mistake that build up over time. Knowing the simple physics behind air pressure vs. Friction will allow you to tackle troubleshooting without panic.
All you need to do is know where to look. It’s usually the pin itself. The head style and length of the pin are specific to the design of Ryobi tools.
Fixing Ryobi Pin Nailer Firing Problems
Common Pin Nailer Jamming Issues
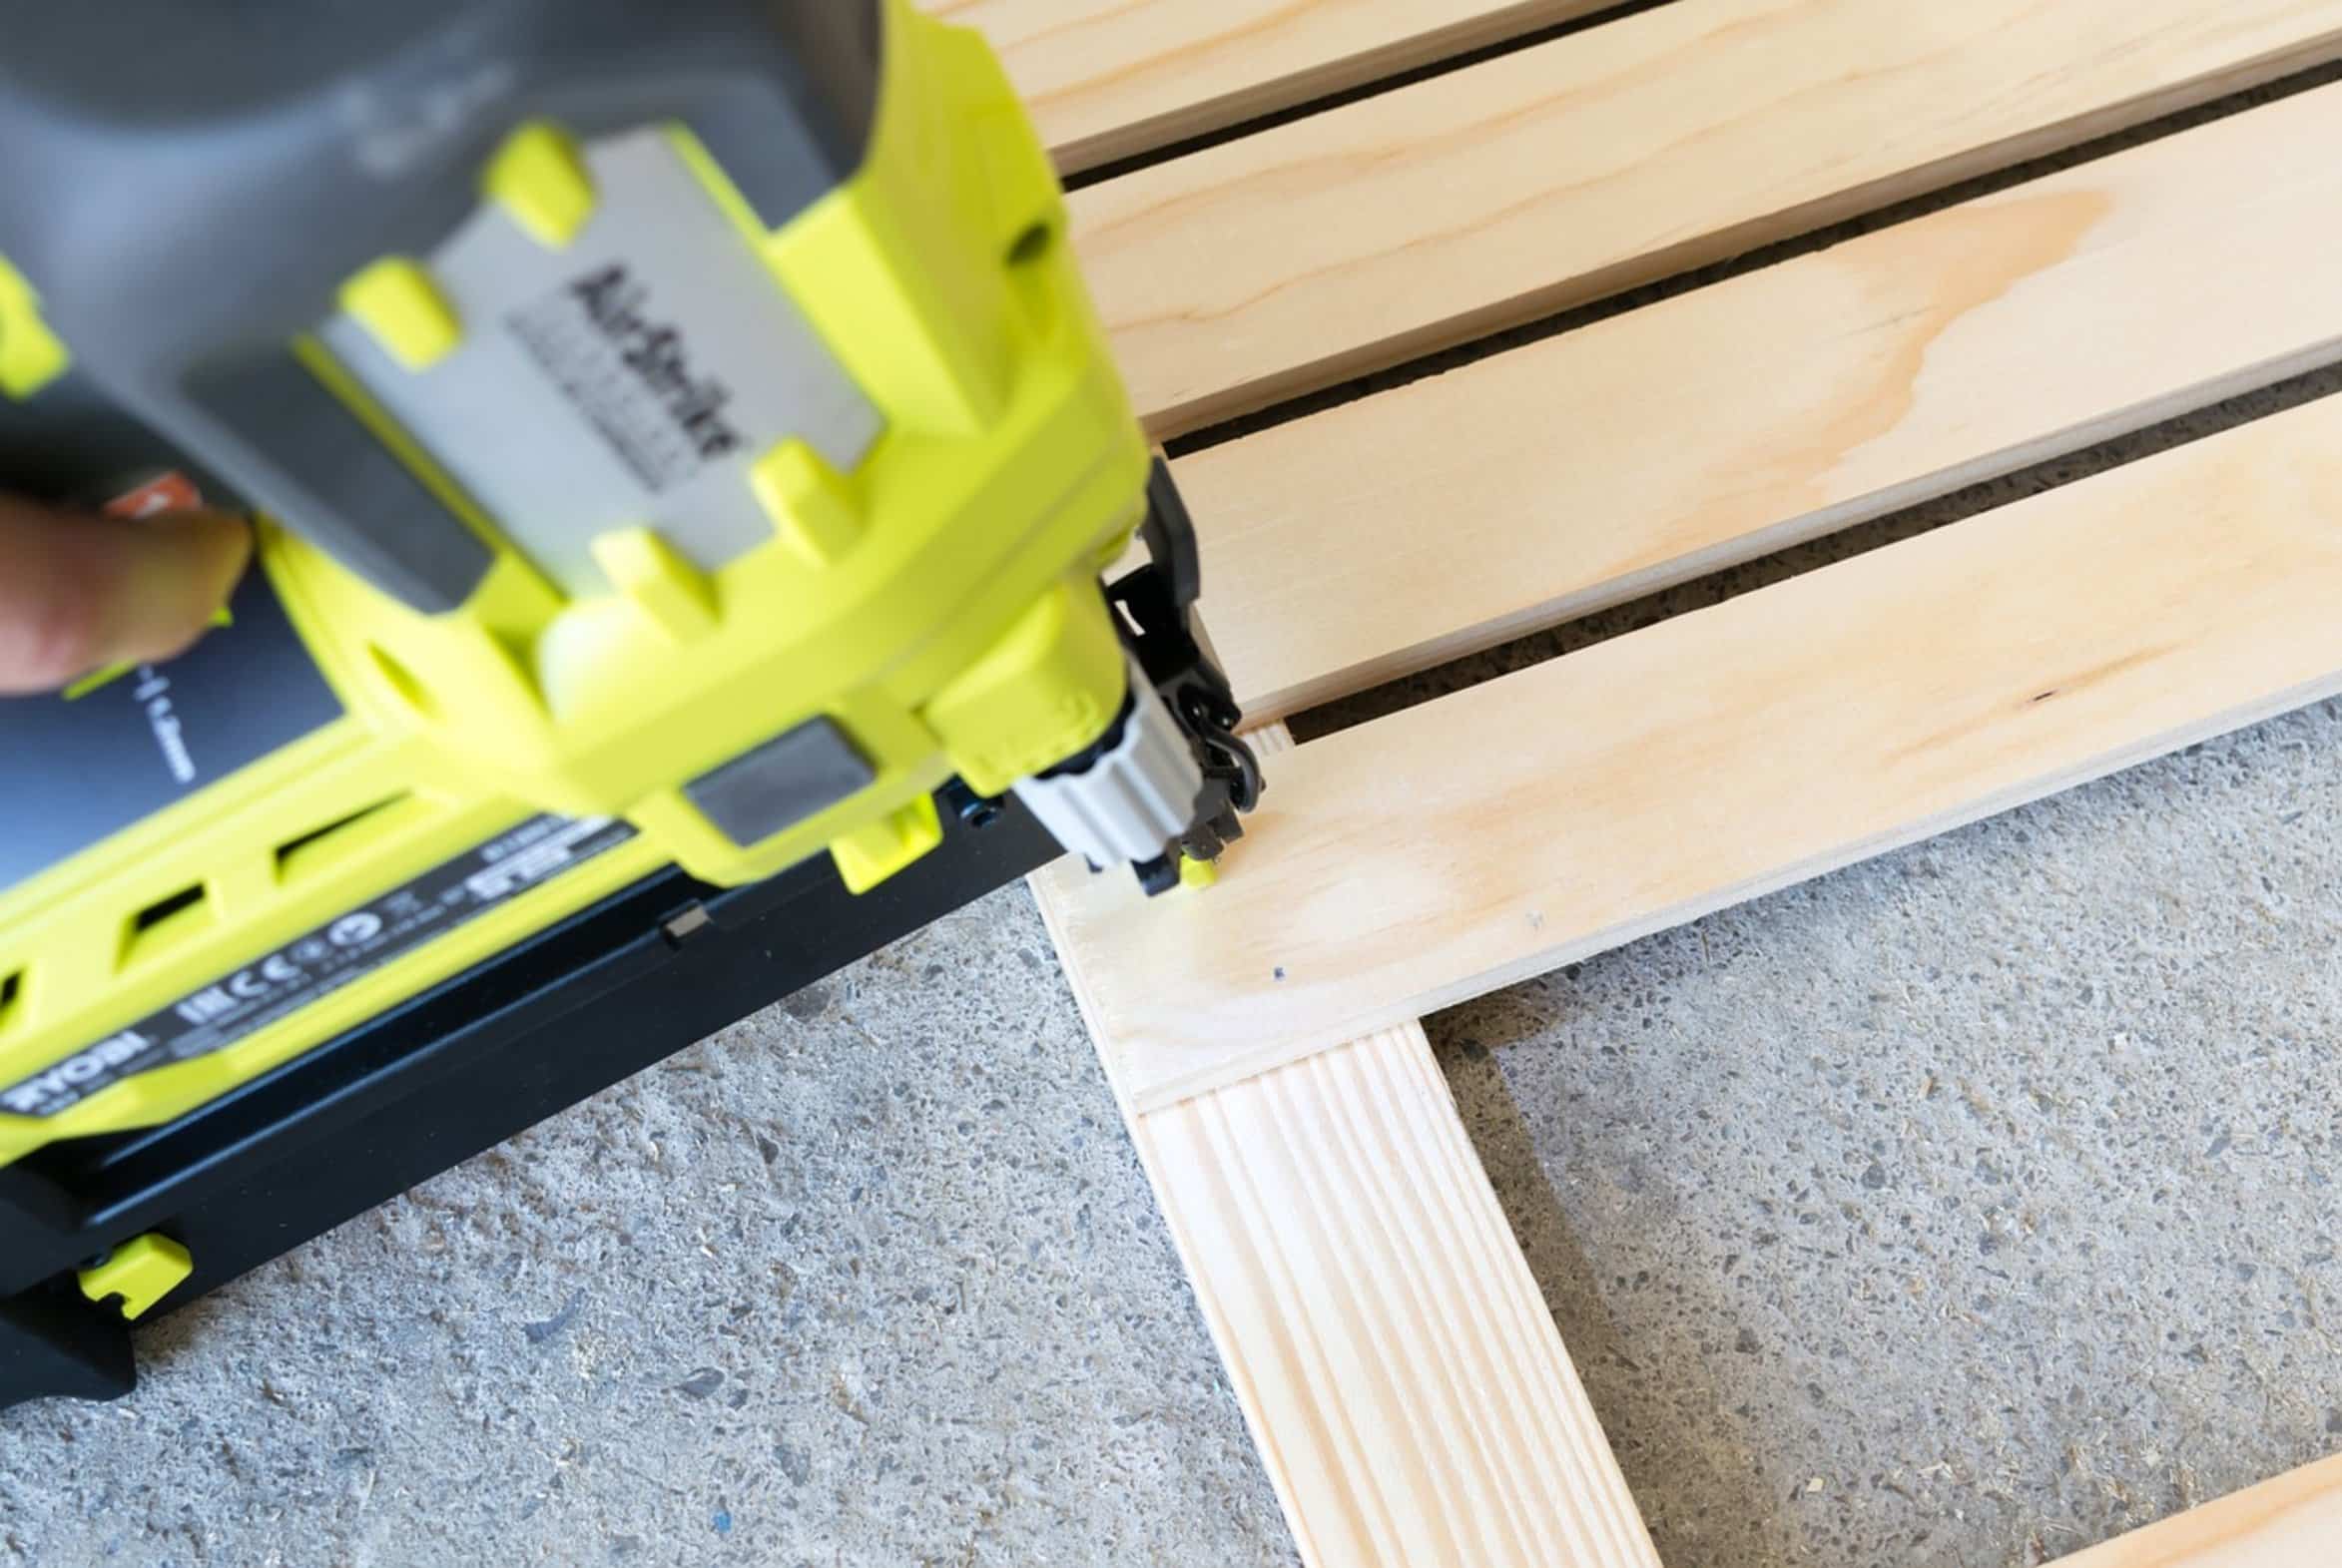
Jams occur when the wrong length or brand are used, which stops the firing mechanism cold. A slightly longer pin won’t fit past the nose piece. It’ll jam and prevent following shot from clearing.
Pins may even appear the same but have a different collar height. This make a huge difference. Verify your pin stock against specs on your tool.
Bent or collared pins needs to be replaced ASAP.
Air Pressure Regulation and Supply
Secondly, consider the air supply. Pressure swings affects pin nailers.
The tool need a constant flow of air to operate effectiveley. A clicking tool with no nail fired in is often due to an empty compressor tank. It is not a bad nailer, but a failed system.
Set your regulator properly. Most Ryobi units works well around 70-100 psi. Too little and you’ll get weak firing action, too high and it can mess up the seals inside the tool.
Get it on sweet and keep it there.
Moisture Control and Lubrication
Another silent killer is moisture. The air line condenses moisture inside the tool.
That moisture turns oil to sludge and corrodes all internal parts. Sometimes you don’t even know there’s water in it because it just makes the tool feel sluggish. Or it will fire occasionally or stop firing completely.
Regularly drain the water out of your compressor tank. Put a couple drops of pneumatic oil in air inlet. This lubricates the O rings and keeps them from getting corroded.
This small maintenance step make it much more reliable.
Inspecting and Replacing the Driver Blade
Last of all, check the driver blade. The little metal piece on there hit the pin and drives it home.
A crack or wear on it won’t allow it to pass the force well. You may feel the blade move but nothing happen. To check this, remove the nose piece.
If it’s torn up, replace it. It doesn’t cost much and saves you having to purchase an entire tool. A good sharp blade make each shot count.
When your Ryobi pin nailer stalls, it’s not always complicated to fix. It’s a matter of basics. Pins, pressure, moisture, and blade.
Breathe easy. Check each of these four in order. Odds are you’ll have that tool back on the job within minutes.
You are back to building.