
Brad nails is supposed to hide in the material, but occasionally you’ll see the nail head above surface. That’s what happens when you fire up the pneumatic gun and hear it puff air but no nail sinks completely flat. It just doesn’t look finished, and you start to think maybe your tool is busted, or that you are doing something wrong.
Most often it’s a matter of understanding settings, materials, and a bit of physics. Knowing this will save you from replacing tools when it isn’t necessary and wasting wood. Suspect number one is the brad nail.
Why Brad Nails Stay Above Surface
Understanding Brad Nail Mechanics
It’s thin, typically 18 gauge; so it’s good for fine work with trim. And, because they’re so tiny, you can easily fill up the hole they make. But then there’s that part about being thin….it’s not as structurally massive than a thicker nail.
So the nail depend on friction down the length of its shank to stay where it is put. In order for the driving force to win out and the nail to penetrate, it has to do so before the nail splits the wood. When you get into denser stuff, the nail quits too soon.
You’ve got head standing proud. The primary variable are density. Not all wood is created equal.
Wood Density and Moisture Impact
Nailing a soft pine piece is different than nailing a hardwood one such as oak or hard maple. Tight hardwood cells resists that penetration point. They fight back.
Even if you have a properly adjusted Bostitch or Senco nailer, the nail may stall before the head sinks flush. That’s not a tool issue. That’s the way dense material resist a slender fastener.
Adjust accordingly for the density of the wood. Density is important but so is moisture content. Unseasoned or green lumber has water in its cells.
That water creates resistance and adds weight. When you drive a nail into wet wood, you’re forcing those fibers to compact against each other. Wet fibers resists that intrusion better than dry ones.
Over time, wood will shrink (as it dries) which can tend to pull the nail back slightly. If it was flush when installed, that could cause the nail’s head to eventually be exposed. Use older or reclaimed wood?
Test the moisture content first. The next item on the list are tool settings. Pneumatic Brad nailers typically feature a depth adjustment knob.
Adjusting Tool Settings and Air Pressure
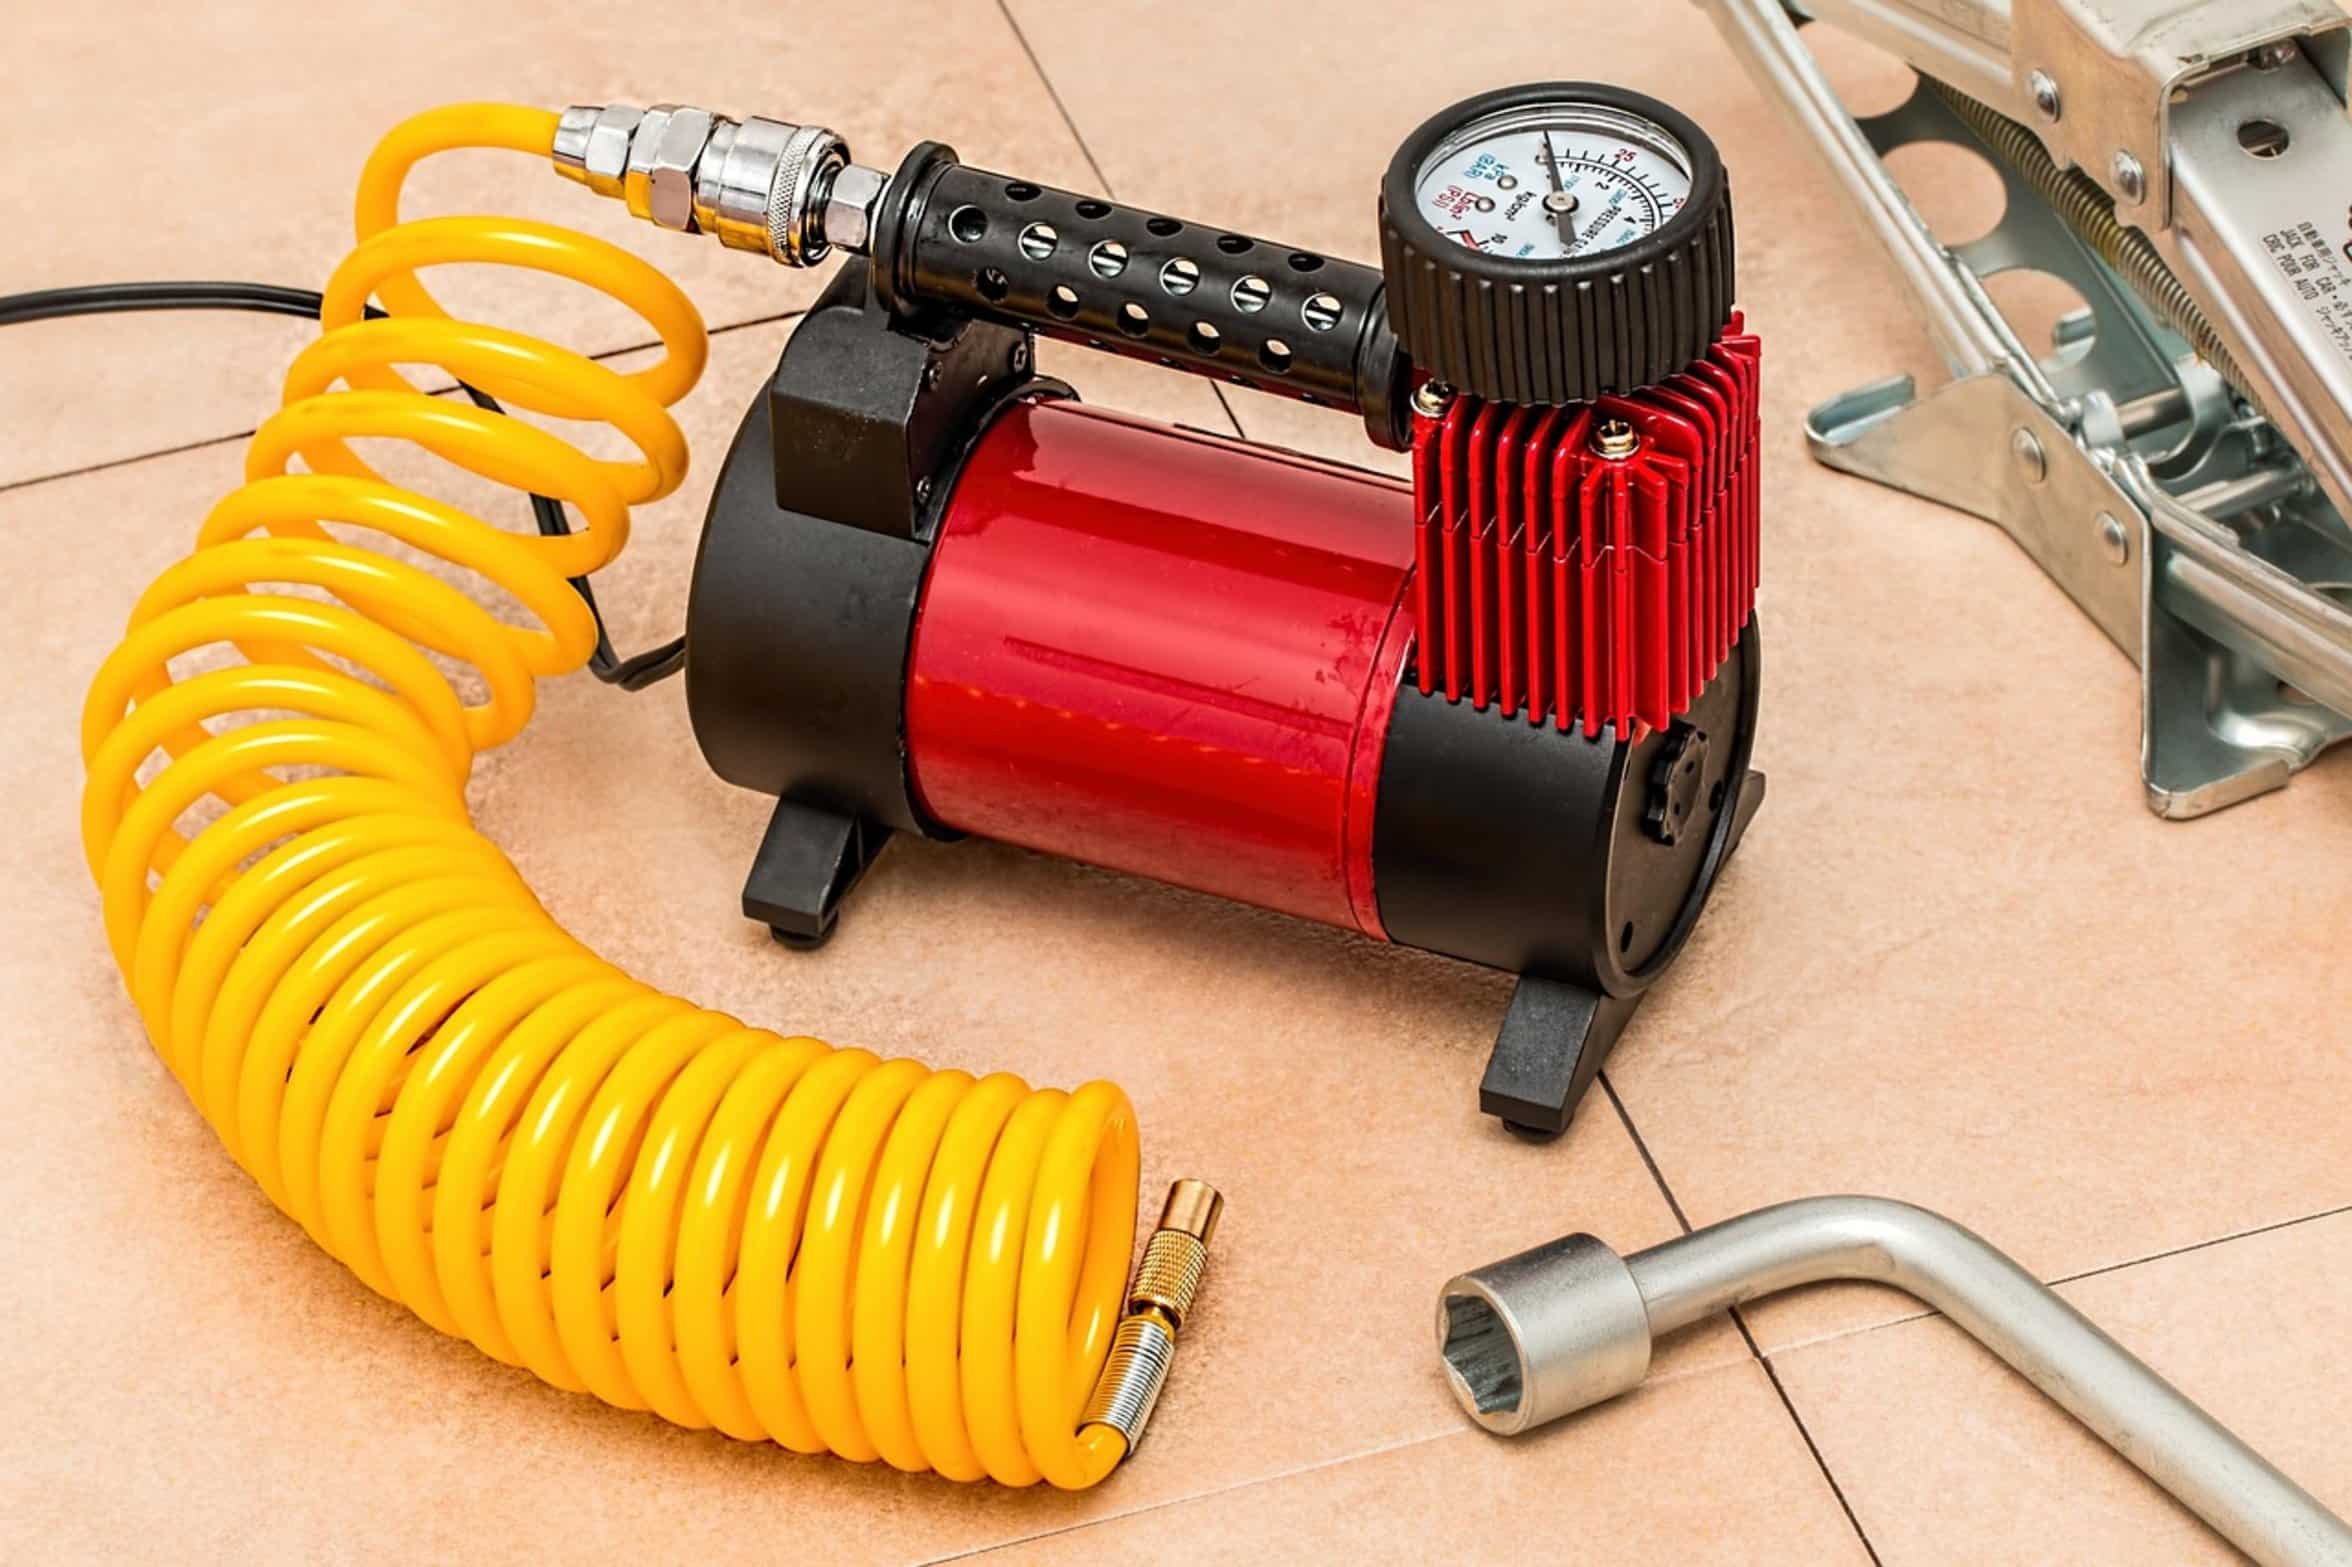
During a project it’s easy to forget about the dial. Too high? Nail won’t penetrate deep enough.
Switched to another nail brand? That might invalidate the setting as well. Geometry of nail heads vary, so an adjustment is needed for those differences.
A millimeter can mean the difference between invisible fasteners or blemishes that stand out. A secondary factor are air pressure. When the air pressure is low, there isn’t enough oomph in the tool to hammer the nail all the way home.
The piston move up and down, but not hard enough to push through the wood. If the air pressure is too high, then the nail deflects slightly as it enters the wood and leaves an easy pathway to stop just below the surface. You’ll have to experiment with your air pressure.
Take some scraps of the same type of wood you’re nailing. Shoot one nail into it. Measure how far it went.
Tweak the air pressure. Do it again. For the heavy stuff, try drilling first.
Using Pilot Holes for Dense Materials
If a piece of wood is really dense, then drilling a small pilot hole will be a mechanical answer. The pilot hole will remove some wood and so lessen the force required of the nail to push its way through. It enables the Brad nail to go in farther and not split the grain.
It takes a few more seconds for each nail. But no bump filling or sanding later. That’s a tradeoff between time and finish quality.
For exposed trim and expensive cabinetry: it’s worth it. Or maybe it’s the last one. Maybe it is time for a new nailer.
Servicing Worn Nailers
Tools get worn out. The seals inside the driver mechanism will fail over time. They lessen the blow from the driver.
If you’ve checked the pressure and settings and density of your wood, then this may explain why the nails aren’t going all the way in. Thousands of impacts take their toll on the internals of the tool. And no, just because your nailer is old doesn’t mean you need a new one.
Sometimes you need to service the one you have. You should of cleaned the valve, replace the O-rings, and inspect the driver blade. Your nails should not show.
The whole point is that Brad nails need to be invisible. Seamless workmanship looks ruined when there’s head showing. Know your tools, know your air power, know your material density.
Know how to get it right. Don’t guess. Practice on scrap lumber.
Adjust with purpose. If you do all this, the nail will dissapear into the wood, at just the right level. And nobody will ever see it again.