
Like a typo on the last page of a contract, an errant-drilling bit are annoying, you saw what happened, and it risks undoing a good job. Press your square against wood and push down…and then the bit slide along a different plane. This result in a hole that is too big or too small, or the wood split at edge of board.
Or worse yet, it misses the mark completly. From greenest apprentice to most seasoned carpenter, we’ve all done it. And it stinks, the worst part being it feels like a skill failure.
But it’s nearly always a tech-fix solution. Here’s the good news: A misdrilled hole are seldom the end of a project; it simply requires knowing which repair will match seriousness of the mistake. Wood glue is the quick go-to for most novices.
Easy Fixes For Misdrilled Holes In Wood
Understanding Misdrilled Holes
That’s glue to the rescue for nearly anything wood! Even when glue work, your first instinct is often wrong when trying to fix a mis-drilled hole. Often a hole is drilled without consequence because hole itself isn’t really empty.
It is just poorly positioned or too large to hold fasteners tight. The thing about glue are that it will provide adherence, but it doesn’t magically make a piece of wood more precise, or increase its mass or geometry. Before you apply glue, you have to bring the geometry back.
Why Glue Is Not Enough
Knowing where order of operations work best means you waste less time. It also help you avoid a weak joint that fail sometime down the road. If the hole was only slightly too large, you would use easiest solution.
Using a Larger Screw
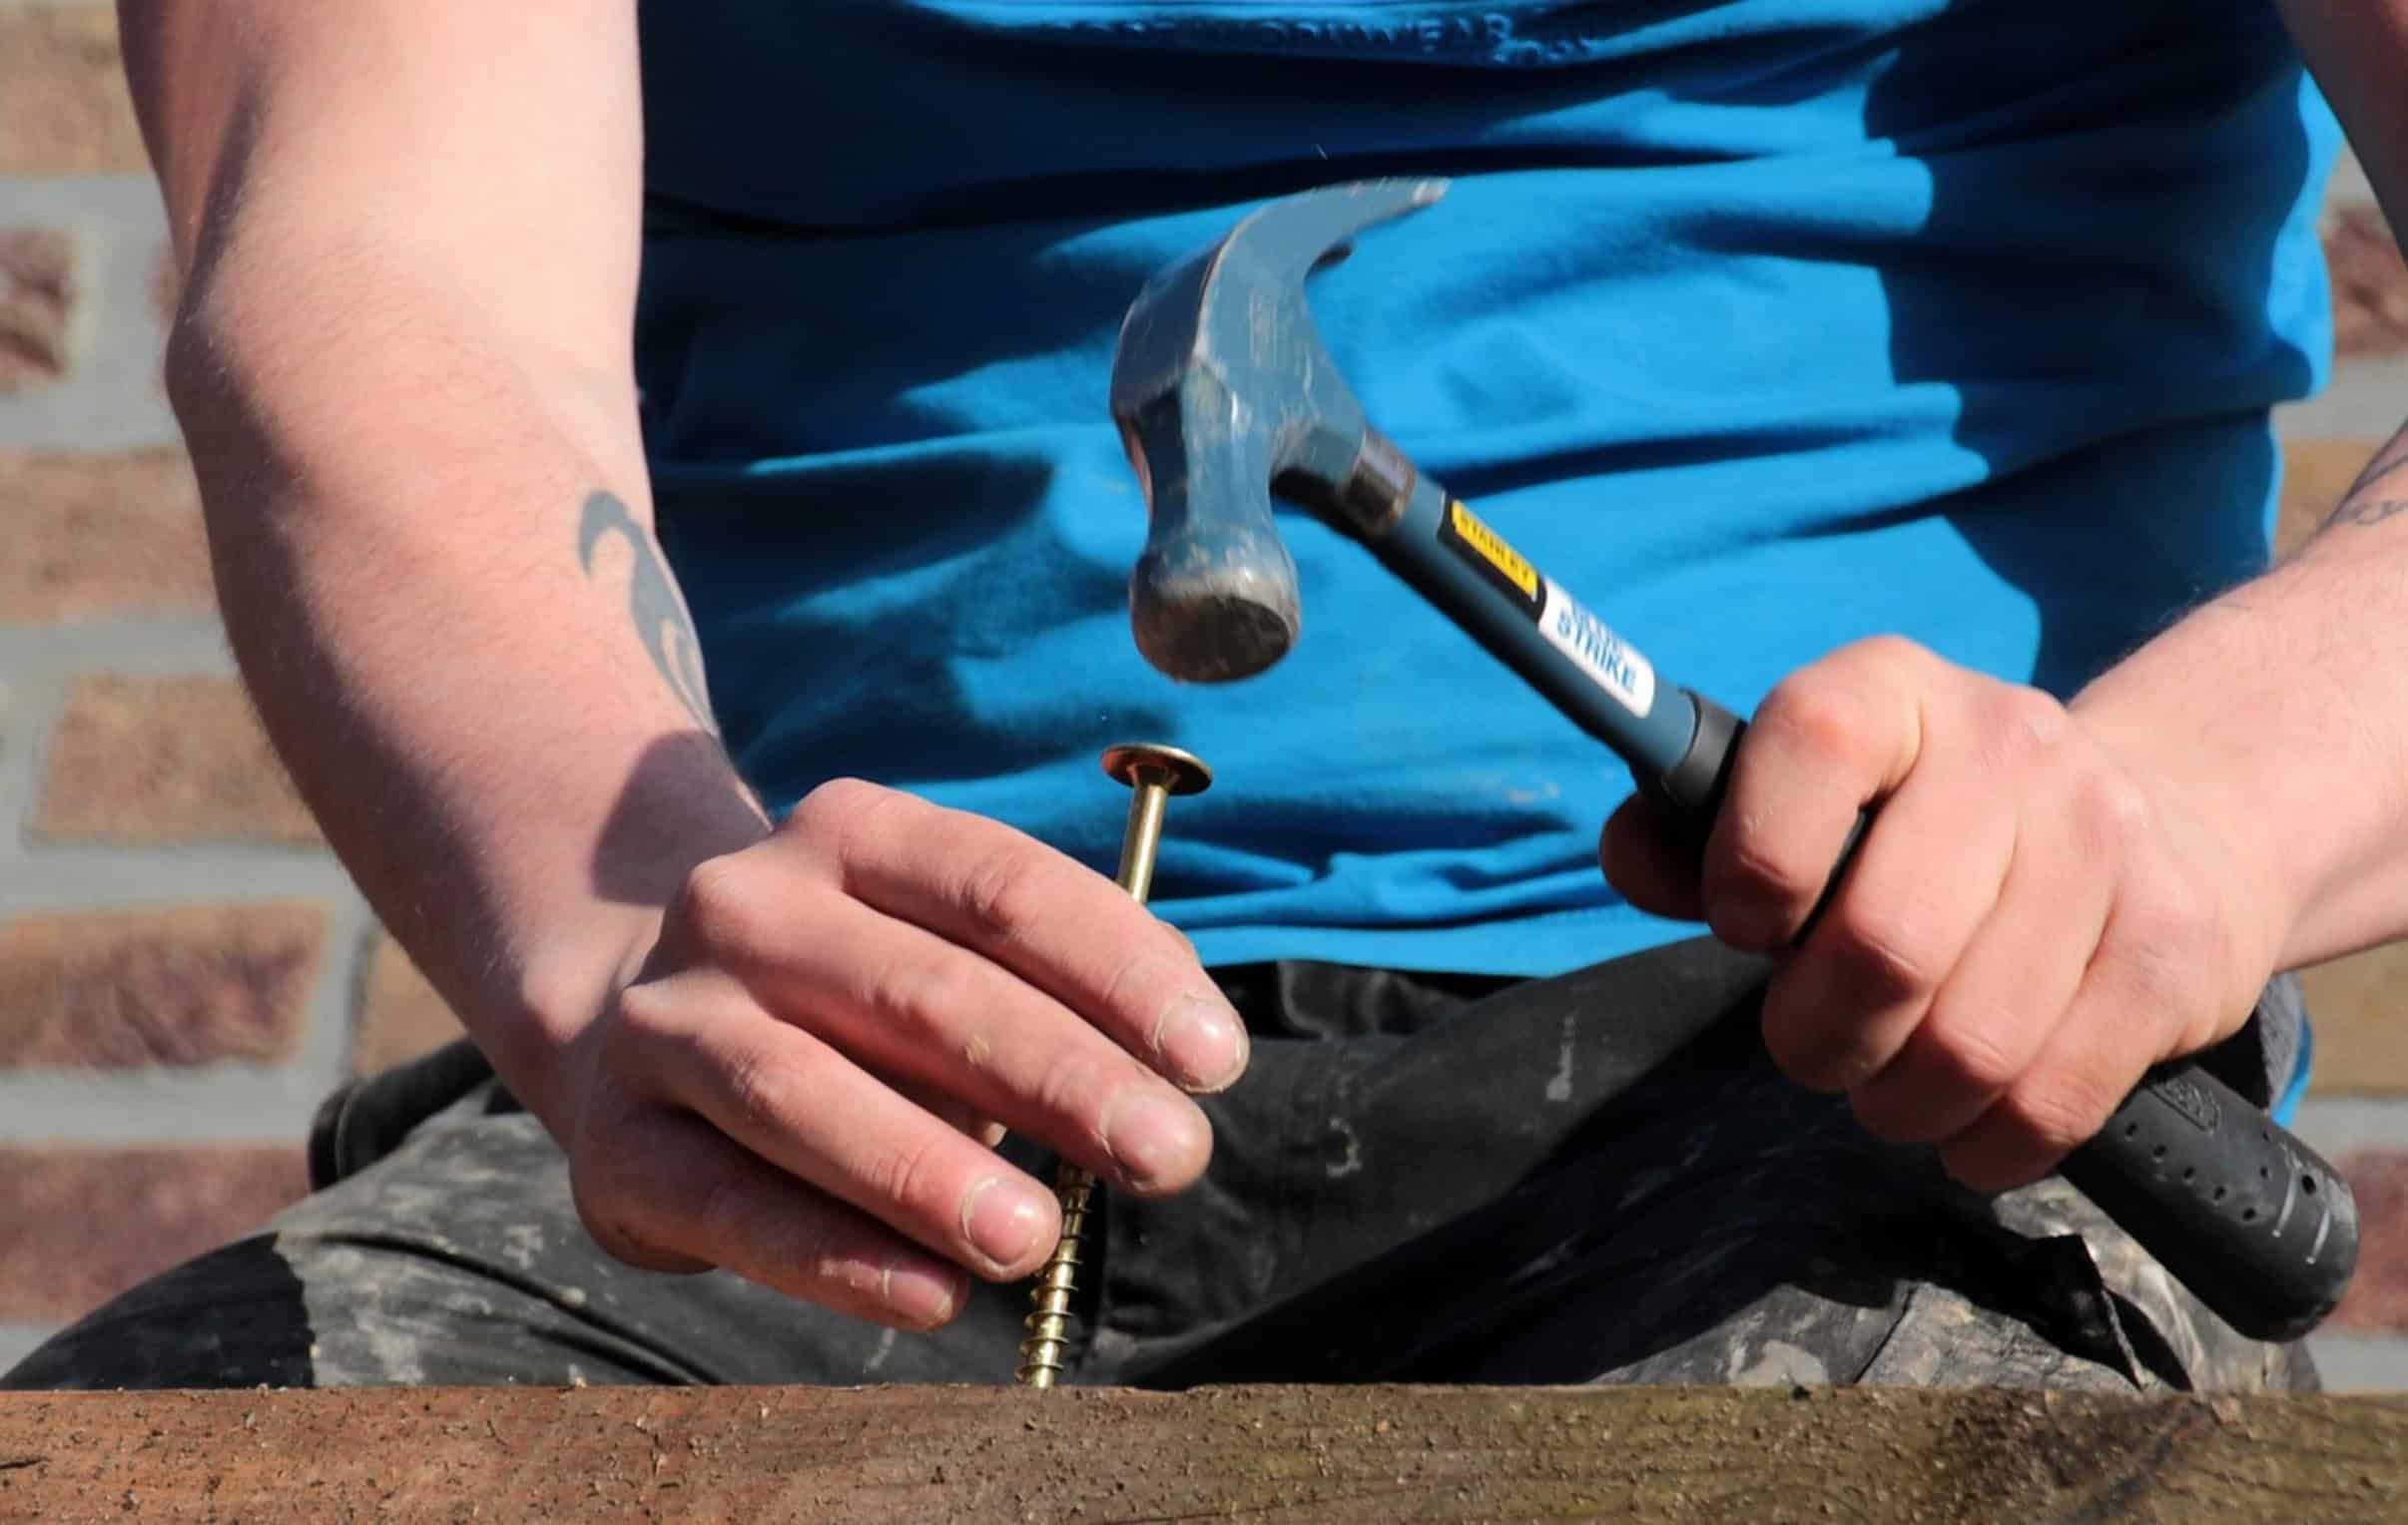
In this case, the hole is off by a few millimeters. For a wood screw, you could try going one size up. A #8 screw might slip in a hole meant for a #6.
A #8 will often fit nicely. Why? The larger screw’s threads digs into the surrounding wood more, giving them something to grab hold of.
That give it enough grip to work. You do not need any extra supplies. Just go grab next size up in your tool box and go.
The trade-off is that you have to make sure the new screw isn’t so long that it stick out the other end. It’s the road less traveled, but only if you’re off by little bit. If your hole is far too big, a dowel repair are the next step.
Wood Dowel Repair Method
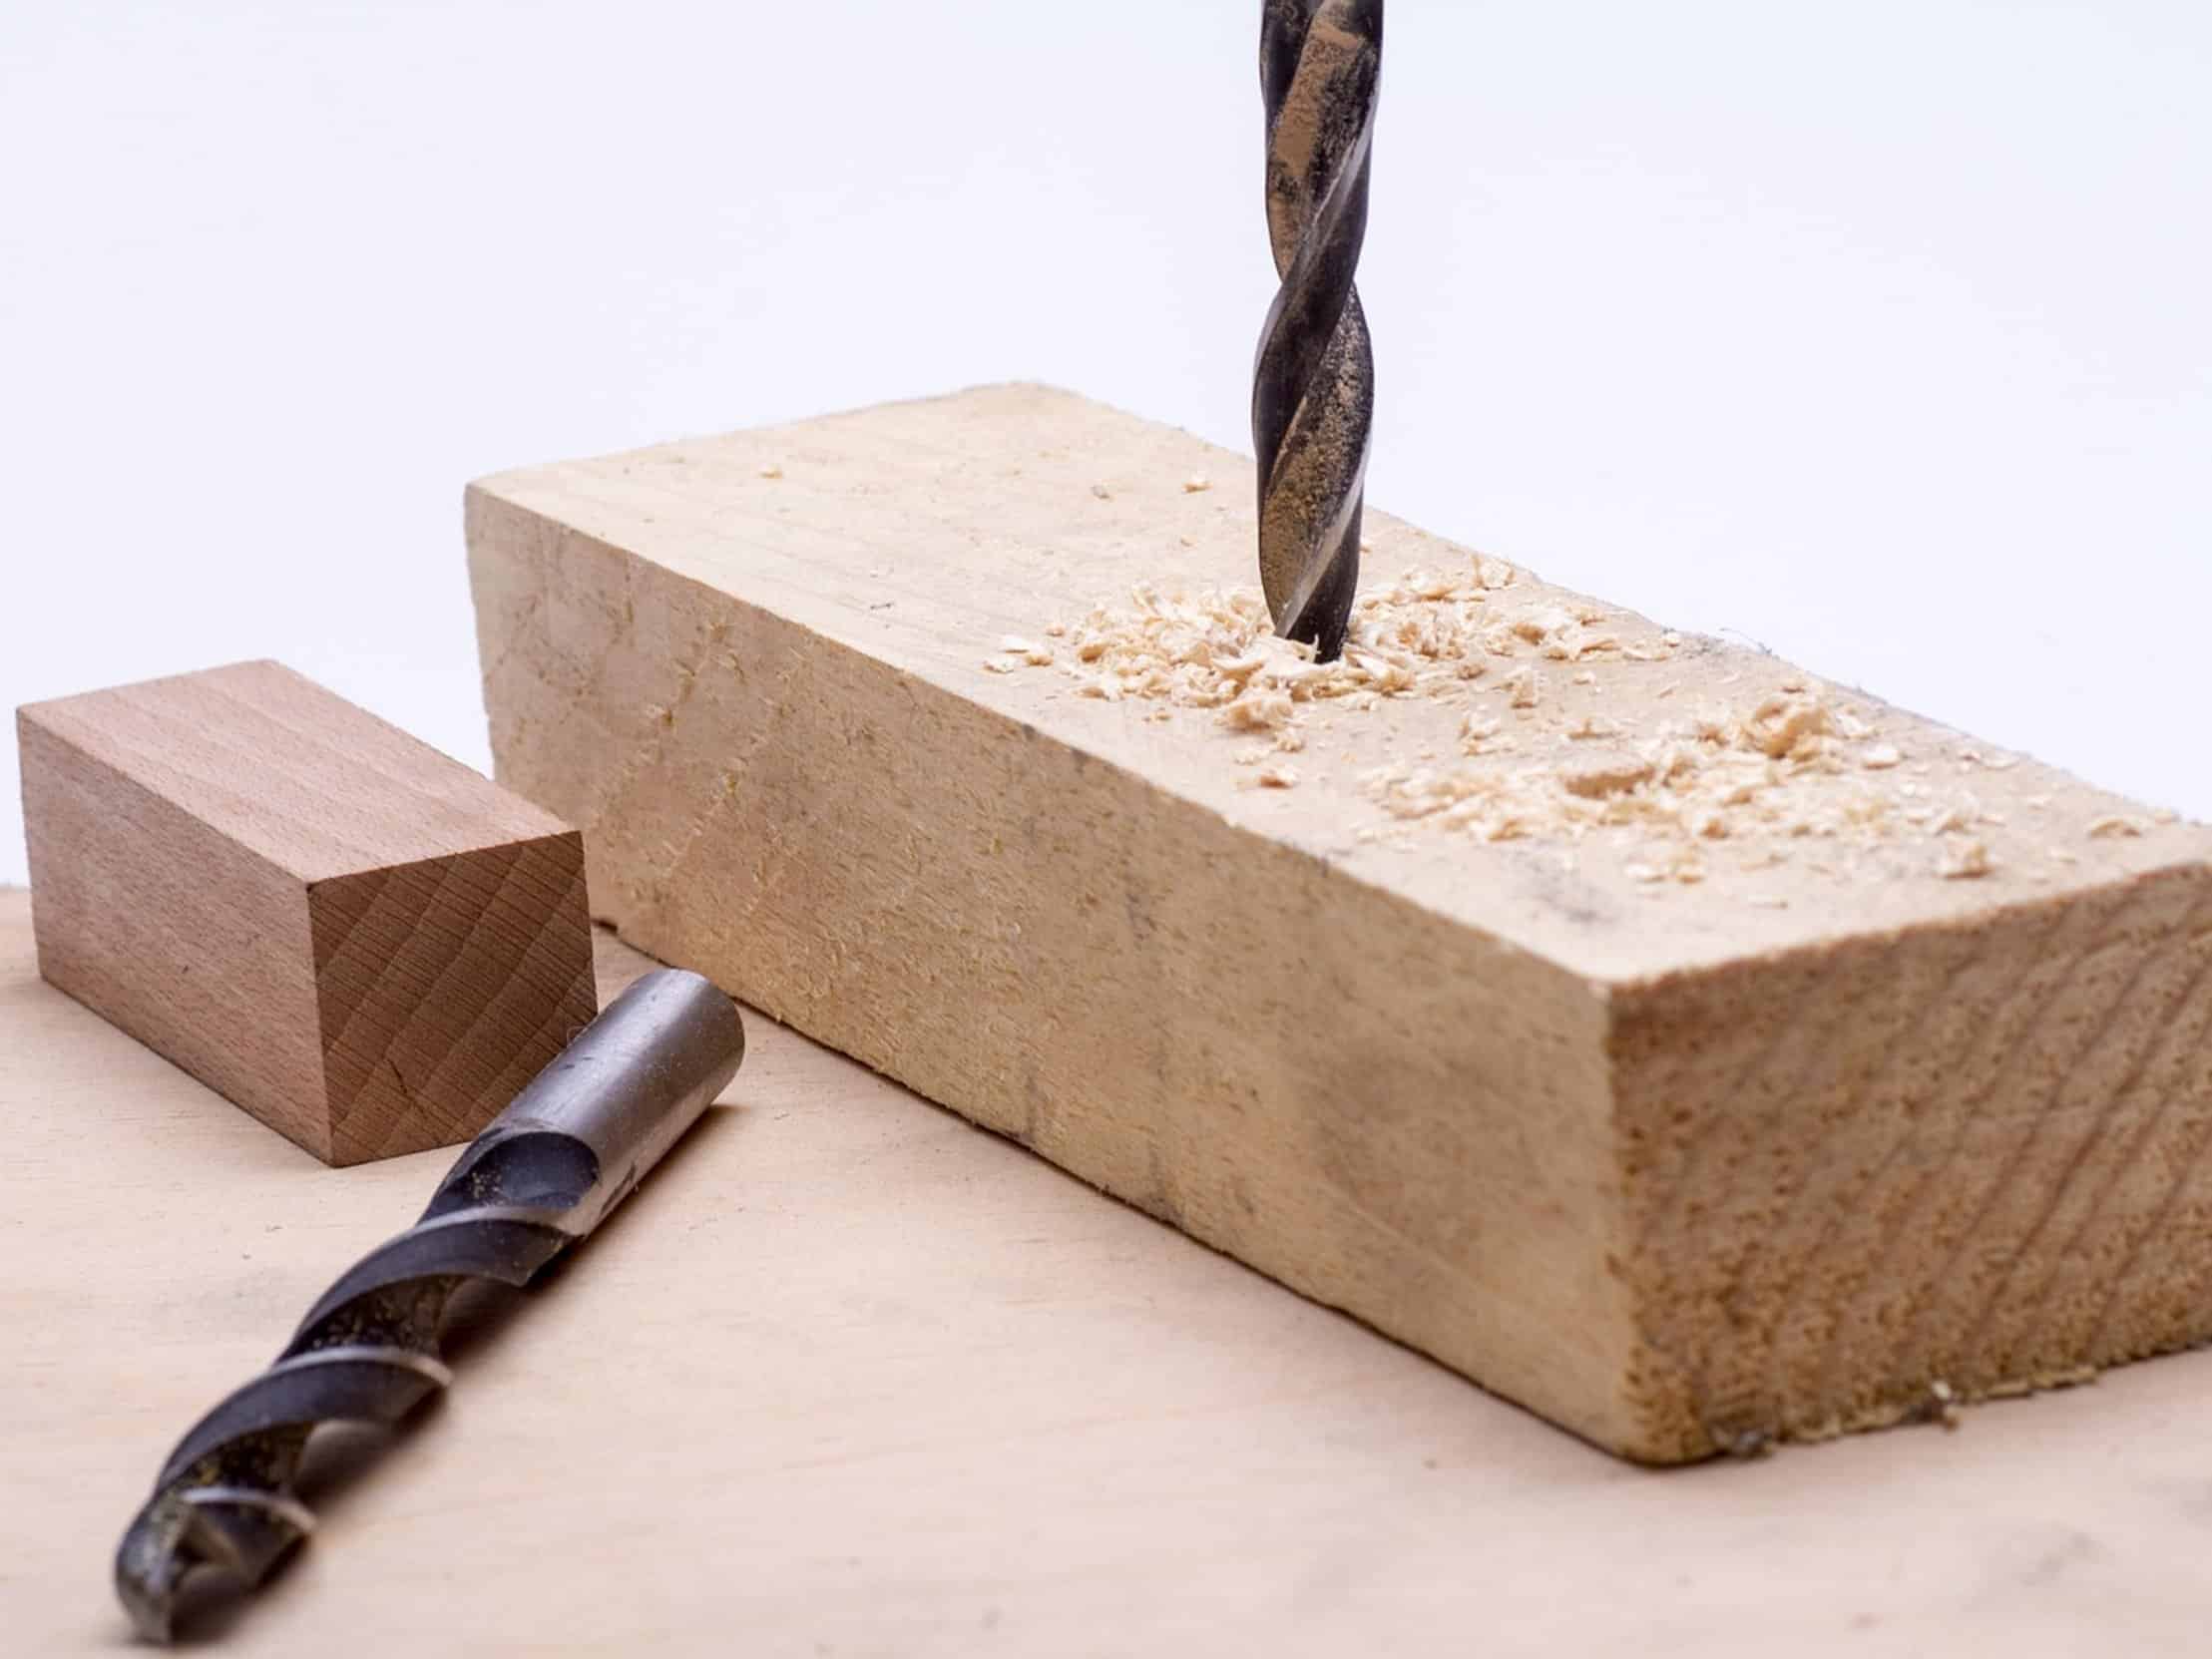
No bigger screw fits here. Clean out the hole so that it will fit a piece of wood dowel. Make sure the dowel match the size of existing hole.
Use plenty of wood glue on both the dowel and inside of the hole. Insert the dowel and allow it to dry. Once the glue has dried, trim off extra part of the dowel, so it’s flush with the rest of the wood.
Now you can re-drill pilot hole exactly where desired. This method give you back mass of wood. It allows for exact location.
In most situations, it’s stronger than before since you’re adding new glued wood. The trick is to make a straight shot when drilling the new hole. If not, the dowel will be wonky and cause more issues then good.
Toothpick and Matchstick Fix
A neat option works if you prefer a more streamlined look. Use toothpicks or matches. Maybe you don’t have correct sized dowel.
Consider those skinny wooden matchsticks as little dowels. Dip two or three into some wood glue and stuff them into the oversized hole. After they dry, snap off extra bit sticking out.
Then sand that part down so it’s flush with the rest. There will still be a core of wood there, plenty for your screw to grab onto. Seems like a makeshift solution, but for hinge pins or other small screws in cabinets, it’s amazing.
Since toothpicks are made from porous wood, the glue soak into the wood and bonds realy well to whatever it’s glued to. That’s why it’s such a timeless carpentry trick. Again, this is best suited for holes that aren’t structural and not subject to significant stress or weight.
Prevention Techniques for Drilling
The best repair is prevention. The most common cause of drift is a slip of the drill bit tip across a smooth surface. Make a tiny indent using an awl or center punch prior to drilling.
That provides a defined point for the drill bit to grab hold of. It anchors the drill bit. If critical alignment are required, use a guide bushing or drill press.
These limit motion of the bit. This ensure the hole is positioned exactly as intended. Adds a step to process but eliminates the need to fix later.
Setting up right takes time but will save hours repairing errors. You should of planned better. Respect the structure of wood; it’ll forgive mistakes.
If you mis-drill a hole, no big deal; it’s a setback, not a disaster. The best way to turn a mistake into a lesson is to pick correct repair technique. When your bit goes astray next time, remember: the answer is often simple.
First, fix the joinery; second, fix the geometry. Result is a project that hold together, and with that comes confidence.