
Nothing frustrates more than buying a good quality miter saw only to find it won’t cut straight. It’s dragging, your crosscuts tear through the finish, and a simple trim turn into sanding time. For most Metabo HPT miter saw owner, this isn’t their tool’s fault.
They’re known for being durable, smooth cutting workhorse. Instead, it typicaly comes down to the blade. Whether you bought an expensive saw head or not, a dirty or dull blade kills your accuracy.
Changing the blade on a Metabo HPT miter saw require respect for the mechanics. There’s nothing complicated about it; just a mix of mechanical knowledge and commonsense safety. Do it correctly and your cuts will get better immediatly.
Rush through it, and you’ll either injure yourself or damage the spindle. Once you learn the steps involved, it’s easy: Unplug the cord. Know what wrench go where.
How To Change The Blade On Your Miter Saw
Why Cuts Go Wrong
Press the correct button. The first step is safety. That means unplugging the saw.
Even with a cordless saw, there are still capacitor that hold a charge. Pulling the trigger by accident would of not be good. With power off, then you want to lower the blade guard.
Safety First
This is where many people trip themselves up. The guard is meant to remain engaged when running but need to be disengaged to change blades. For most Metabo HPT model this requires a release or lever near the pivot point.
It should comes down easily. Don’t force it because there could be something lodged in the linkage like chunk of dust or wood. Now we’re going to remove the old blade.
Disengaging the Blade Guard
To do that, we use the spindle nut. It secure the blade in place and it’s torqued to a certain amount. So how do you get it loose?
Do you reach in there and turn it? Nope! Most Metabo HPT saw come with a special wrench or a hex key in their accessory kit.
It insert into the spindle itself. And before you tighten the wrench down, you want to make sure the arbor is locked. On most saws, there’s either a button or a pin located somewhere on the side of the motor housing.
When pressed, this lock the blade so it doesn’t spin as you put torque on the spindle nut. A pretty straightforward mechanical lock that keep the blade from spinning when tightening the nut. Critical step here, otherwise you’ll hurt yourself, or strip out the nut.
Removing the Spindle Nut
After securing the arbor with the lock, tighten it down with even pressure on the wrench. If you have purchased the saw recently or had someone else install it for you, the nut is probably already pretty snug. Don’t overdo it if it isn’t budging.
Make sure you’re tightening the right way on the nut. Most spindle nuts is reverse threaded, which means they loosen when turned clockwise. Double check the arbor lock to make sure it’s seated if the nut doesn’t come off.
Sometimes it hasn’t been fully engaged. When the nut comes off, take care to remove it but keep it handy as well. You’ll want it again and a lost nut or tiny metal washer in the sawdust are no fun.
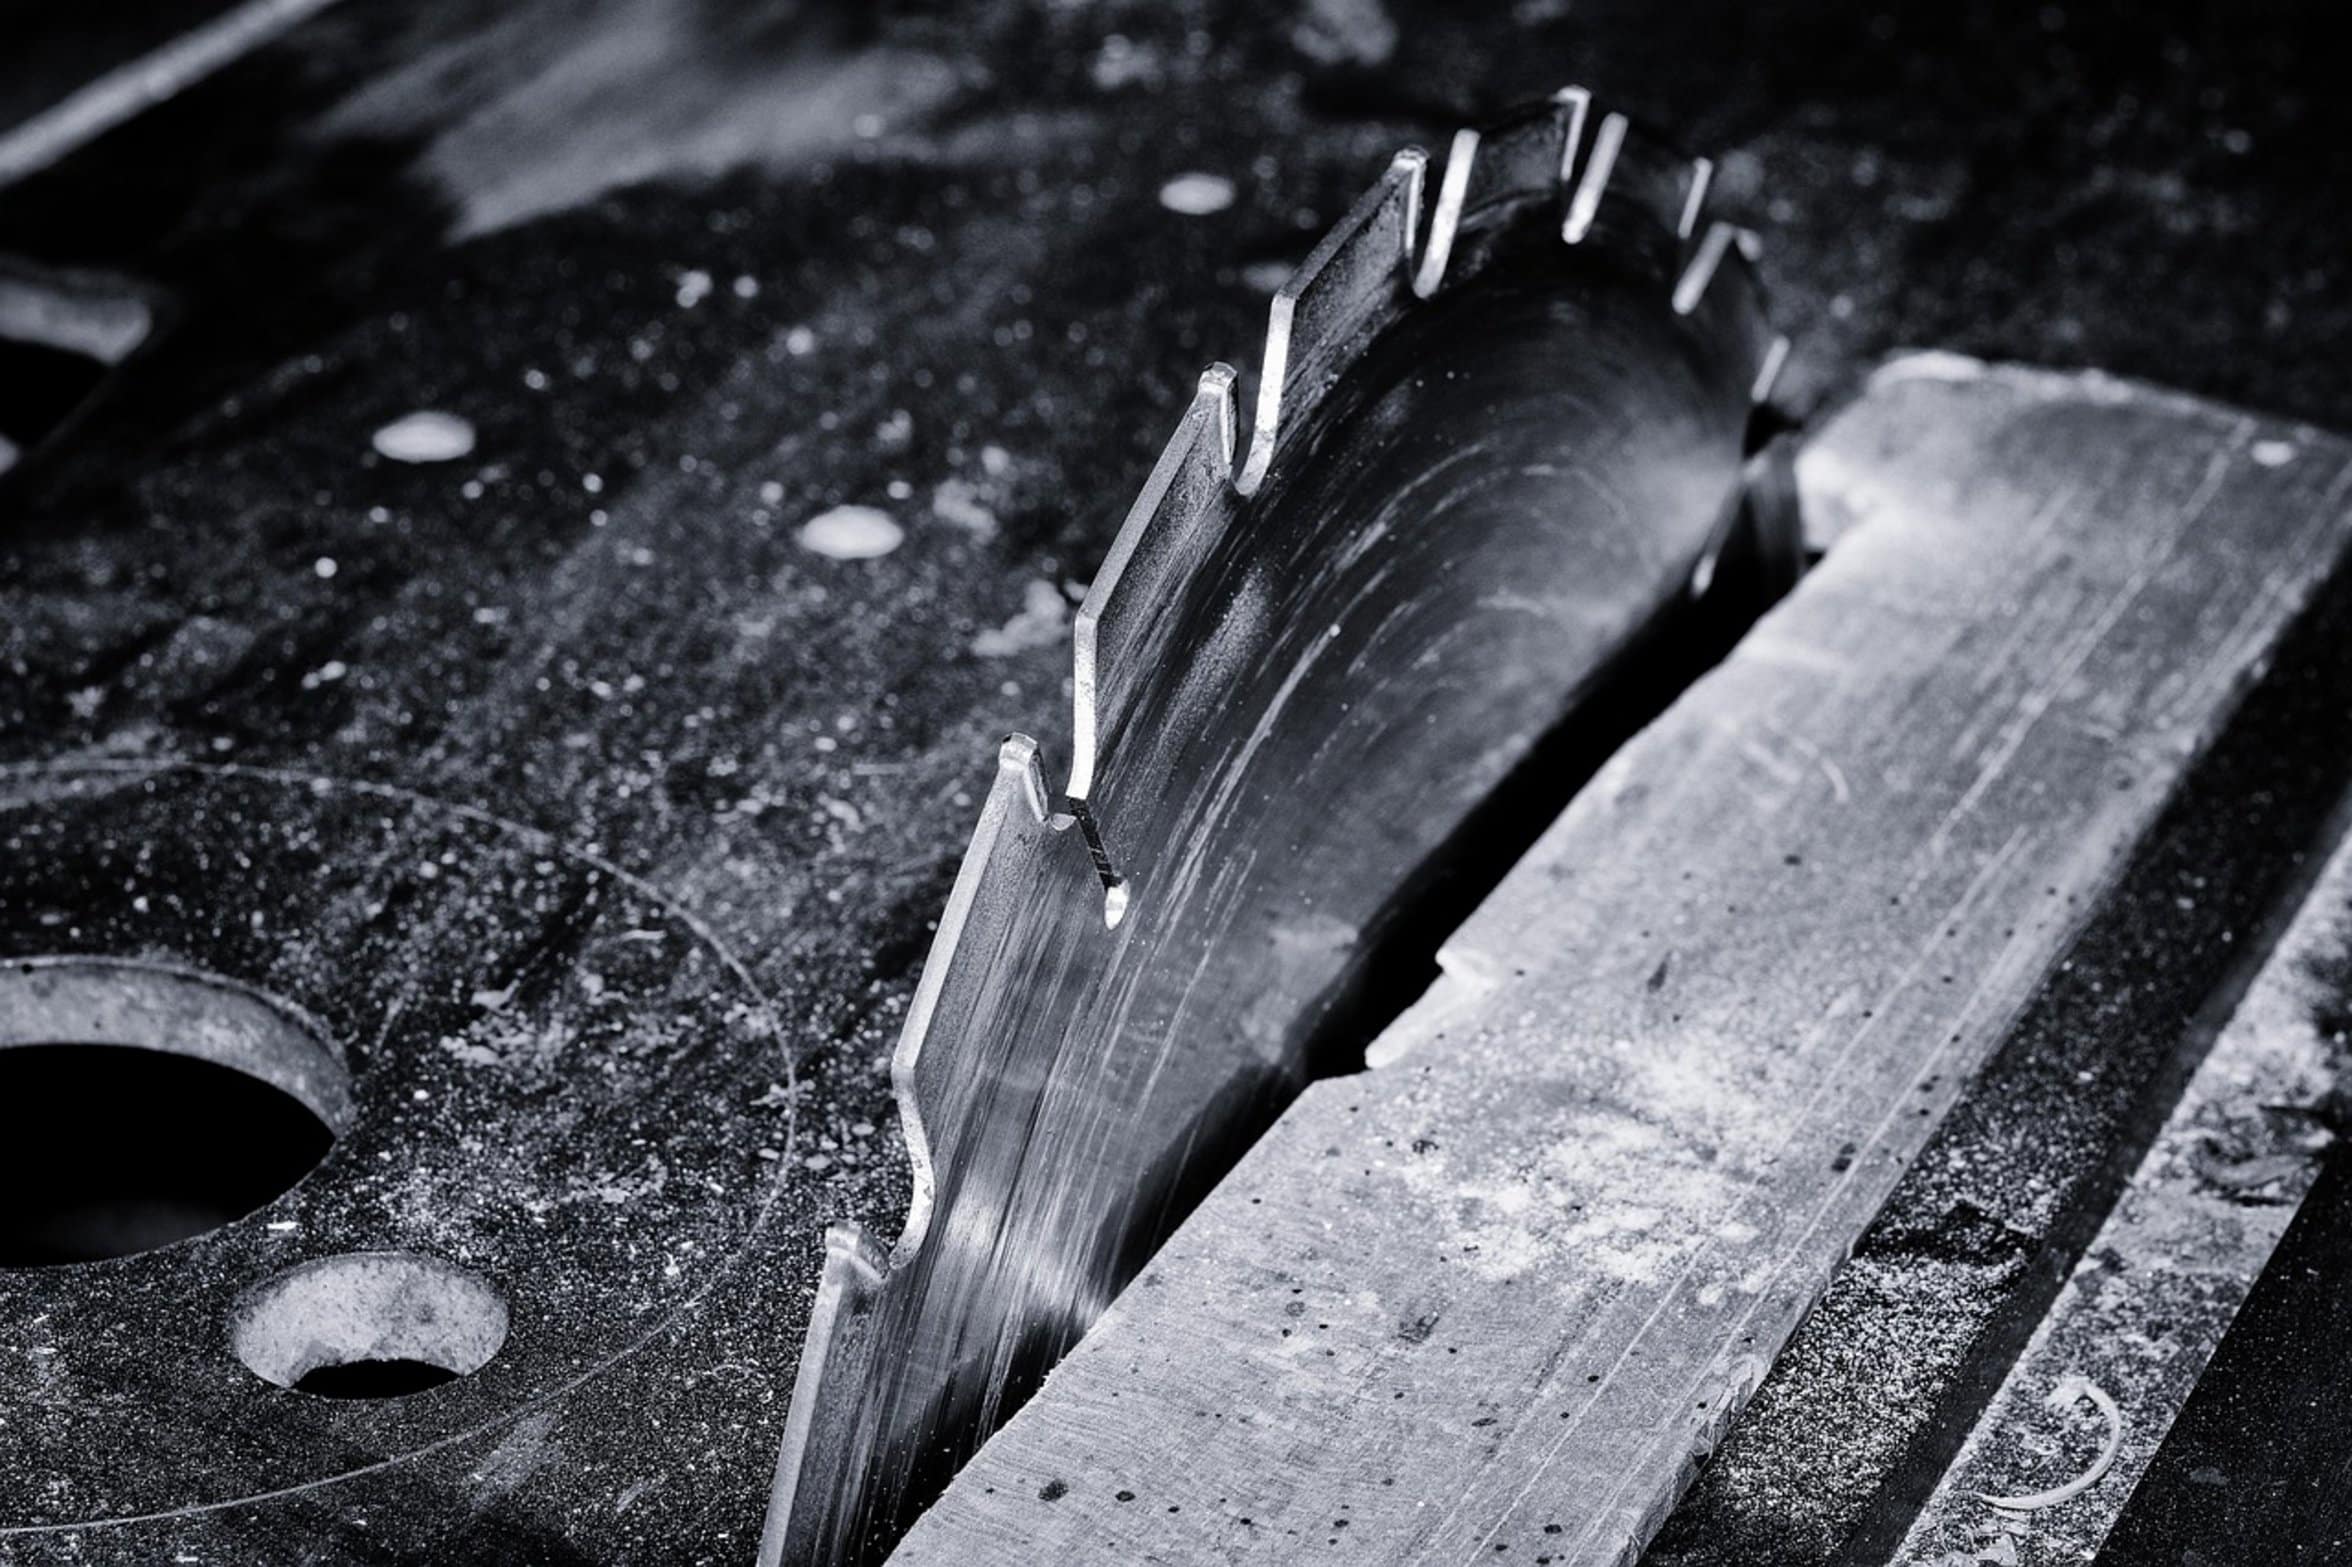
Remove the nut and the old blade come right off. Examine it. Is it warped?
Are the teeth chipped? If you need to replace the blade, do so now. Position your new blade with its teeth facing the proper way.
Look at the end of your saw arm for an arrow or other indication where the blade should be pointing. Generally that means the way it rotates. Place the blade on the arbor.
Installing the New Blade
It needs to sits flush with the flange on the spindle. No good can come from having a crooked blade. It won’t cut well, it will wobble, and it will put too much stress on your motor’s bearing.
Handtighten the spindle nut first Do this just to get the threads aligned correctly. Next, with the wrench, tighten per manufacturer’s spec. Don’t crush anything.
Tight is good but too tight isn’t better. Remove the arbor lock. Turn the blade manually.
It should be free-spinning without catching on fence or the guard. If it catches, stop. Double check your alignment.
Final Checks and Testing
Now, lift the blade up and allow the guard to snap closed. Plug in the machine. Run the saw through a piece of scrap lumber.
When you see a clean cut, you know you’ve done it right.