
When something’s wrong with your miter saw, you’ll hear about it, it’s that high-pitch whine noise instead of a soothing hum. The blade will start moving off course or burning the wood. Don’t ignore it: Not only will it make cutting more frustrating, but it’ll cause worse cuts as well.
Most builders don’t change their blades until they’re shot, but that costs both material and time. Using a dull blade is not just harder on you (it takes more muscle to drive it through wood), it’s also unsafe. And it result in rougher cut edges, meaning more sanding later.
Step By Step Guide To Changing Miter Saw Blade
Signs You Need to Replace Your Blade
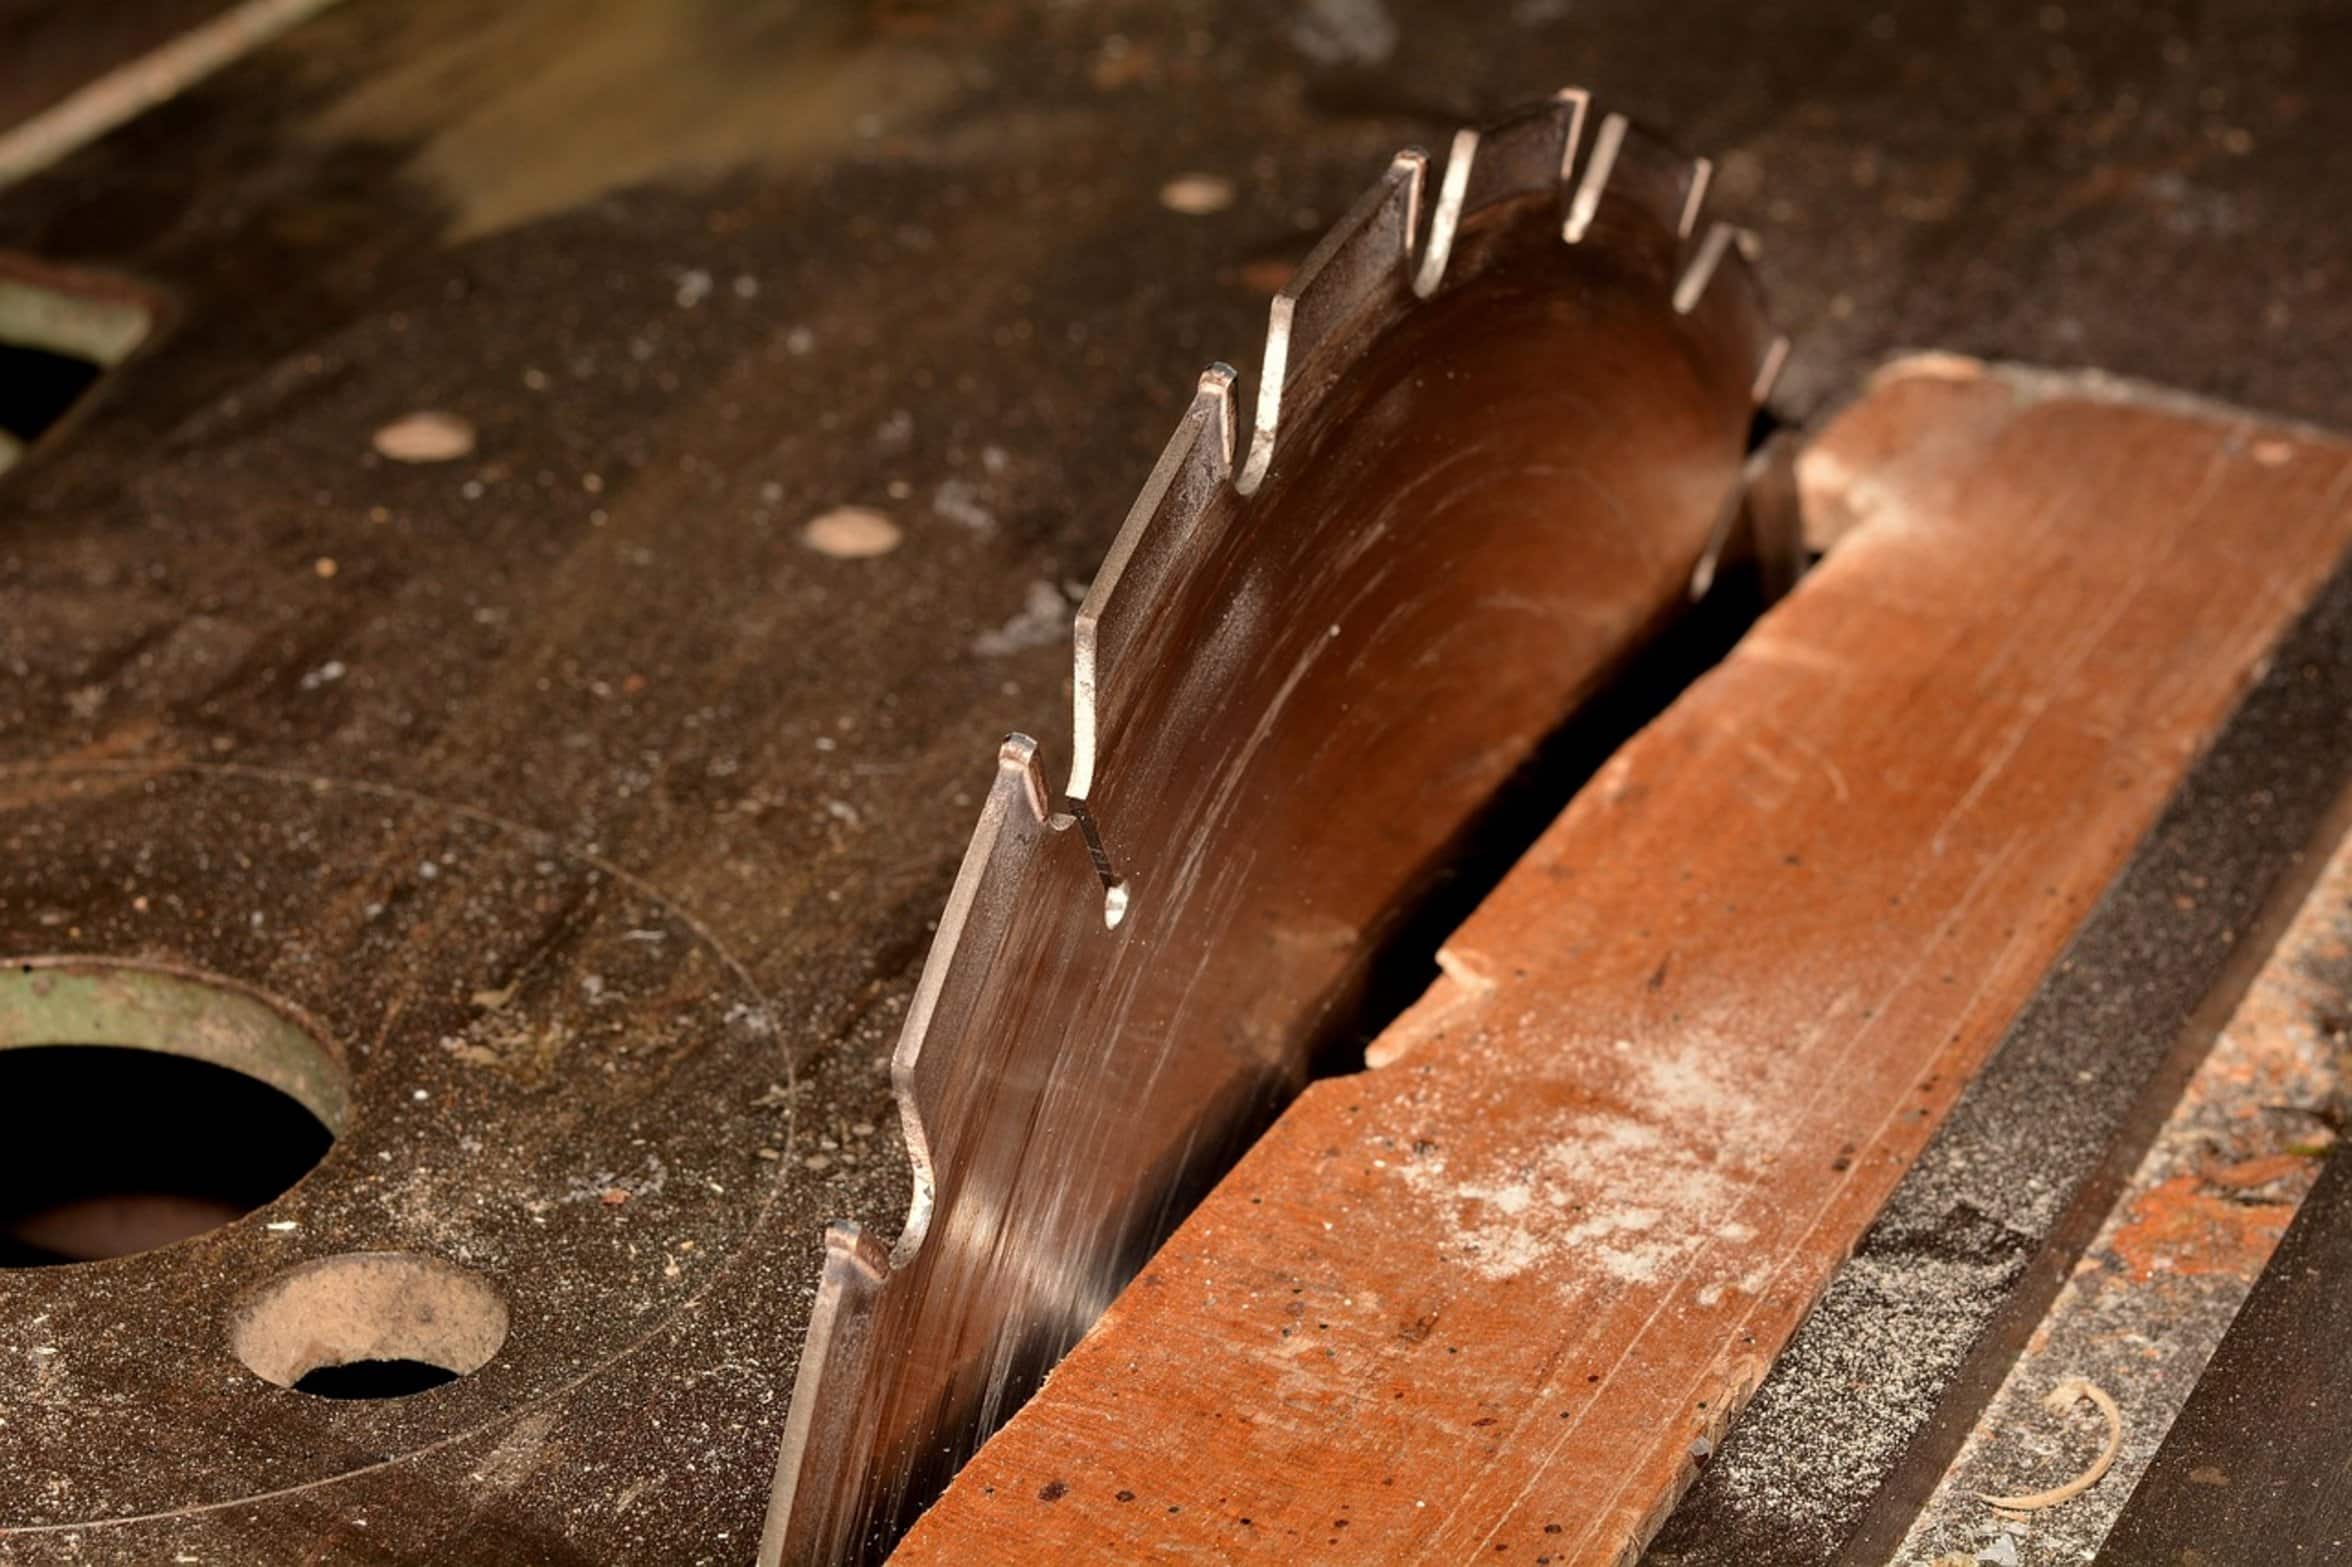
Replacing the blade isn’t rocket science, just observe the mechanism so you can operate safe. Always remember to unplug the saw before you start. I know this sounds dumb but we all do it, rushing to get done with our work.
Safety Precautions Before Starting
Remove the battery pack completely, or unplug the cord. The trigger lock is not enough, as bumping that switch will cause the motor to start running again. That’s what can make a little screwup a bad injury.
Imagine the switch is broken; that way, you’ll stay safe while focusing on other things. Expose the blade assembly by dropping the saw arm all the way down. On most Metabo HPT saws, there is a spindle lock button located near center of the motor housing.
Removing the Old Blade
Find that button and grab it tight with one hand. This will secure the blade and prevent the arbor nut from spinning as you apply torque. The nut will spin freely if not held in this position and nothing will loosen.
With the spindle lock engaged, loosen the arbor nut with proper wrench. Most manufacturers of these saws will provide a special wrench for this purpose. Metabo saws usually comes with a specific wrench designed for this purpose, so keep it somewhere convenient in your shop.
Once it is loose, turn the nut counter-clockwise until it comes off. Double check which way the threads run. After removing the nut, pull out both flanges (outer and inner) along with the old blade.
Note the position of the flanges. Some have texturing that must face up or down. If not sure, consult your manual; vibration occur if installed improperly.
Installing the New Blade
Position the new blade so that the arrow on the front of the blade lines up with the arrow on the safety guard of the saw. The arrow indicates the direction of rotation and must match the arrow on the guard. The blade won’t be able to pull the wood through as intended and will actualy push the wood toward you if installed backwards.
That doesn’t work well or safely. Be sure the blade aligns with the arbor slot and that the blade is flush with inside flange. You shouldn’t of have to force it.
If it doesn’t fall into place easily, chances are good that you have it reversed. Thread the arbor nut onto the arbor first. Only hand tighten it to prevent damaging the arbor threads by forcing the nut over the flange.
Then slide the flange (outer part) back onto the arbor and snug down the arbor nut firmly using the included wrench, while holding the spindle lock in position. If the manual says that impact driver may be used, then go for it. Otherwise, do not.
Over tightening can damage the bearings or make future changes difficult. Just use a solid grip on the wrench and snug up the arbor nut to provide a snug fit and nothing more. Now drop that blade back in to its guard position and double check your safety setup again.
Final Checks and Testing
Before you plug your saw back in, make sure there aren’t any tool lying out on your table. Turn on your saw just to see if it works without cutting anything. Is it vibrating too much?
Does it sound funny? It shouldn’t. The right blade running at the correct speed should operate quiet and smoothy.
If it doesn’t, turn it off now and go back over what you did. Having a correctly installed blade makes this Metabo HPT saw into an accurate tool. The joint fits better than the cut will be cleaner.
And that’s the final result… All that smoothness.