
Sometimes you get frustrated with your drill press. You choose the right bit and clamp the workpiece down. Everything seems to be set up, yet it wander and doesn’t seem to do what its supposed to do.
All too often that is because little things shifts over the years. The main motor and cast iron frame generally hold true. It’s the little thing that happen while rushing the job that are the problem.
Easy Steps To Fix Drill Press Issues
Common Drill Press Troubleshooting Myths
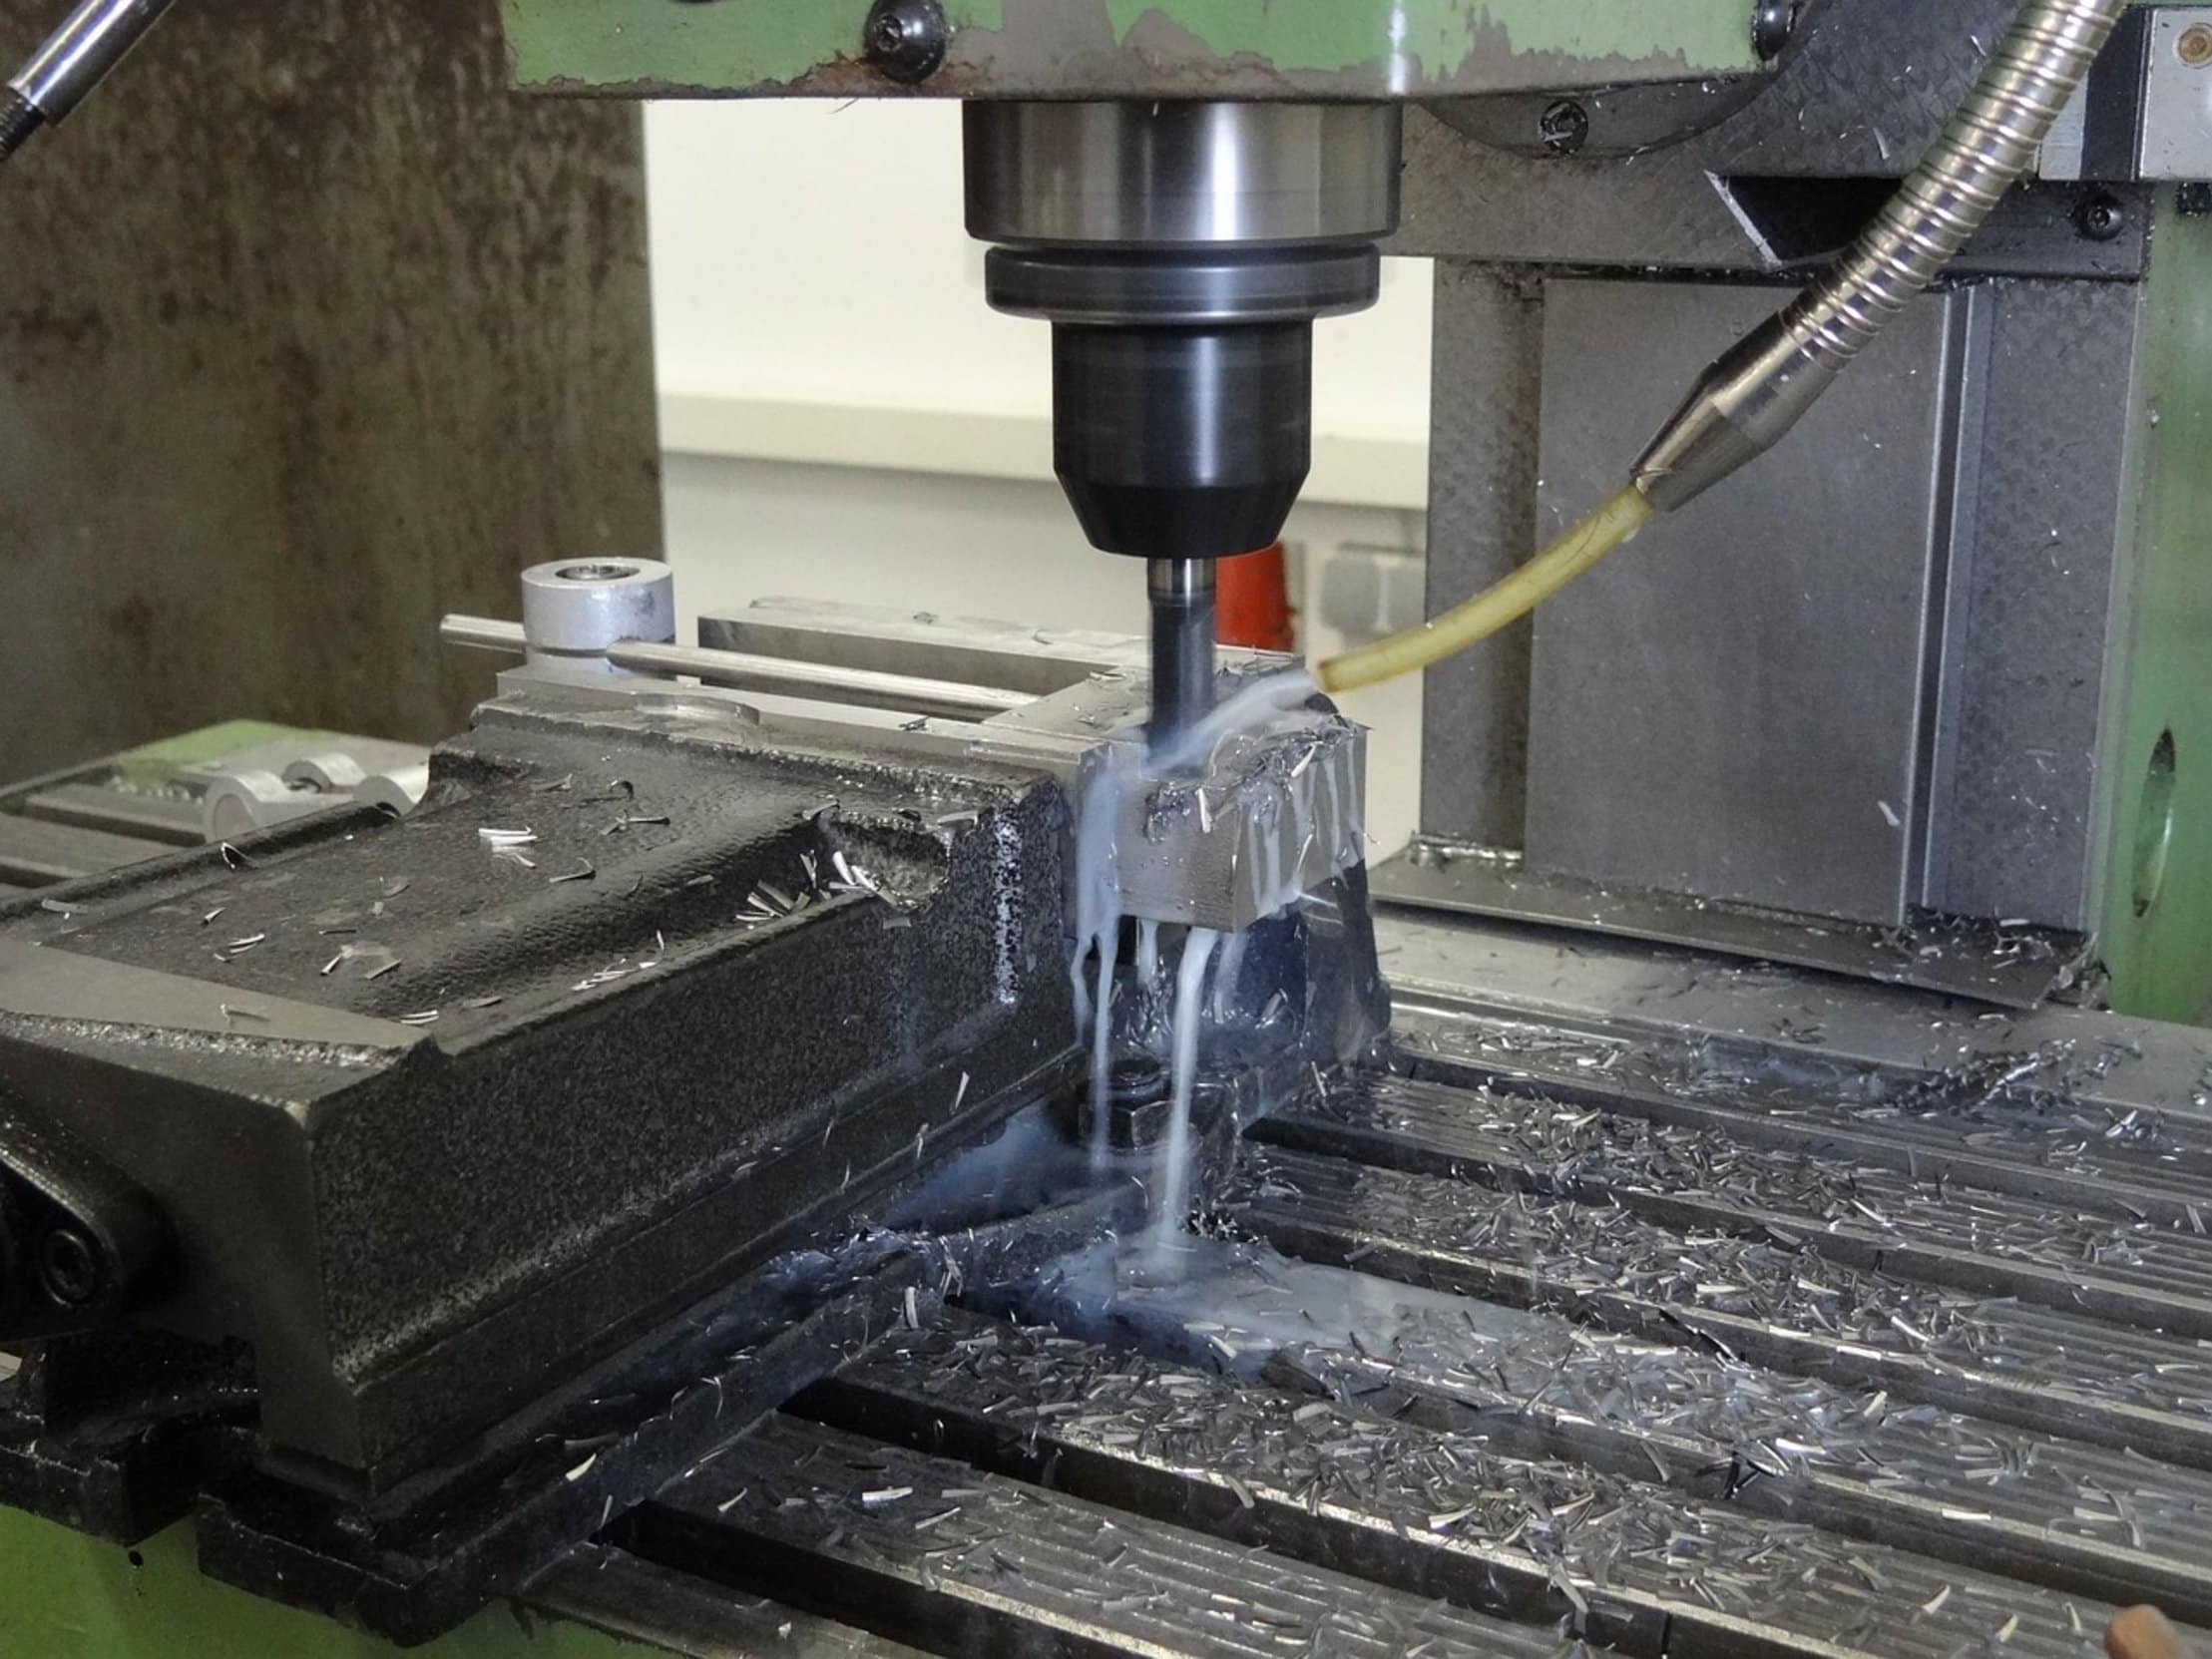
When we troubleshoot something we immediatey assume it’s complicated, which is why most attempts at solving problems with press end up failing. The real culprit is often a loose chuck or a dull bit. You think there’s a bearing problem when in fact what need fixing is a loose chuck.
When you understand how machine work, it shifts your mindset. Now it’s not just a press; it’s a system of tensions and gears. And suddenly you’re saving all those hour spent guessing.
Fixing a Loose or Sticky Chuck
If your bit breaks or starts to wobble, first look at the chuck. Rust and dirt on inside of the chuck’s threads keeps the jaws from closing down propery. If you can’t tighten the chuck by hand there may be some resistance.
But there could still be some play for the bit. Once loaded, it bend and moves, allowing the bit to break loose. Use a wire brush to clean the jaws and put light oil on the chuck thread.
If this doesn’t help, change out the chuck. It’s an inexpensive part that will save you big bucks.
Setting Correct Speed and RPM
Drilling into hard material create problems related to torque and speed.
Excessive heat is produced by high speed with a large drill. The drill becomes dull faster, which creates a need for more pressure. More pressure cause the motor to stall or bend the bit.
Read the speed chart on the side of the press. The chart provide a list of suggested RPM’s for different types of materials. Position the belt based off the task.
For instance, use low speed with large bits on metal. Use high speed with small bits on wood. Failure to follow this guideline result in burnt material.
Lubricating the Quill and Bearings
Align the quill and spindle bearing. Dry bearings can cause a sticking quill. Metal-on-metal is caused by lack of lube.
Examine grease fittings on your model. If it have them, shoot a dose of fresh lithium grease in there. Otherwise use machine oil on the quill shaft.
Consistent depth control depend upon a smooth quill. Maintenance keep accuracy over the years.
Diagnosing Electrical and Motor Issues
Humming but not spinning could signal an electrical issue.
Before ruling out the motor, check your power cord and foot pedal switch. It’s not unusual for a foot switch to have a loose connection. If the rubber sole wear through, it can reveal corroded contact points.
Clean the contact point(s) with electrical cleaner to get it working again. If that doesn’t solve it, check the internal capacitor. A weak capacitor will make it difficult for motor to turn on.
Replacing it is inexpensive and easy to do. You should of replaced it sooner. Keep your press clean by paying attention to detail during maintenance.
Respect the speed settings, keep the chuck clean, and take care of the mechanical parts on a regular basis. This avoid major repairs. When you take care of your machine, it repay you with precision.
A well-maintained press will yield accurate hole.