
That’s why you probably got a drill press. It was supposed to solve one specific issue: perfect right angle hole, in a repeatable manner that a handheld cordless drill couldn’t provide. The expectation isn’t unreasonable (the machine stay stationary), the quill drops straight down, and it work every time.
But real life doesn’t always require perfect right angles. Sometimes, you want an angled hole for a piece of furniture. You might also need one for a bracket or a hinge where you don’t want to see the joint.
The trick here is to attempt doing that with a regular drill press. No good: The entire machine can’t be tipped on its side and it’s simply too unwieldy for the table mechanism to turn as it’s held in place by base. Crank the table to the side and you’ll either break the cast iron or shred the gears.
How To Drill Angled Holes With A Drill Press
The Challenge of Angled Holes
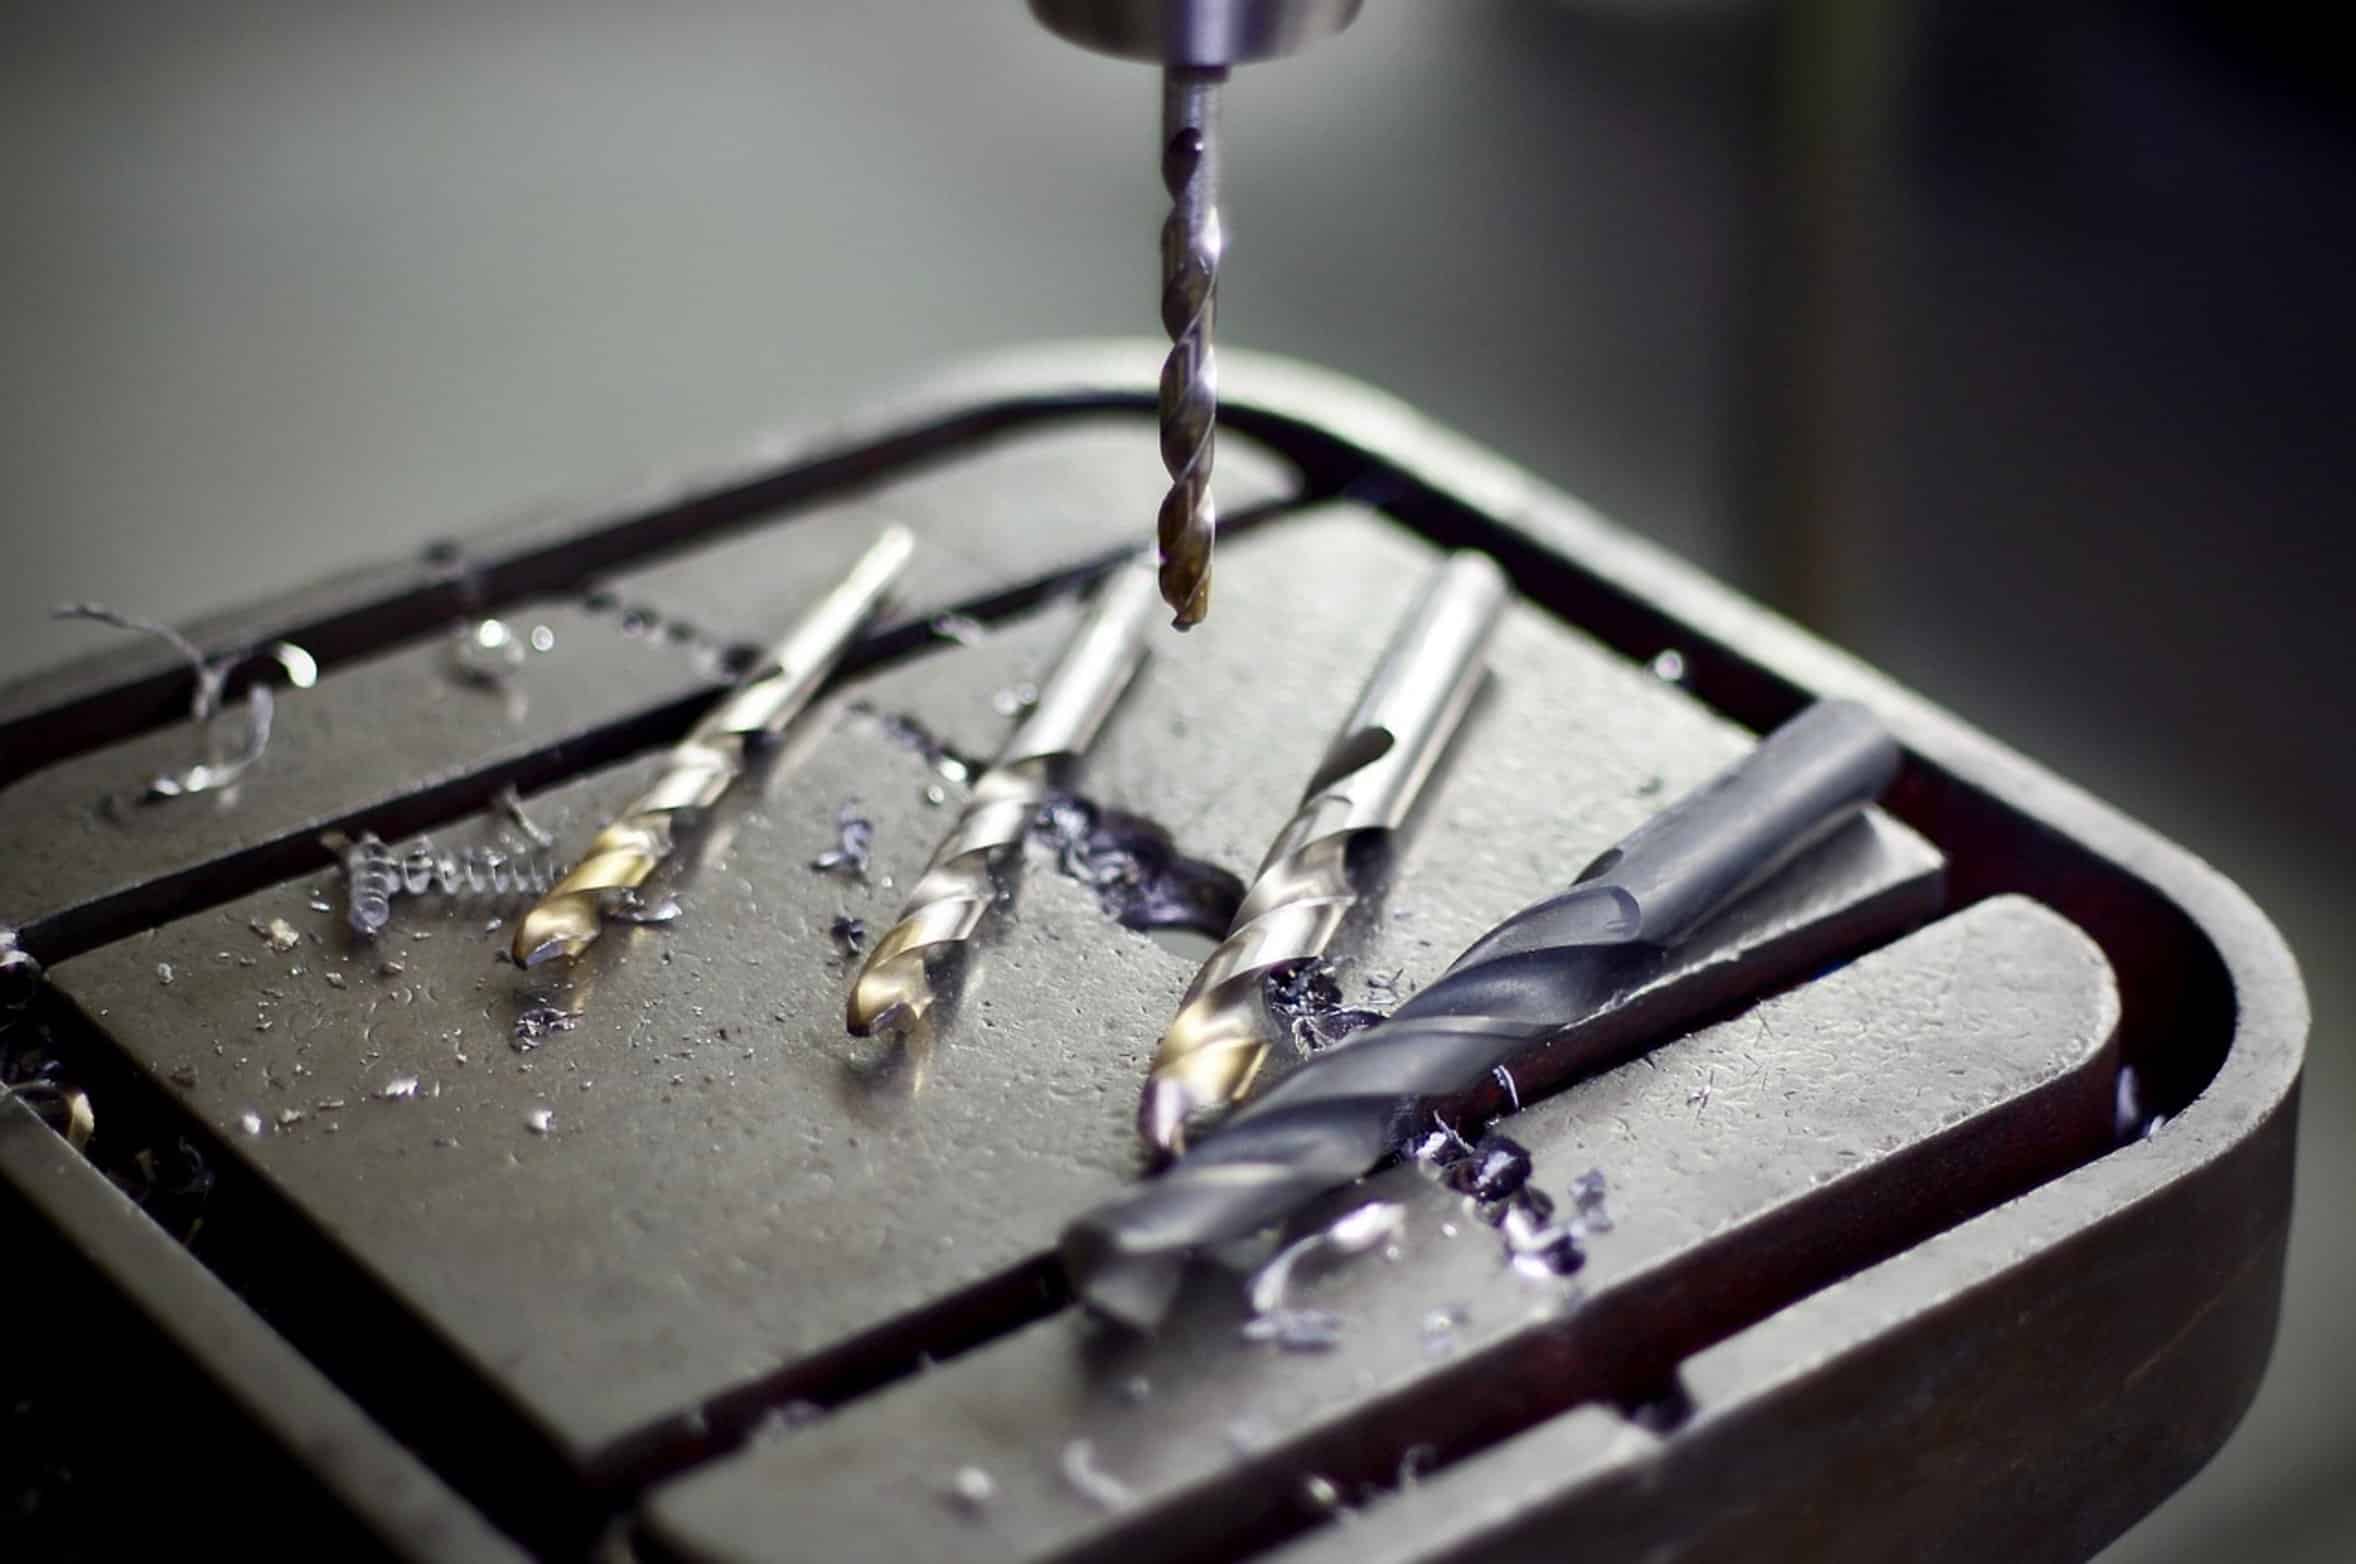
So what’s the answer? It has to come at the problem differently; free the cutting function from the immovable geometry of the press. That’s the key to the technique: shifting the reference point from the heavy machine itself to either the cutting head in an adapted holder or to the work piece that’s being cut.
It’s all about accuracy and leverage; set it up correctly and your rock-solid drill press is now an exacting angle drilling station. Once you wrap your brain around the physics behind it, it’s actualy pretty simple. For this task, the most common and versatile drill press vices has what’s called an adjustable angle table.
Using an Adjustable Angle Table Vice
They’re different than ordinary shop vices because the base rotate around a central axis. Just like any other vice, you lock it in place on the drill press table. But rather than clamping your wood onto the metal bed, you would clamp it to the turning plate.
Then simply turn the base until the protractor scale read the degree you want. The other thing about this approach that really helps is that they hold the work piece firmly but also allow very accurate angle adjustment. It adjust from zero to ninety degrees and, on some models, forward and back a little more for another degree of control.
Those vises are made by brands such as Jet or Rockwell. Good solid locks and marked scales makes this a good choice. And don’t forget to snug up the locking bolt!
There is nothing worse than having the material shift on the cut. It messes up your material and can do serious damage to the bit too. The other favorite solution is an angle head attachment for your drill press.
Installing an Angle Head Attachment
It fits on the quill in place of your regular chuck and lets you pivot the drill bit around. This is great if you need to make angled holes in something too big to set up in the vice. Maybe you want to make some angled holes in a huge sheet of plywood or a framed door?
Bringing all that over to the table would be a pain. Much better to rotate the bit instead. Angle heads come in all shapes and sizes.
Some very inexpensive ones is made of plastic. These may flex under pressure, which can cause your hole to be off or even break apart when drilling. But a steel cast head from a reputable brand like Delta or Craftsman will hold its position.
Of course, your work piece has to be securely clamped down to the table as well. That’s where the flexibility comes into play. Drill at an angle, clamp back down to zero to drill straight, re-clamp to do another hole at an angle…no un-clamping necessary.
Safety and Technique for Angle Drilling
When you deviate from the norm, safety is paramount. The directions of the forces are different when drilling at an angle. Your bit will want to walk across the surface and dig in deeper on one side then the other.
This causes torque that can twist your workpiece if it is not held down securely. Never hold the material with your hands. Use clamps, dogs or vice.
The drill press is powerful and can grab the wood and pull it out of your grip in a fraction of a second. When drilling through thicker materials such as hardwoods, begin with a pilot hole. If you try to drill at any kind of angle into something, the bit will skate off track from the spot you want it to hit.
By making a little channel to guide yourself with a pilot bit, you can confidently step up to your desired size without worry about tearout and having that hole right where you wanted it. This also helps keep the bit sharp longer while running cooler because you don’t have as much motor load. Treat it like practice wood first.
Lay out your angle, clamp down some pine, and make a few cuts. Protractors and squares are good tools here to double-check how accurate you were, and make adjustments as needed. When drilling at an angle there’s less room for error, and even two degrees off will make a big difference over the length of a long board of lumber.
Go slow, and don’t let the drill press go too fast. The faster you turn it, the hotter it gets. This can cause the bit to burn through the wood, especially when the bit is coming in at an angle.
To conclude. So in conclusion, making angled holes makes your drill press a more useful multi purpose piece of equipment instead of just a one trick pony. It’s the bridge between boring simple straight hole and doing complex jig work.
You do not need fancy fixtures or a CNC machine; you just need a decent vice or angle head and a little bit of care when clamping. And then let the machine do its job. Be patient and precise, measure twice, clamp tight, and let the machine do the rest.
With precision and patience, your angled holes will be accurate, clean, and ready for assembly.