
It happens to all DIYers at some point; you grab your trusty Porter Cable circular saw, set it to make a nice straight cut through a sheet of plywood, and then you pull the trigger. There was nothing but a whine from the motor and no bite from the blade. What was supposed to be a clean cut is now a torn piece with less-than-perfect cut width.
Aargh. More often than not, the issue isnt the motor or the battery. It’s the blade.
When they gets dull, they will bind into the wood, increasing the risk of kickback and taking away any pride you had in your work. And changing that blade? That’s not housekeeping.
It’s a matter of safety and finishing quality. Changing the saw blade is actualy quite easy if you pay attention to the workings of the tool. Changing it doesn’t require an engineering degree.
You need to know how your particular Porter Cable holds that spinning piece of steel. On some models a regular bolt secures the spindle and on others they has a quick change lever locking system which secures the spindle with no tools. Get it wrong and you can break the arbor or worse yet shoot the blade off loose.
Step-By-Step Guide To Changing Porter Cable Saw Blades
Why Change Your Circular Saw Blade
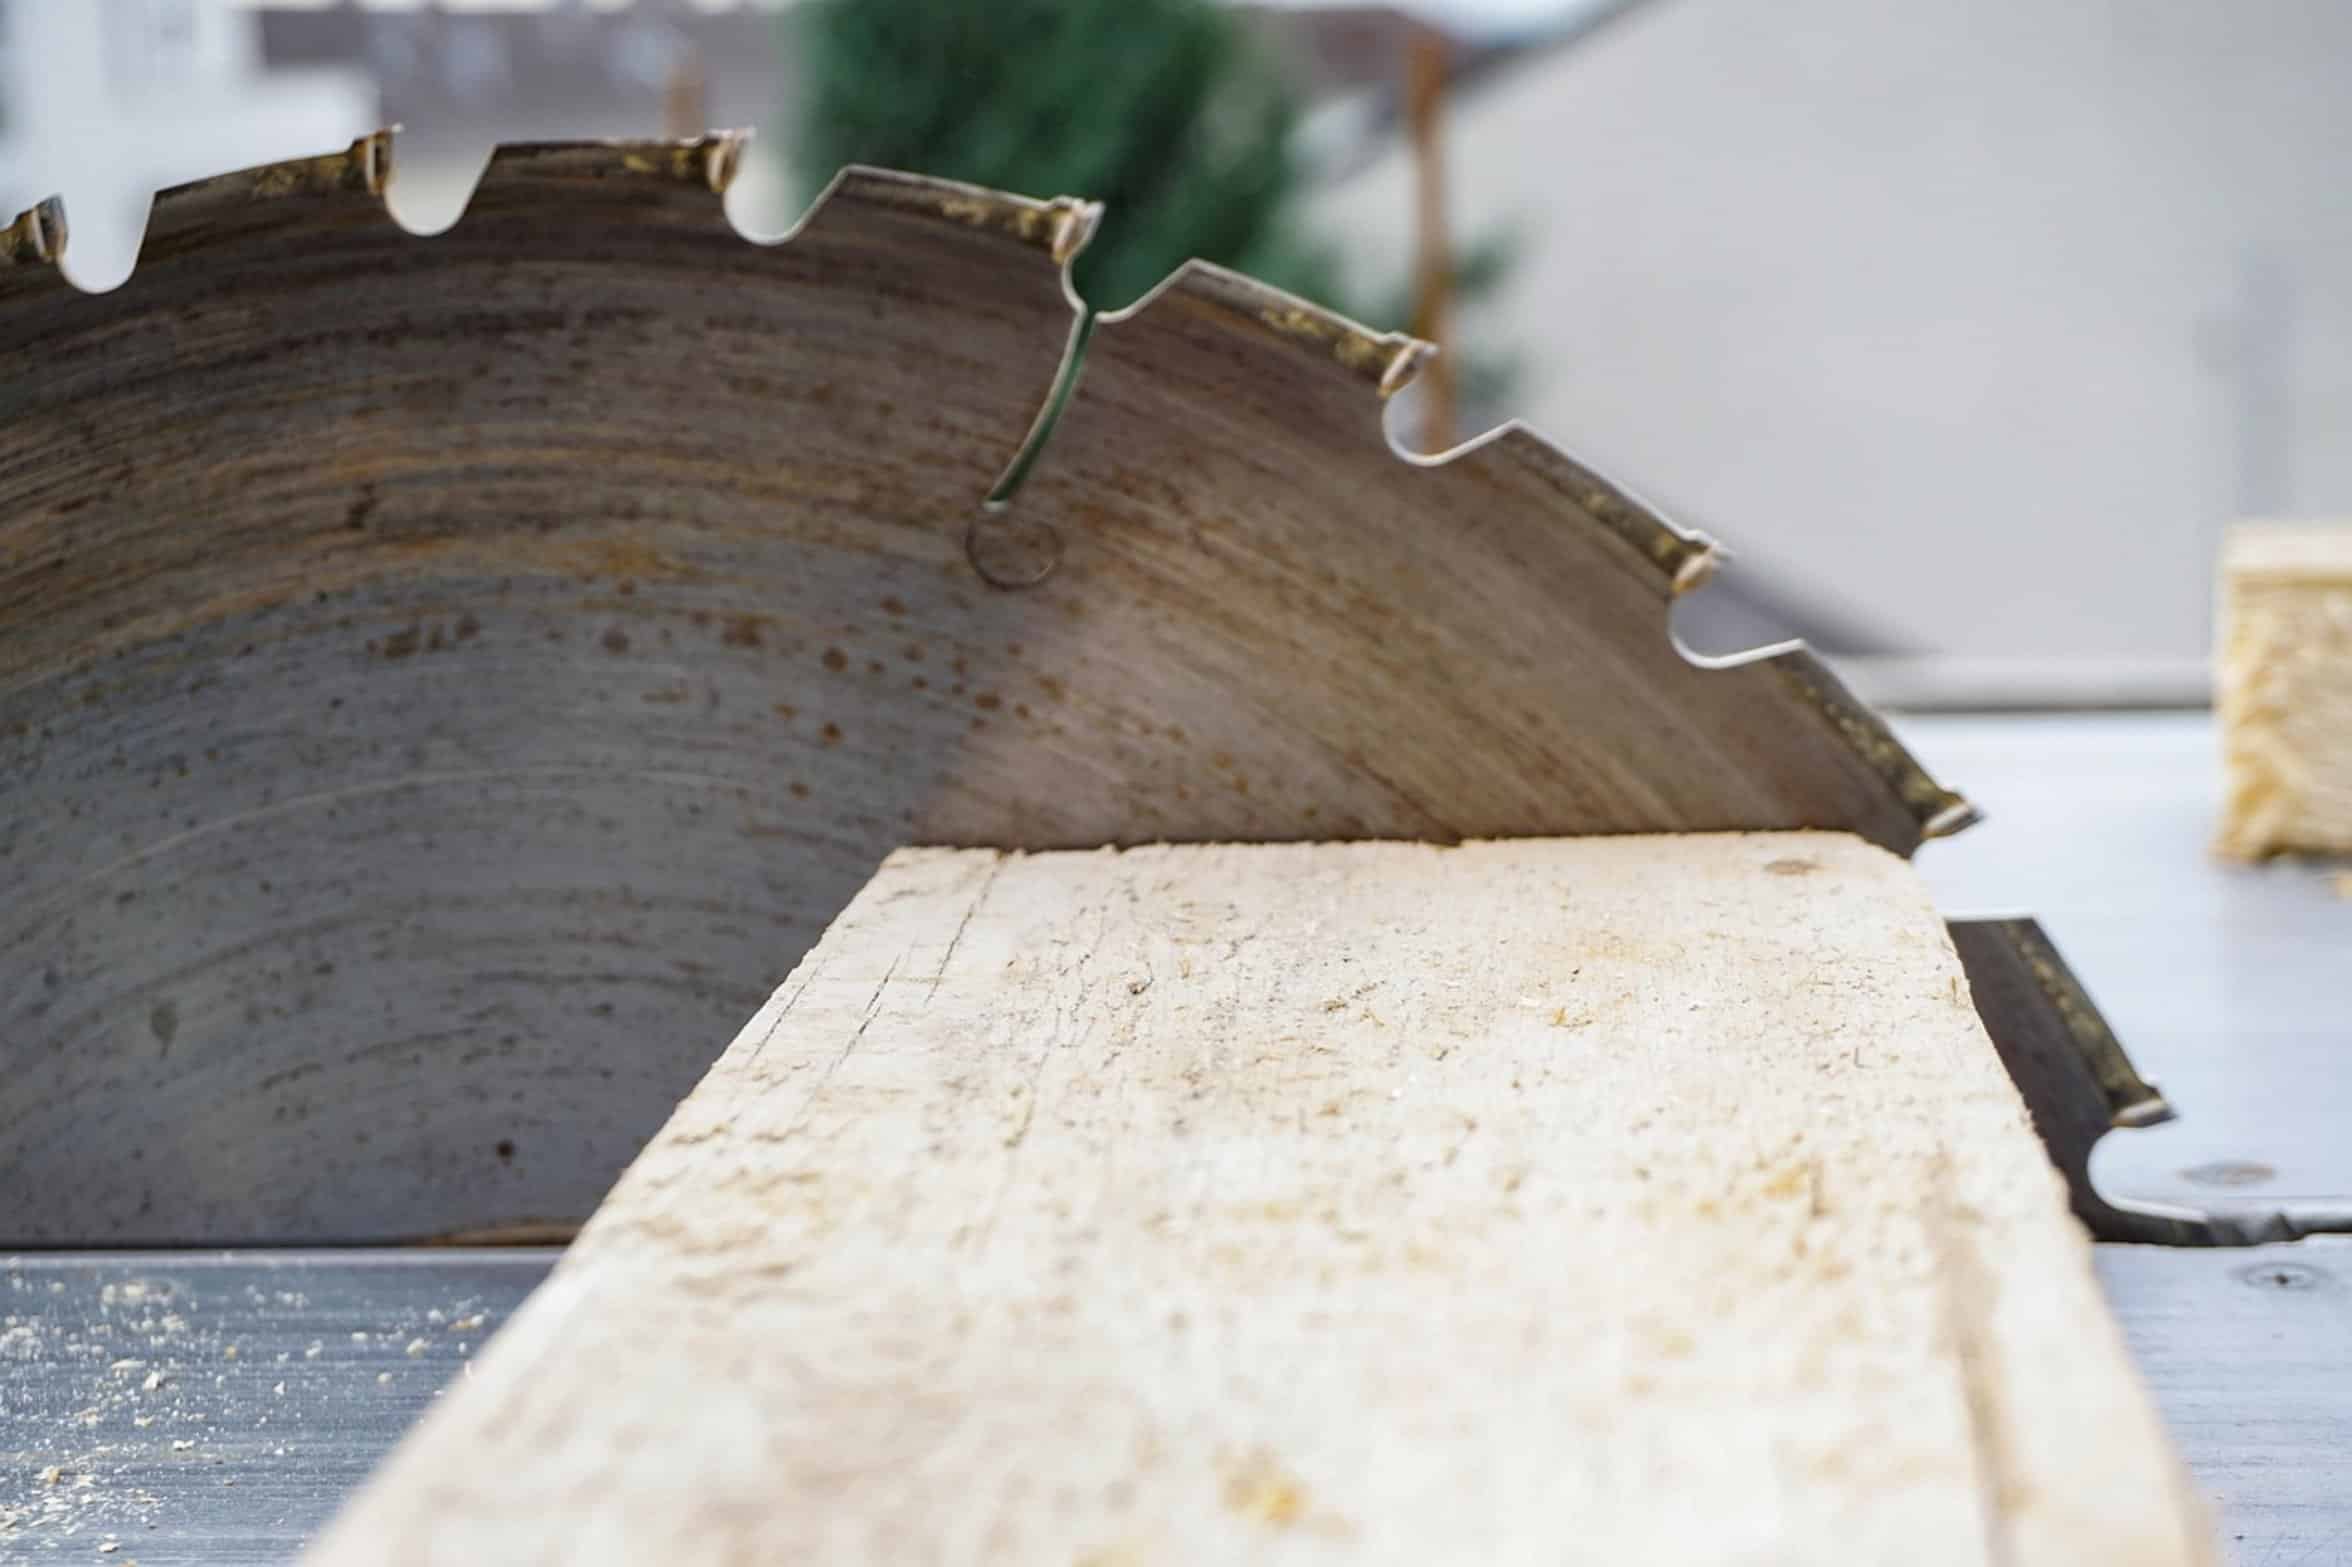
To get a nice clean cut, the first thing you need to do is know your machine. I cannot stress this enough: Before removing that old blade, make sure there is no power to the saw. Yes, they’re cordless, but pulling the trigger on those things does not create an absolute electrical barrier.
Remove the battery pack entireley from the saw. Put it somewhere you won’t knock it back into place accidently. Two seconds can prevent an injury if the saw starts up while your finger is near the release mechanism or the blade guard.
Never compromise safety. So what’s the deal? What is the release mechanism on your Porter Cable saw?
Safety Precautions Before Removal
On most, there is a spindle lock button located around the motor housing. Press and hold that button down as you turn the blade until it stops spinning. With some of the new cordless models there is a hex key retention bolt.
And with others, they has a cam-lock system that requires you to flip a lever to engage (or disengage) the clamping jaws. Refer to your owner’s manual if you don’t know which one yours is. Don’t try forcing a cam-lock with a wrench; it will strip out the gears.
Don’t try using a spindle lock on a hex-bolt model; you’ll go nowhere. The method has to match the machine. Now you know what it is.
Identifying the Locking Mechanism
Do it! Spindle lock down hard. Maintain thumb pressure on it.
Use your other hand or the supplied hex key to rotate the bolt or blade. Direction of rotation. Most normal threads unscrew counter-clockwise.
When you do this with a wrench make sure the wrench is braced against the housing of the motor NOT the plastic guard. This breaks plastic. With a cam-lock, simply flip lever to open position and then pull straight off.
Removing the Old Blade
The blade should slide free without resistance. If it feels sticky, inspect the arbor hole for debris. Remove the blade and inspect the arbor flange Most folks do not take this little step.
Wood chips, saw dust, and other types of dust will collect between the blade plate and the flange. That accumulation causes wobble. Wobble results in uneven cuts and premature wear on the new blade.
Cleaning the Arbor Area
With a cloth or small brush, wipe out the flange. You’re looking for a perfectly flat surface for the new blade to rest against. A clean mount means the blade will run true from the very first cut.
Position the new blade correctly. Note where the blade’s arrow points on the rim. That’s the direction it should be positioned on the saw.
When installed correctly, both arrows will face the same direction. If mounted backwards, the teeth will engage improperly with the wood resulting in bad cuts and potential kickback danger. Position the blade holes over the arbor shaft.
Installing the New Blade
Force it onto the shaft tightly. Re-engage the locking mechanism. Whether using a bolt or cam lever, secure it snugly closed.
Pull firmly on the blade to make sure it seats correctly. You shouldn’t see any motion relative to the motor shaft. Replace the battery and check operation.
Don’t cut wood just yet. Spin the blade in the air for several seconds to check that it moves freely. Check for any abnormal wobble or vibration.
Final Inspection and Testing
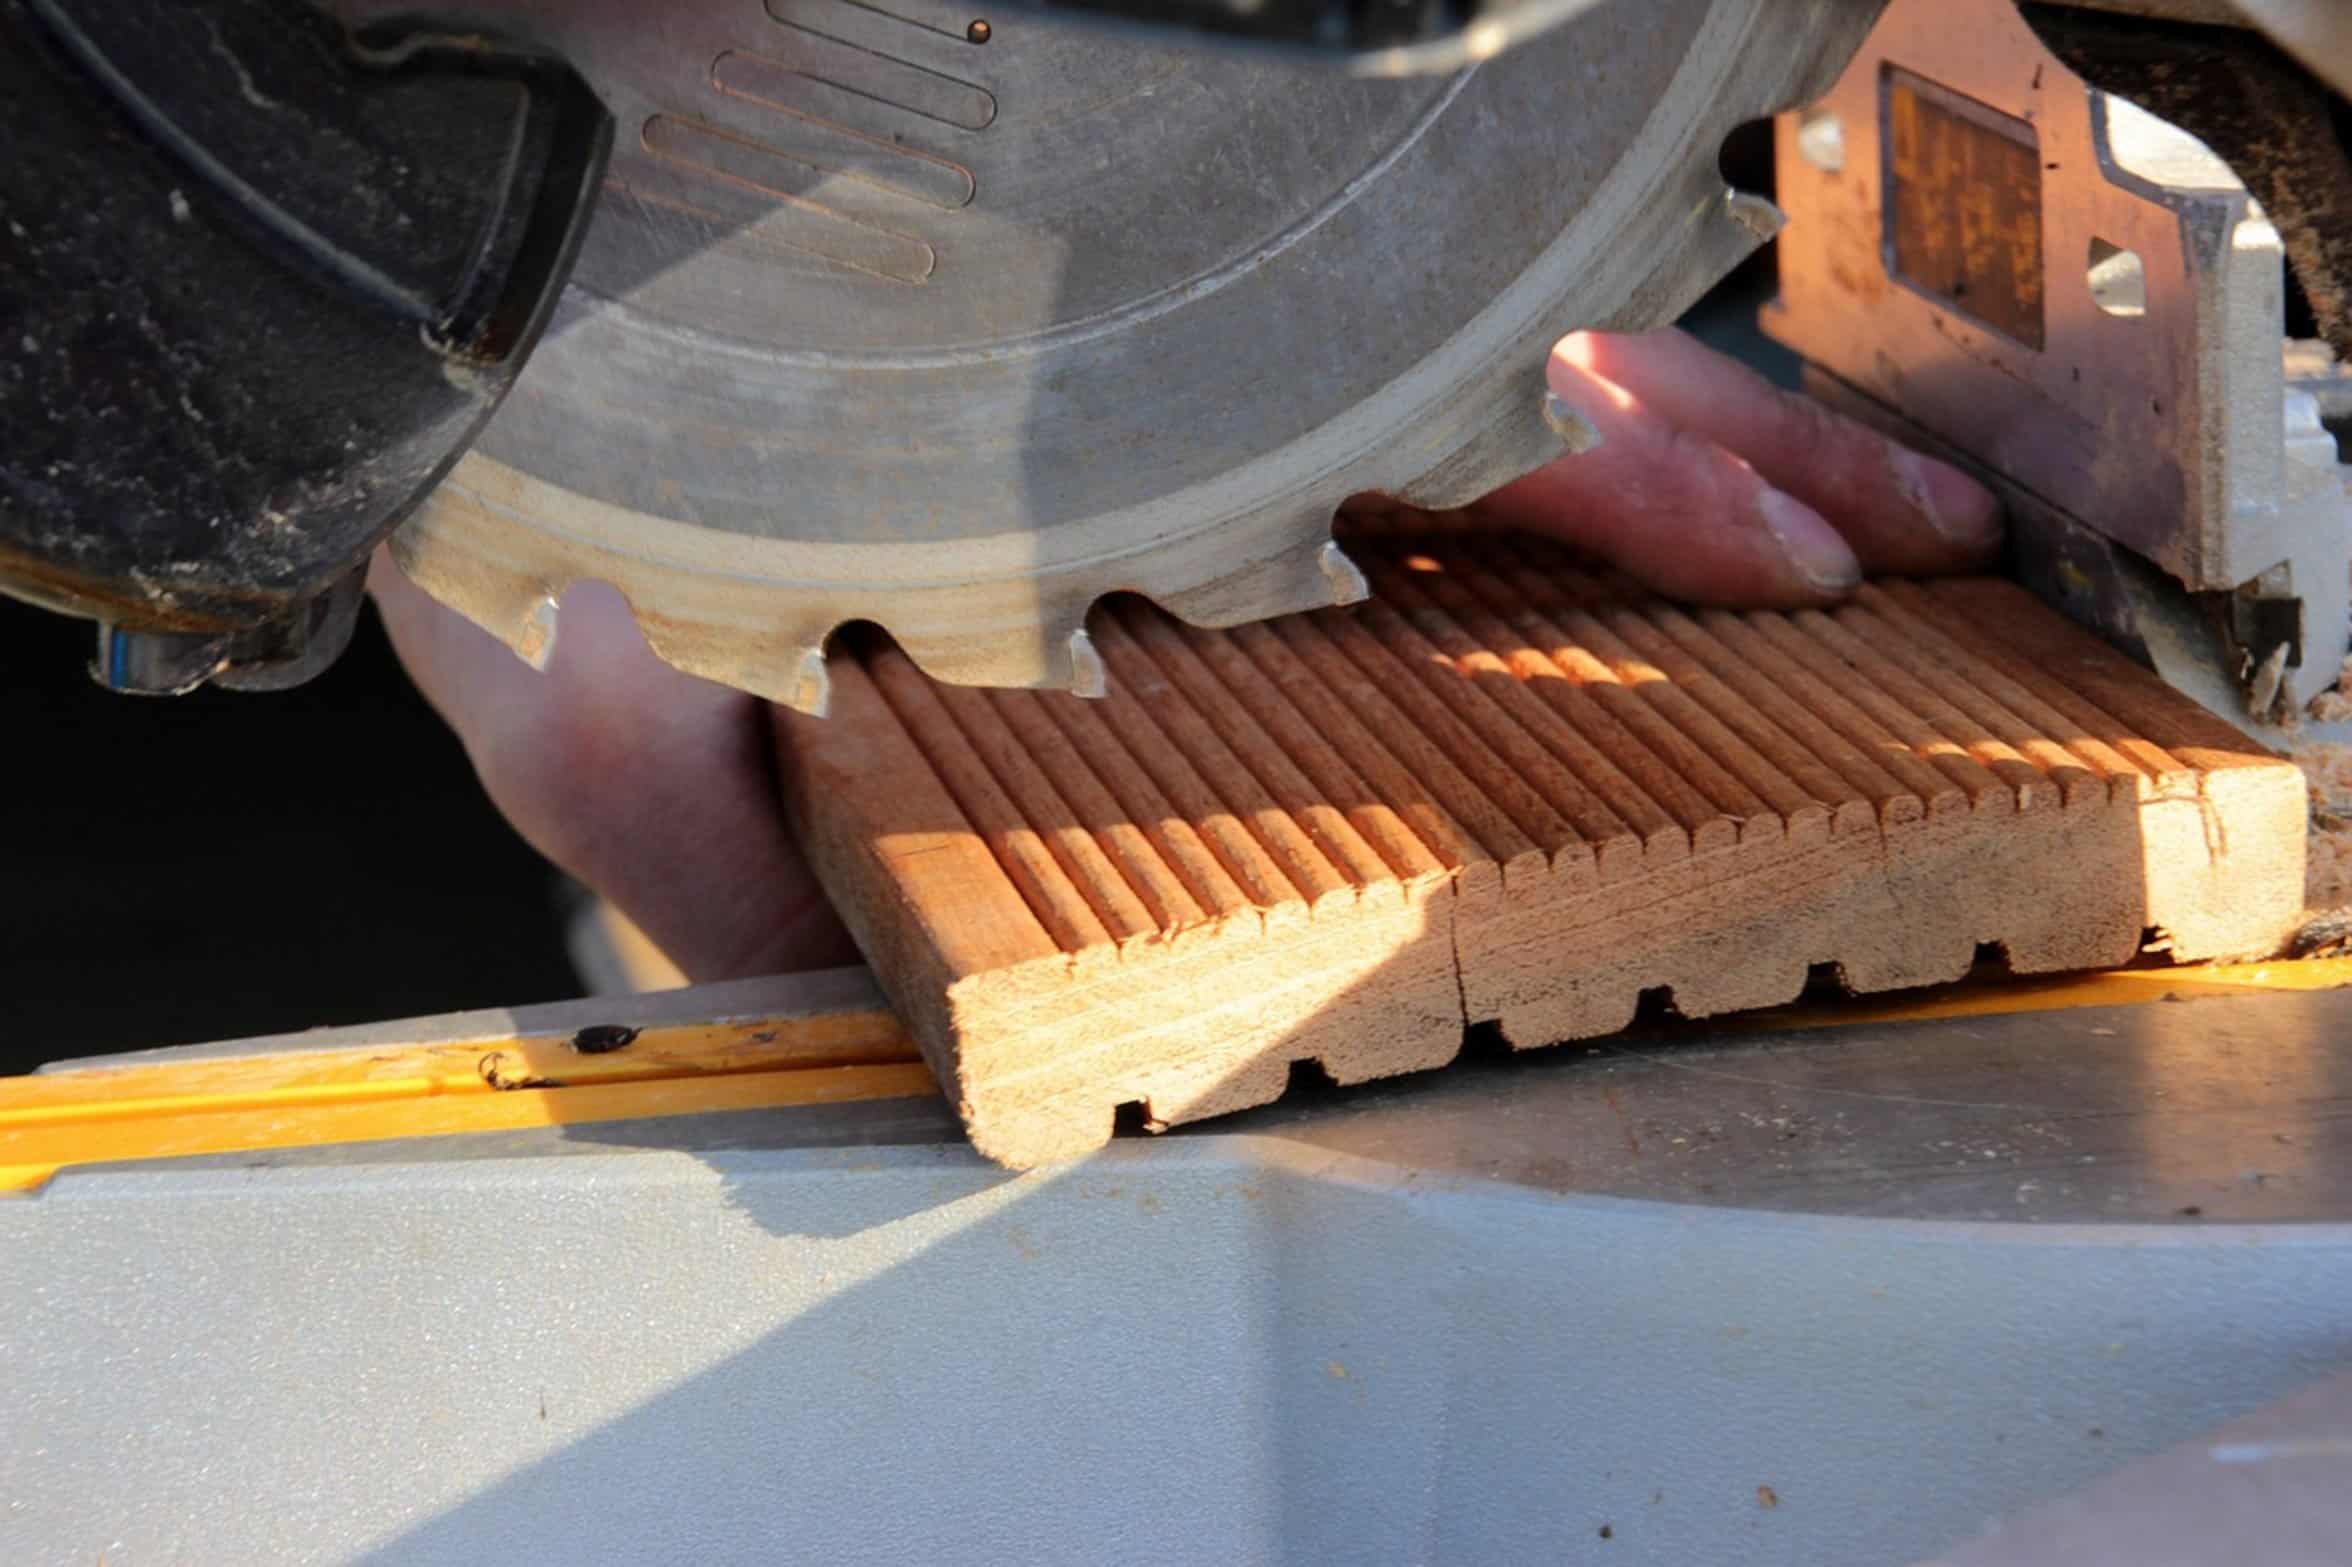
Observe the opening and closing of the blade guard; it should operate smoothly without issue. If it operates quietly and true, go ahead and cut. If it wobbles, shut it down and recheck the blade mount.
Loose blade is a projectile waiting to happen. A Porter Cable saw is very easy to change a blade out on and you can feel the difference immediately. Even with thick pieces of wood, they has nice sharp teeth that go through it like butter.
Not only does it save your motor and battery from working too hard, but it also ensures a cleaner cut for your project. Make sure to take your time when doing it. It really makes all the differance in the world.
A lot of times it’s just one simple switch up. Clean cut or jagged rip?