
When your battery or charger is dead, you might gets frustrated. Pull out that Hilti C4 battery from drill and hope for the best. Then you connect it to the C4/36-90 charger but still no luck…
There’s no indicator light. Time stands still, the project comes to a halt. The contractor holds his breath.
That’s a common occurrence. More times than then not, it doesn’t indicate the charger is trashed and beyond repair. Most problem encountered with the Hilti C4/36-90 arise from small connection errors or other environmental conditions.
These are easy to overlook. Recognizing typical area of failure will save you time away from work and help you avoid replacing good equipment.
How to Fix Hilti C4/36-90 Charger Issues
Check Power Supply and Voltage
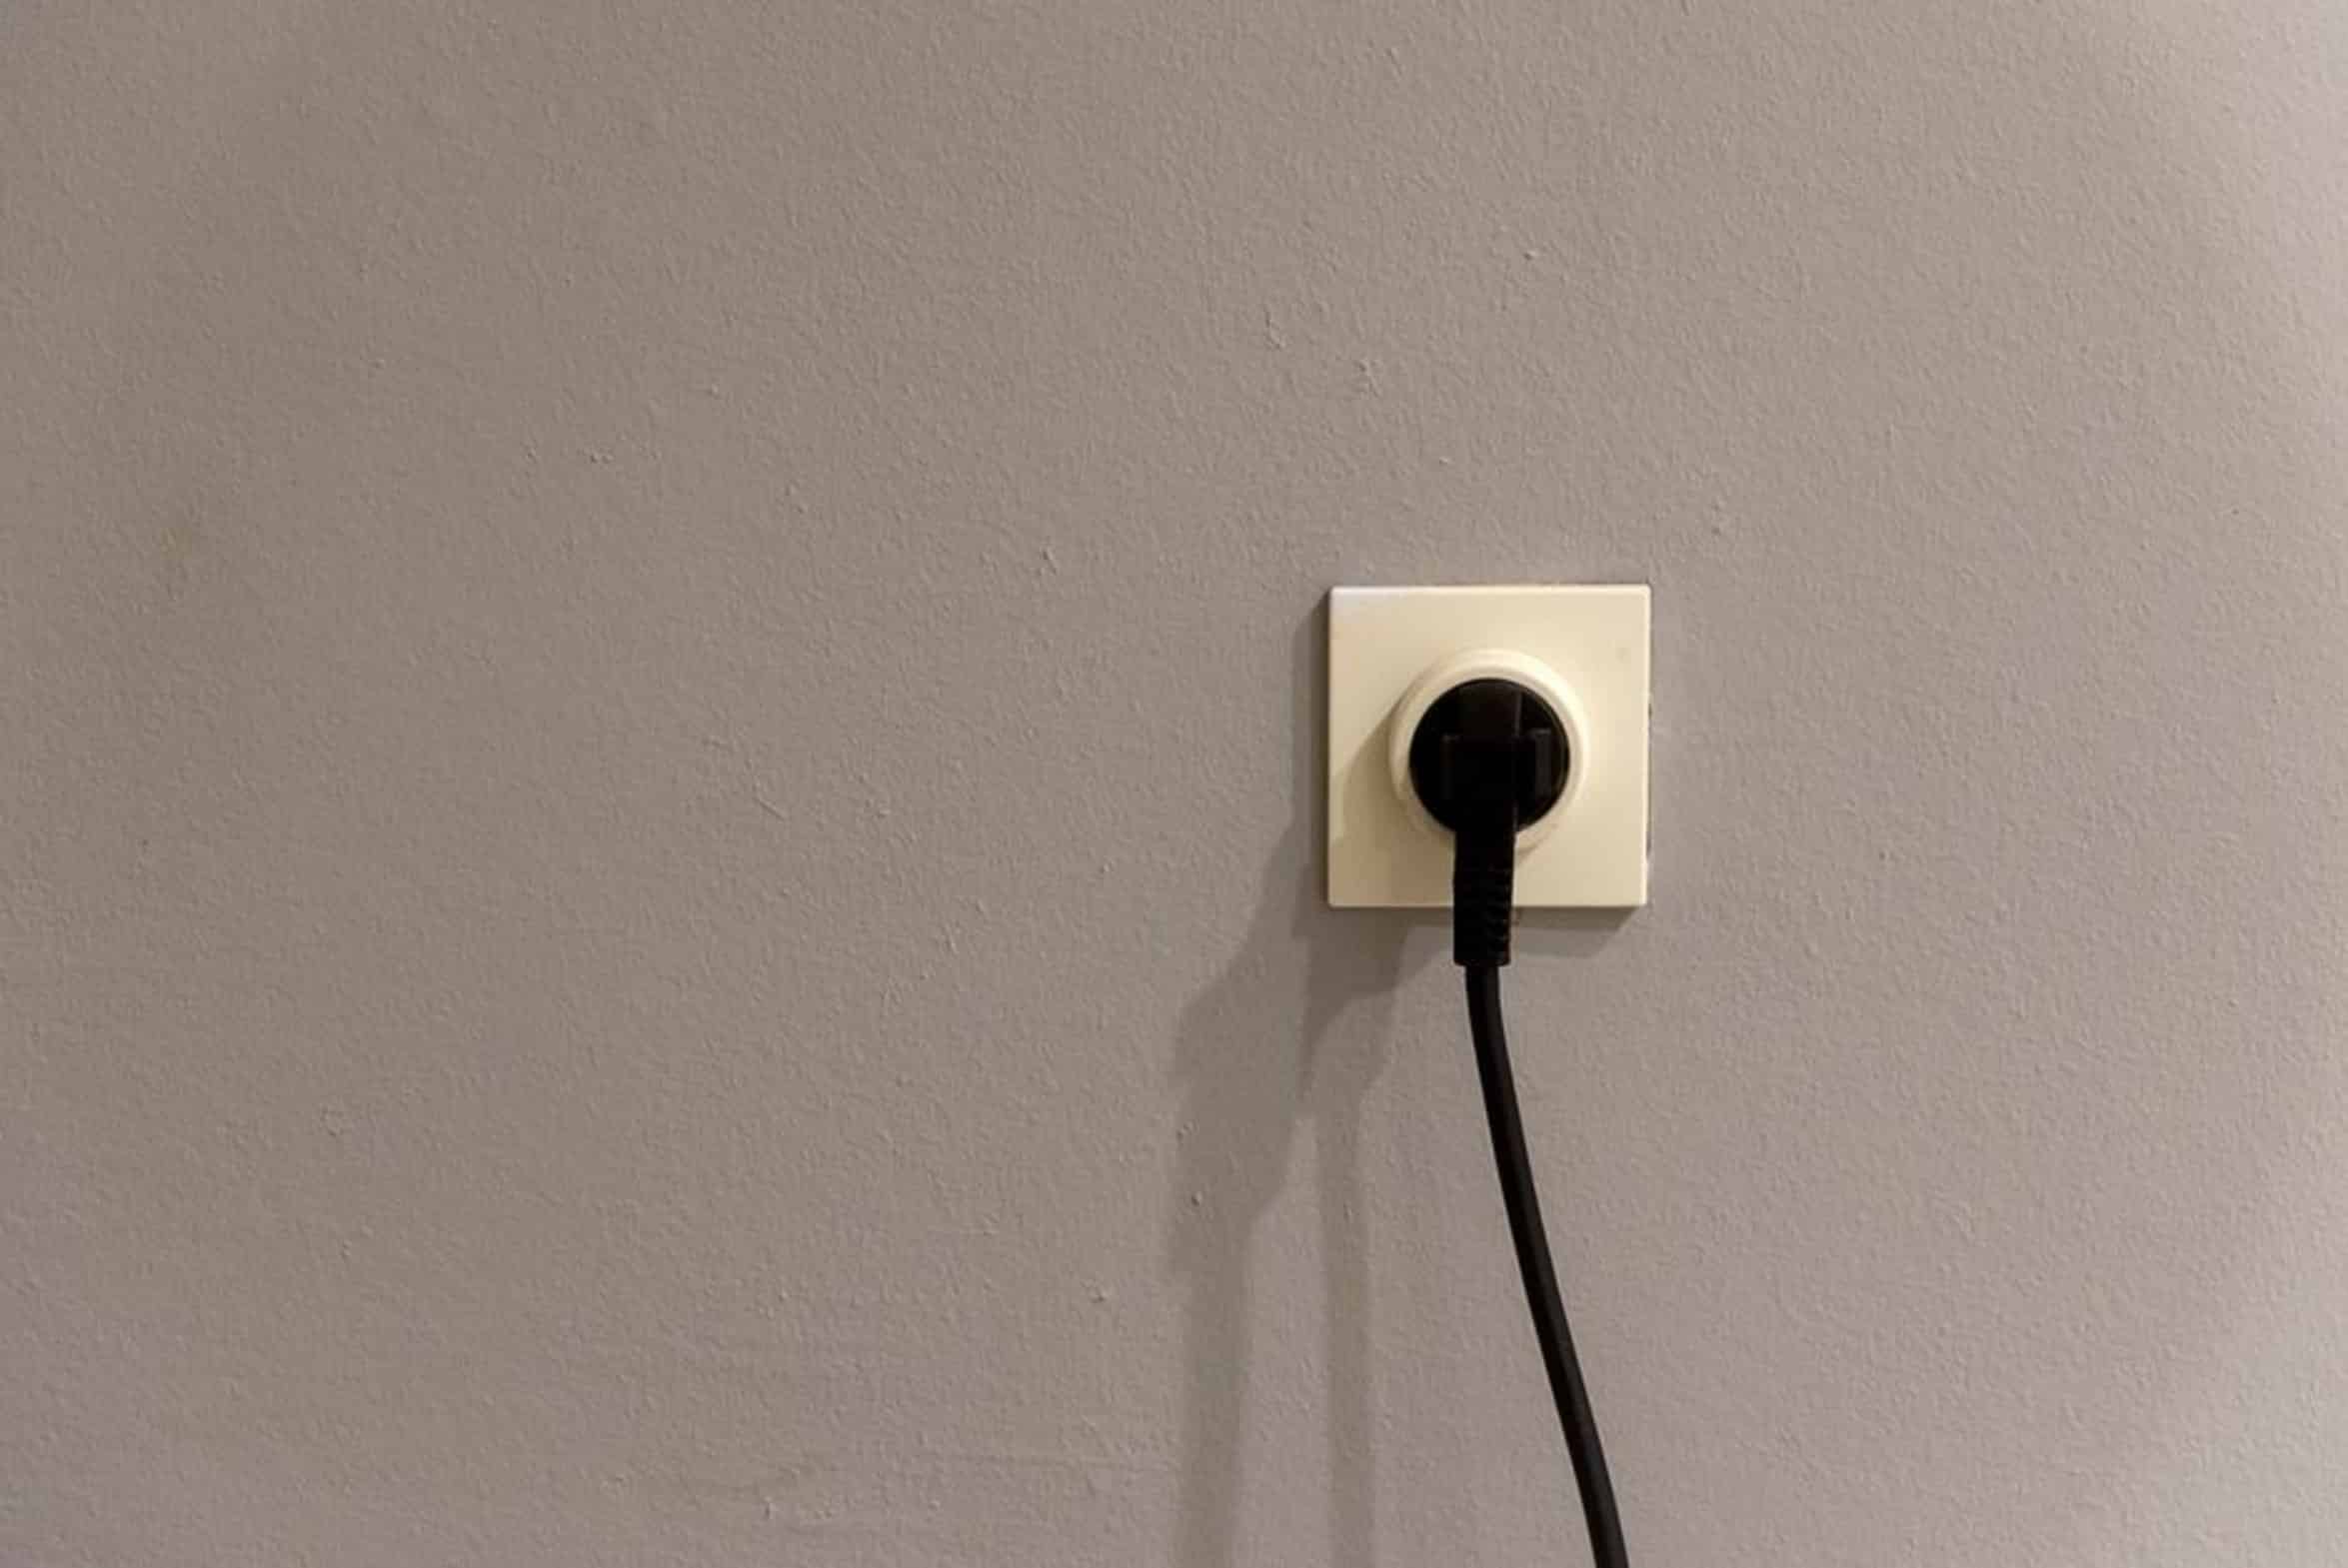
Check your power supply: I know this seems like an obvious thing to check, but you’d be surprised how often people forget.
Overloaded outlets are all too common and when you share a job site outlet with others who have tools plugged in, it might not have consistent voltage, which is why the Hilti C4/36-90 needs a steady input before it can kick off charge process. Plug it into a dedicated wall outlet or even just a different circuit at home. If the lights come on, then the problem wasn’t the charger; its the power.
Clean Battery and Charger Contacts
It’s small, but it takes out the most changing part of equation. Secondly check the battery-charger connection. On the C4 platform, there is a slot design with only one way for things to fit correcty.
Over time, the charging contacts will collect dust, dirt, concrete powder etc… This creates an insulating barrier between the charger and the battery’s battery management system. Softly wipe metal contacts with a soft brush or cloth.
A couple seconds of this should of get things back online. It seems too easy to work to be effective, so people frequent skip this step.
Temperature Effects on Charging
Lithium-ion chemistry responds to temperature and so does the C4 battery.
Protection circuits inside Hilti batteries will not allow charging below a certain temperature or above another. To protect the cells, the batteries lock up when exposed to extreme heat or cold (for instance, if you leave your drill in a freezing garage or a hot car). The charger seems dead but protects the battery.
Give the battery time to reach room temperature (about half an hour) and try again. Being patient prevents permanent cell damage.
Understanding Indicator Light Codes
Knowing what indicator lights mean helps you diagnose issues with your C4/36-90. A solid green usually signifies that the battery isn’t seated correctly, or it’s full.
Red blink when something has gone wrong. Refer to the manual for the code of the particular blink pattern. The fast blink typically suggest a damaged battery, or short circuit.
A slow blink could suggest a communication error. If you don’t pay attention and ignore the indicators, you’re in for a larger issue. Pay attention and it will tell you exactly where the issue is.
Diagnosing Worn Out Batteries
Battery issue… It might not even be a broken charger. But sometimes the problem isn’t the charger (it’s the battery itself).
The battery might simply be too worn out to take a charge. Lithium-ion batteries has a limited lifespan and get beat up over time. Hundreds of charge cycles will take its toll on even a high quality battery like C4. A few-year-old C4 that has been through hundreds of charge cycles might no longer hold a charge.
That’s just normal wear and tear. Just swap out the battery for a known good one. If the other battery takes a charge, then yes, you need a new battery.
No shame in getting some fresh toys. It keeps the work flowing.
Internal Charger Damage and Repair
Last, think about what’s inside of the charger itself.
It’s sturdy, sure, but that doesn’t mean it’s bulletproof. Any sort of impact, water intrusion or otherwise can compromise the internal wiring of the C4/36-90. Tested it on another battery? Made sure the charger was plugged into a working outlet?
Cleaned the contacts? Still no joy? Time to send it in for service.
And no, don’t crack it open yourself. Safety hazard aside, you’ll void any warranty coverage. Hilti has great support for their tools so don’t be afraid to call them up.
Step-by-Step Troubleshooting Process
To troubleshoot the charger, use a process of elimination. So begin where it makes sense, the easiest cause first. Read the lights, then check the temperature, then check the contacts, then check the power.
The fix is usually right in your face. Just get past the frustration, there’s a project waiting for you.