
The issue is, most drills is intended for use on metal and wood. They don’t like concrete. When you try to get a drill bit into concrete it just stops dead in its tracks and your arm gets tired from fighting against something that doesn’t want to be drilled.
The mechanism of a regular drill isn’t designed to hammer away at a surface, as masonry require. This burns out motors and tears up clutchs. The solution is a hammer drill specifically made for such work.
However they cost a fortune. Most homeowners don’t wish to invest a chunk of change on one tool. Enter the Craftsman Bolt-On Hammer Drill.
Essentially, it’s an add-on that turns your run-of-the-mill rotary drill into a hammer drill, provided you attach the hammer-head to its chuck. This changes how much it costs to be able to drill through masonry: Rather than purchasing a second, heavyweight masonry-drilling machine, you upgrade existing one. But does such a compromise come at the expense of performance?
Craftsman Bolt-On Hammer Drill Review Breakdown
Why Standard Drills Fail on Concrete
How the Bolt-On Attachment Works
Here’s how it works… The heart of this idea is a mechanical hammer mechanism within the attachment. With the hammer engaged, the attachment will spin and move piston forward and backward.
This creates an impact force that crushes masonry in front of the drill bit. It attach to most standard Craftsman drills. So you can keep your current trigger control and battery system.
No need to invest in another cordless platform to get hammer power. For drilling holes for anchors into soft block and brick it’s competent if used for light to medium tasks. Fatigue is reduced as there’s less vibration transmitted back through the wrist to the work surface.
Ideal Use Cases and Limitations
On dense stone or reinforced concrete it isn’t so good. Those should of tackled with a proper SDS hammer. If you need to hang TV brackets or mount shelves then the bolt-on drill does the job nicely.
Most home masonry jobs is covered by this. Changing from rotary to hammer mode take some getting used to. Pull out the chuck assembly.
Installation and Ergonomics
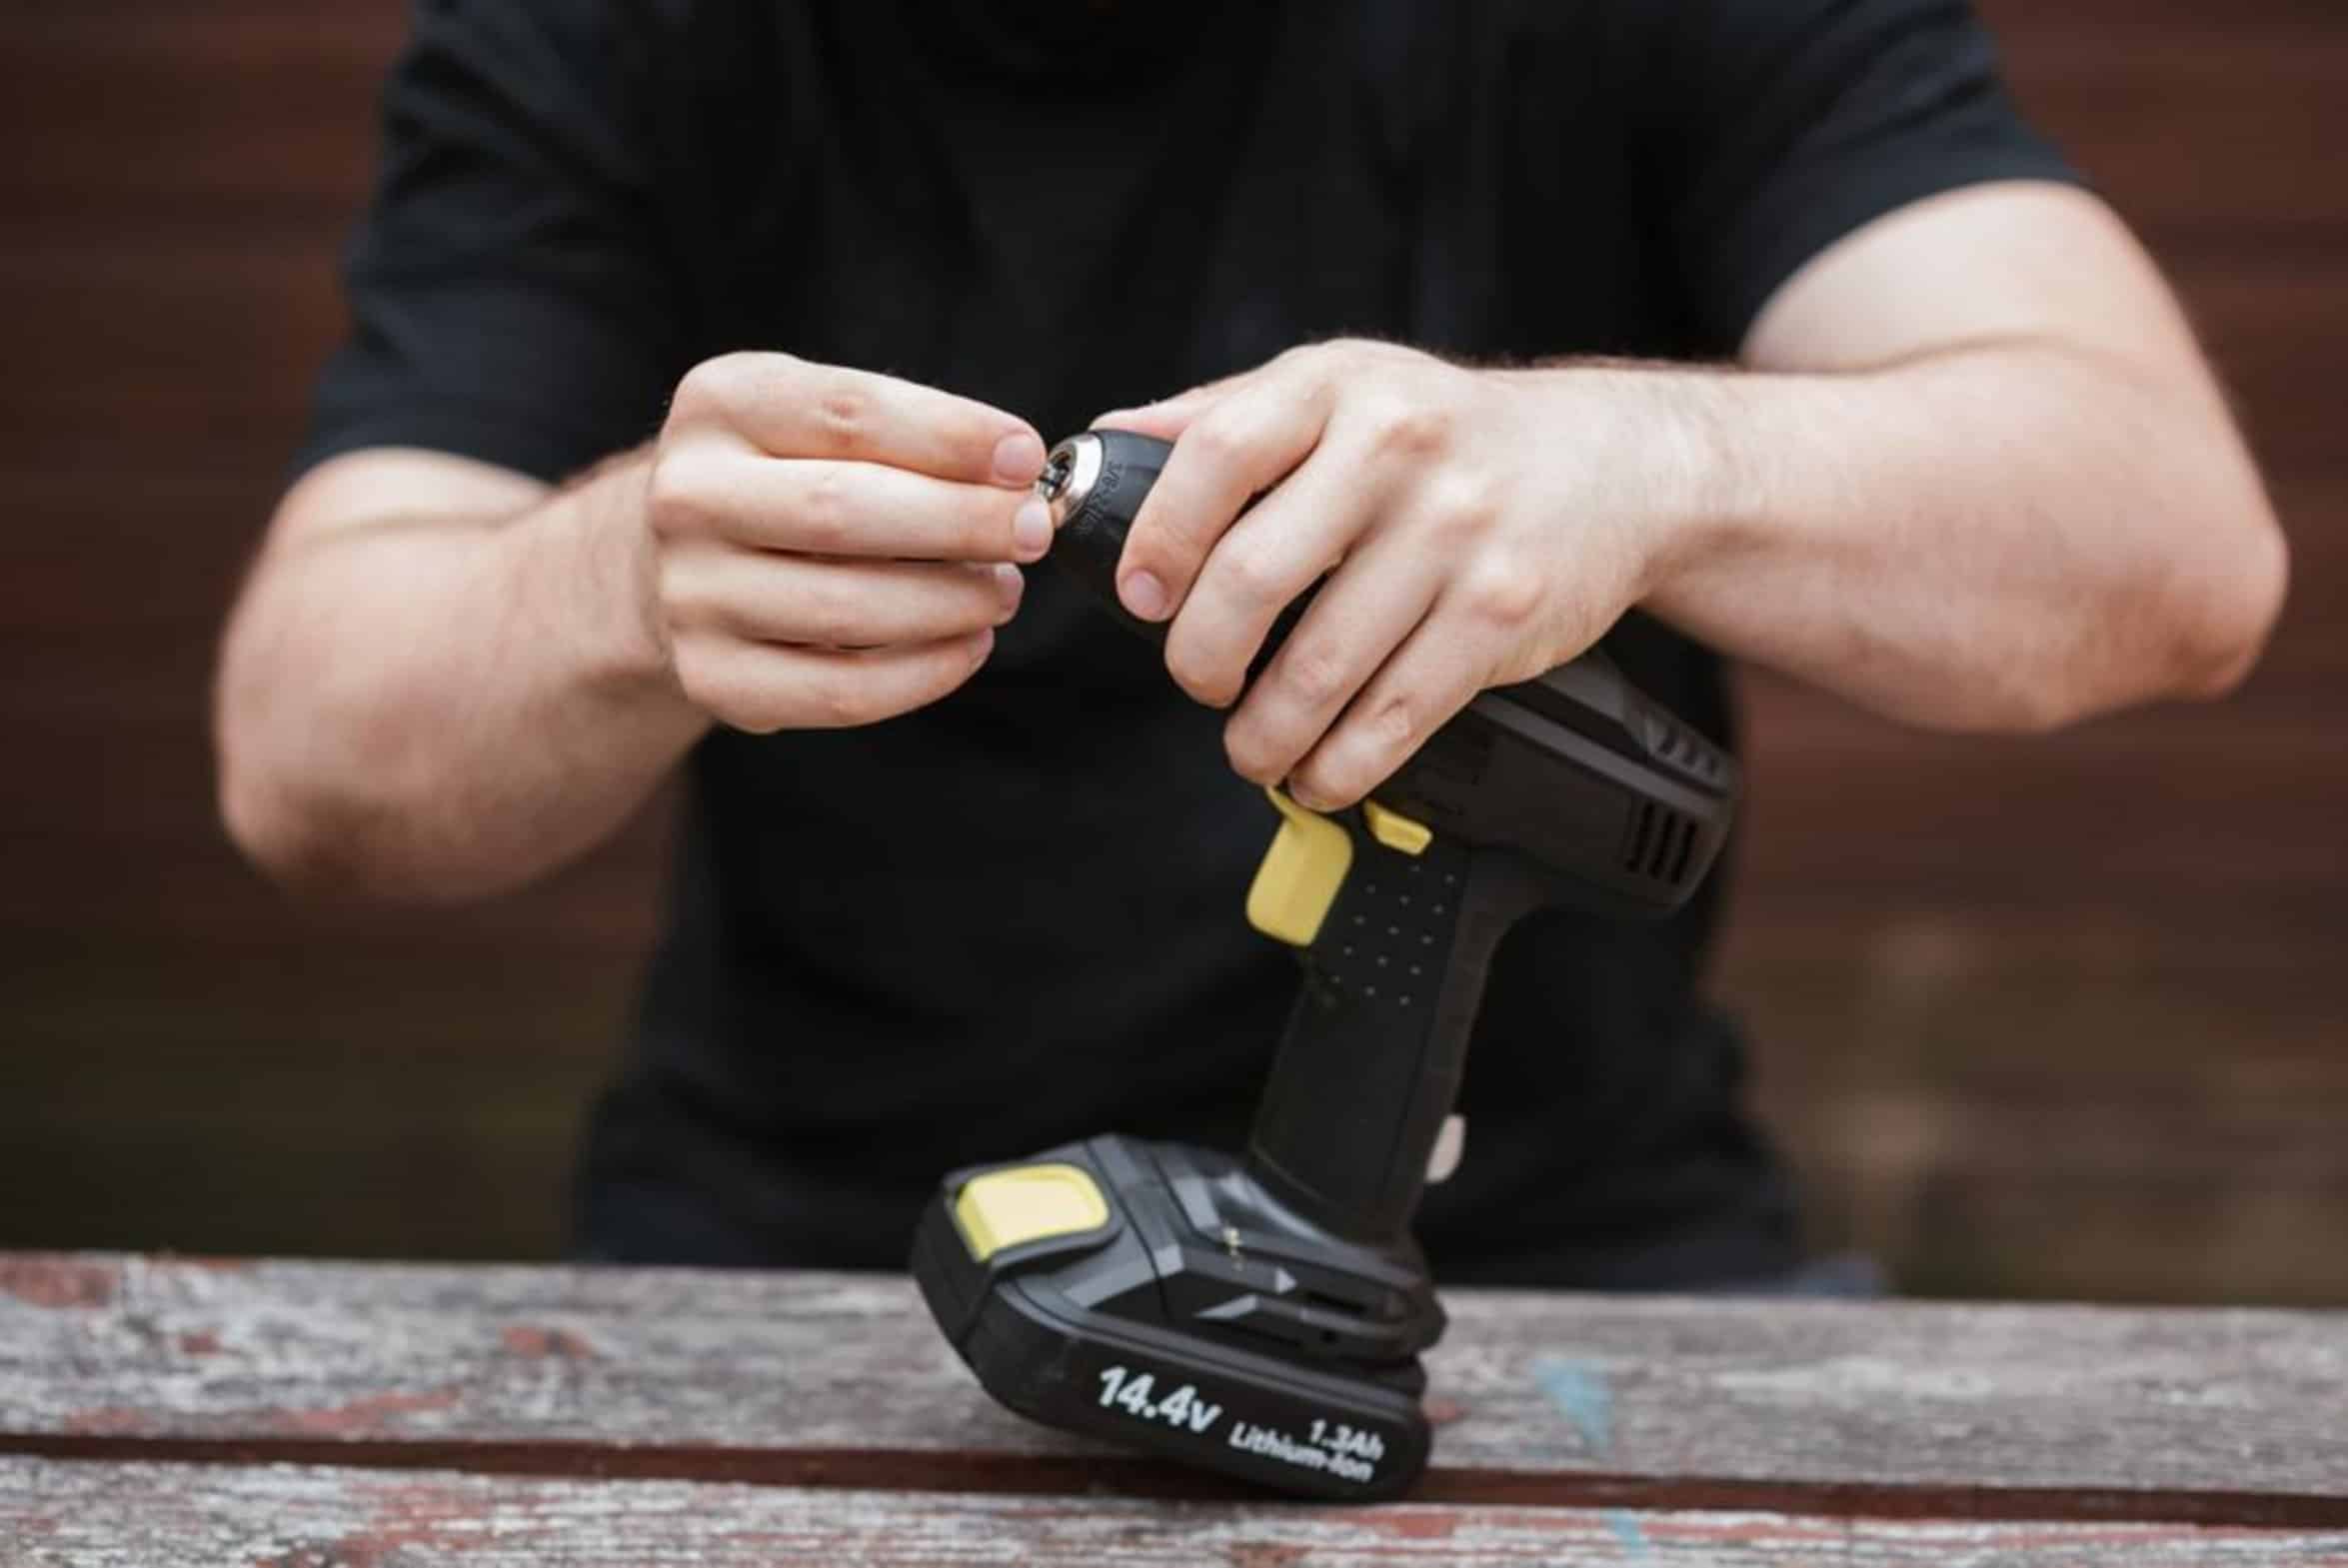
Slide on the hammer head. Slip on your masonry bit. A series of alignment pins keep everything seated properly and then a twist secures them into place.
I hear some guys complaining that this adds extra bulk to the front end of the tool. It certainly makes the drill feel nose-heavy, that’s a legitimate gripe. But the payoff is being able to do all of your projects with one battery system.
Carrying two different tool systems is rarely easier then getting used to the extra weight. The size of the bit is also very important. Standard twist bits are not going to work.
Choosing the Right Drill Bits
Hammer action shatters them. Instead you need to use masonry bits made specifically for hammer drills that has a carbide tip on them. Those tips is tougher and larger.
They can take the percussive force and don’t dull out or break off under it. Buy good bits. This is worth the investment.
The cheap bits will wreck it for you quicker than anything else. Have a set of these just for this tool and you’ll get repeatable results every time. This is a bolt on design that I feel holds up well.
Durability and Value Proposition
The internal hammer mechanism are sturdy and sealed. That means it will take shock loads from repeated hits. This thing is solid, not like some cheap plastic adapters.
The internals is protected by metal housing that keeps out dirt and other debris. If you’re rough on the threads, they’ll wear over time. But for normal use, expect this tool to last for years.
It is built for the garage. For most homeowners, I think the value proposition is solid. Buying a separate hammer drill can cost upwards of two hundred dollars.
And this one goes for much less than that. For a relatively small amount, you open up a ton of possibilities. Your drill becomes a do-it-all tool.
This is a no-brainer if from time-to-time you want to be able to drill through brick or something similar. Dedicated SDS tools are definitely preferred by professional mason. But for everyone else it’s a sweet spot.
Sometimes simple works. A good example is the Craftsman Bolt-On Hammer Drill. It is not replacing high-end pro stuff.
But it’s solving a problem for a certain audience with a certain tool. It is also at a price that doesn’t cost you to much. So next time something gets in your way and you want to bust through a wall, you won’t have to get another tool.
It is just an attachment. It is a little victory, but one that makes a big difference on the workshop floor.