
A coffee grinder has seized up, you don’t need the manual to repair it. You don’t need the T10 Torx driver either. Standardized fastener are used in most mid range and entry level grinders.
If something work, manufacturers will use it again. If you know how to make that connection, you can avoid needing lost tool. You save time and money, respect for the machine earned.
How to Change a Grinder Blade Without Tools
Safety First: Unplug and Wait
First, think about safety. It has rotating metal blade and electricity! Turn the grinder off (and I mean unplug it).
Open up the hopper and make sure the blade isn’t moving. Let it sit there for a bit until it stop moving. That way it won’t hurt when you’re fixing something.
Saving a few minutes isn’t worth getting your finger nicked. Respect the grinder, and it’ll respect you back. Typically the deal is the retaining bolt or nut.
Removing the Retaining Bolt
That’s the one that holds the blade plate to the motor shaft. It’s typically either a Torx drive or a hex socket. And when you don’t have right bit for it, what do you use?
You need something to grip that provide enough friction to spin the fastener. A stripped head makes what should of been an easy swap into a big teardown project. Get the blade out, clean it up, and get it back in.
Using Household Tools for Removal
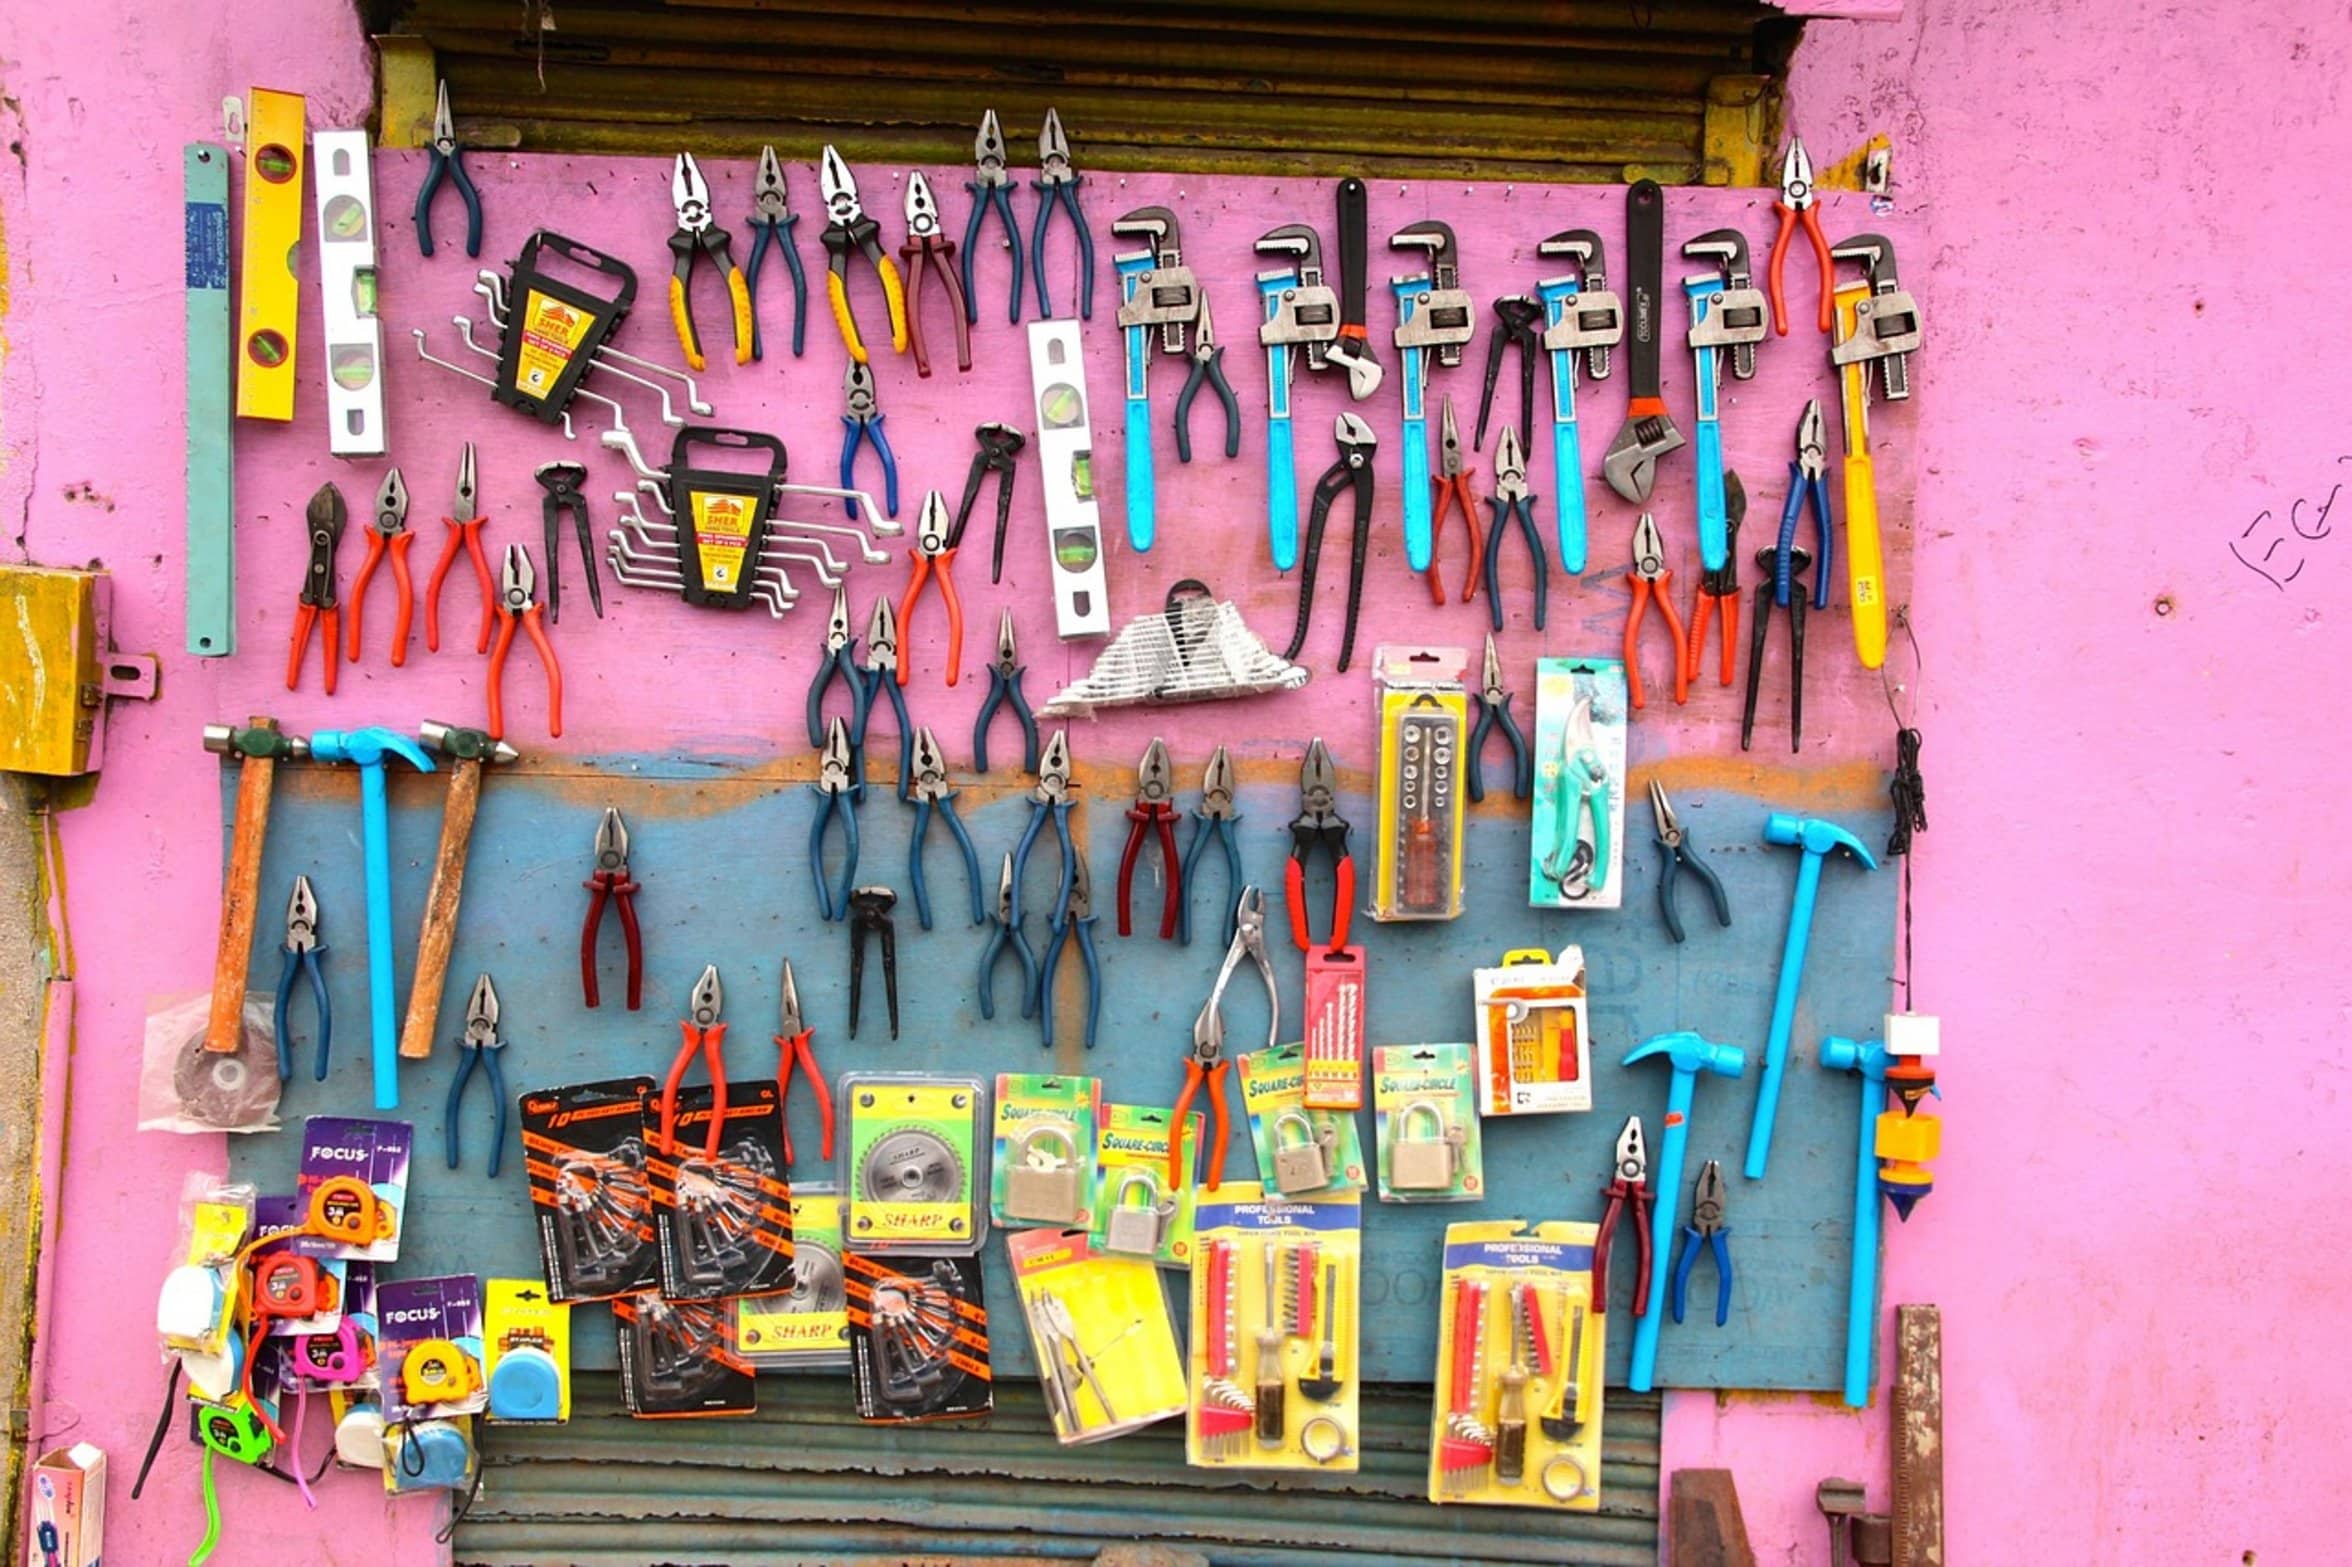
Does it have a slot? Perhaps you can get away with using a flathead screwdriver. It is very unlikely today.
Does it have a round head? Then check to see if you have socket that will cover it. Don’t use a wrench.
You need a deep socket. Is the socket slightly loose? Then grab some thin rubber and wrap it around the fastener, it creates friction.
Rubber goes into the space between the socket and the bolt. Go slow. Force here mean damage.
Your tool is patience. Use locking pliers when a socket won’t work. They’re designed to grab things and hold them on tightly.
Open your jaws to just barely grip the head of the fastener but not crush it. Position them dead center. Pressure off center can slip and gouge metal.
Go counter clockwise. Unless you have a reverse thread motor, most are right hand (tightening) threads. Don’t try and crank any harder if blade isn’t moving.
You’ll bend the shaft on the motor. Back up and rethink. Half the battle with blades is cleaning them.
Cleaning Coffee Oils and Residue
Over time, old coffee oils will harden and becomes polymers that is very sticky. They will affect the flavor. Stale cardboard.
Get rid of any loose grounds using a grinder brush (dedicated to grinding). To clean off the sticky oil, take a cloth and a little bit of rubbing alcohol. Do not use water.
Water and metal do not get along in a grinder that has an electric motor. Make sure to dry everything realy well before assembly. Moisture cause rust.
Rust causes bad grind consistency. Reassembly requires alignment Alignment is important. You want your blade even with the motor shaft plate.
Reassembling and Aligning the Blade
If it’s tilted off level, you’ll have a grind that’s not straight. It’ll wear out quick and grind poorly. Ease the assembly down on there.
Don’t be too aggressive. Tighten the fastener by hand first. Next, snug it up using your homemade tool.
Snug. Don’t crank. You’re just wanting something that’s secure but not crimped or warped.
Cranking it tight enough can cause warping of the blade plate which throw the grind angle. Put a couple beans in the grinder and turn it on. What does it sound like?
It should be a regular, even crunch. Any stall or whine means the grinder’s in trouble. So far so good.
You’ve passed the test. Now you get to hear its voice. Congratulations.
You didn’t go to the hardware store. And you mastered something that work for other machine. Next time your grinder behaves badly, instead of freaking out, you’ll grab a bit of rubber and a socket.
Because this is what knowing how things work gets you: confidence.