
You just heard a burning sound as your miter saw bit into wood rather than cutting through it. Ragged cut, right? That’s because your blade is dull.
If you smell any scorched cedar or hear a high-pitched whine as your saw runs, the blade need changing. Most homeowners think factory blade on their Hitachi miter saw should last them forever. But the teeth gets gummed up with resin and eventualy become dull and chip away until the saw becomes nothing more than a nuisance.
One of the most effective maintenance step is to replace the blade. It’s not rocket science but difference is instant gratification. A new blade make your tool accurate.
Replacing the blade are also cheaper then buying new wood. The old adage about fighting with a dull blade applies here too; using a dull blade is unnecessary work. Here’s how to change the blade out on a typical Hitachi compound miter saw.
How To Change The Blade On A Hitachi Miter Saw
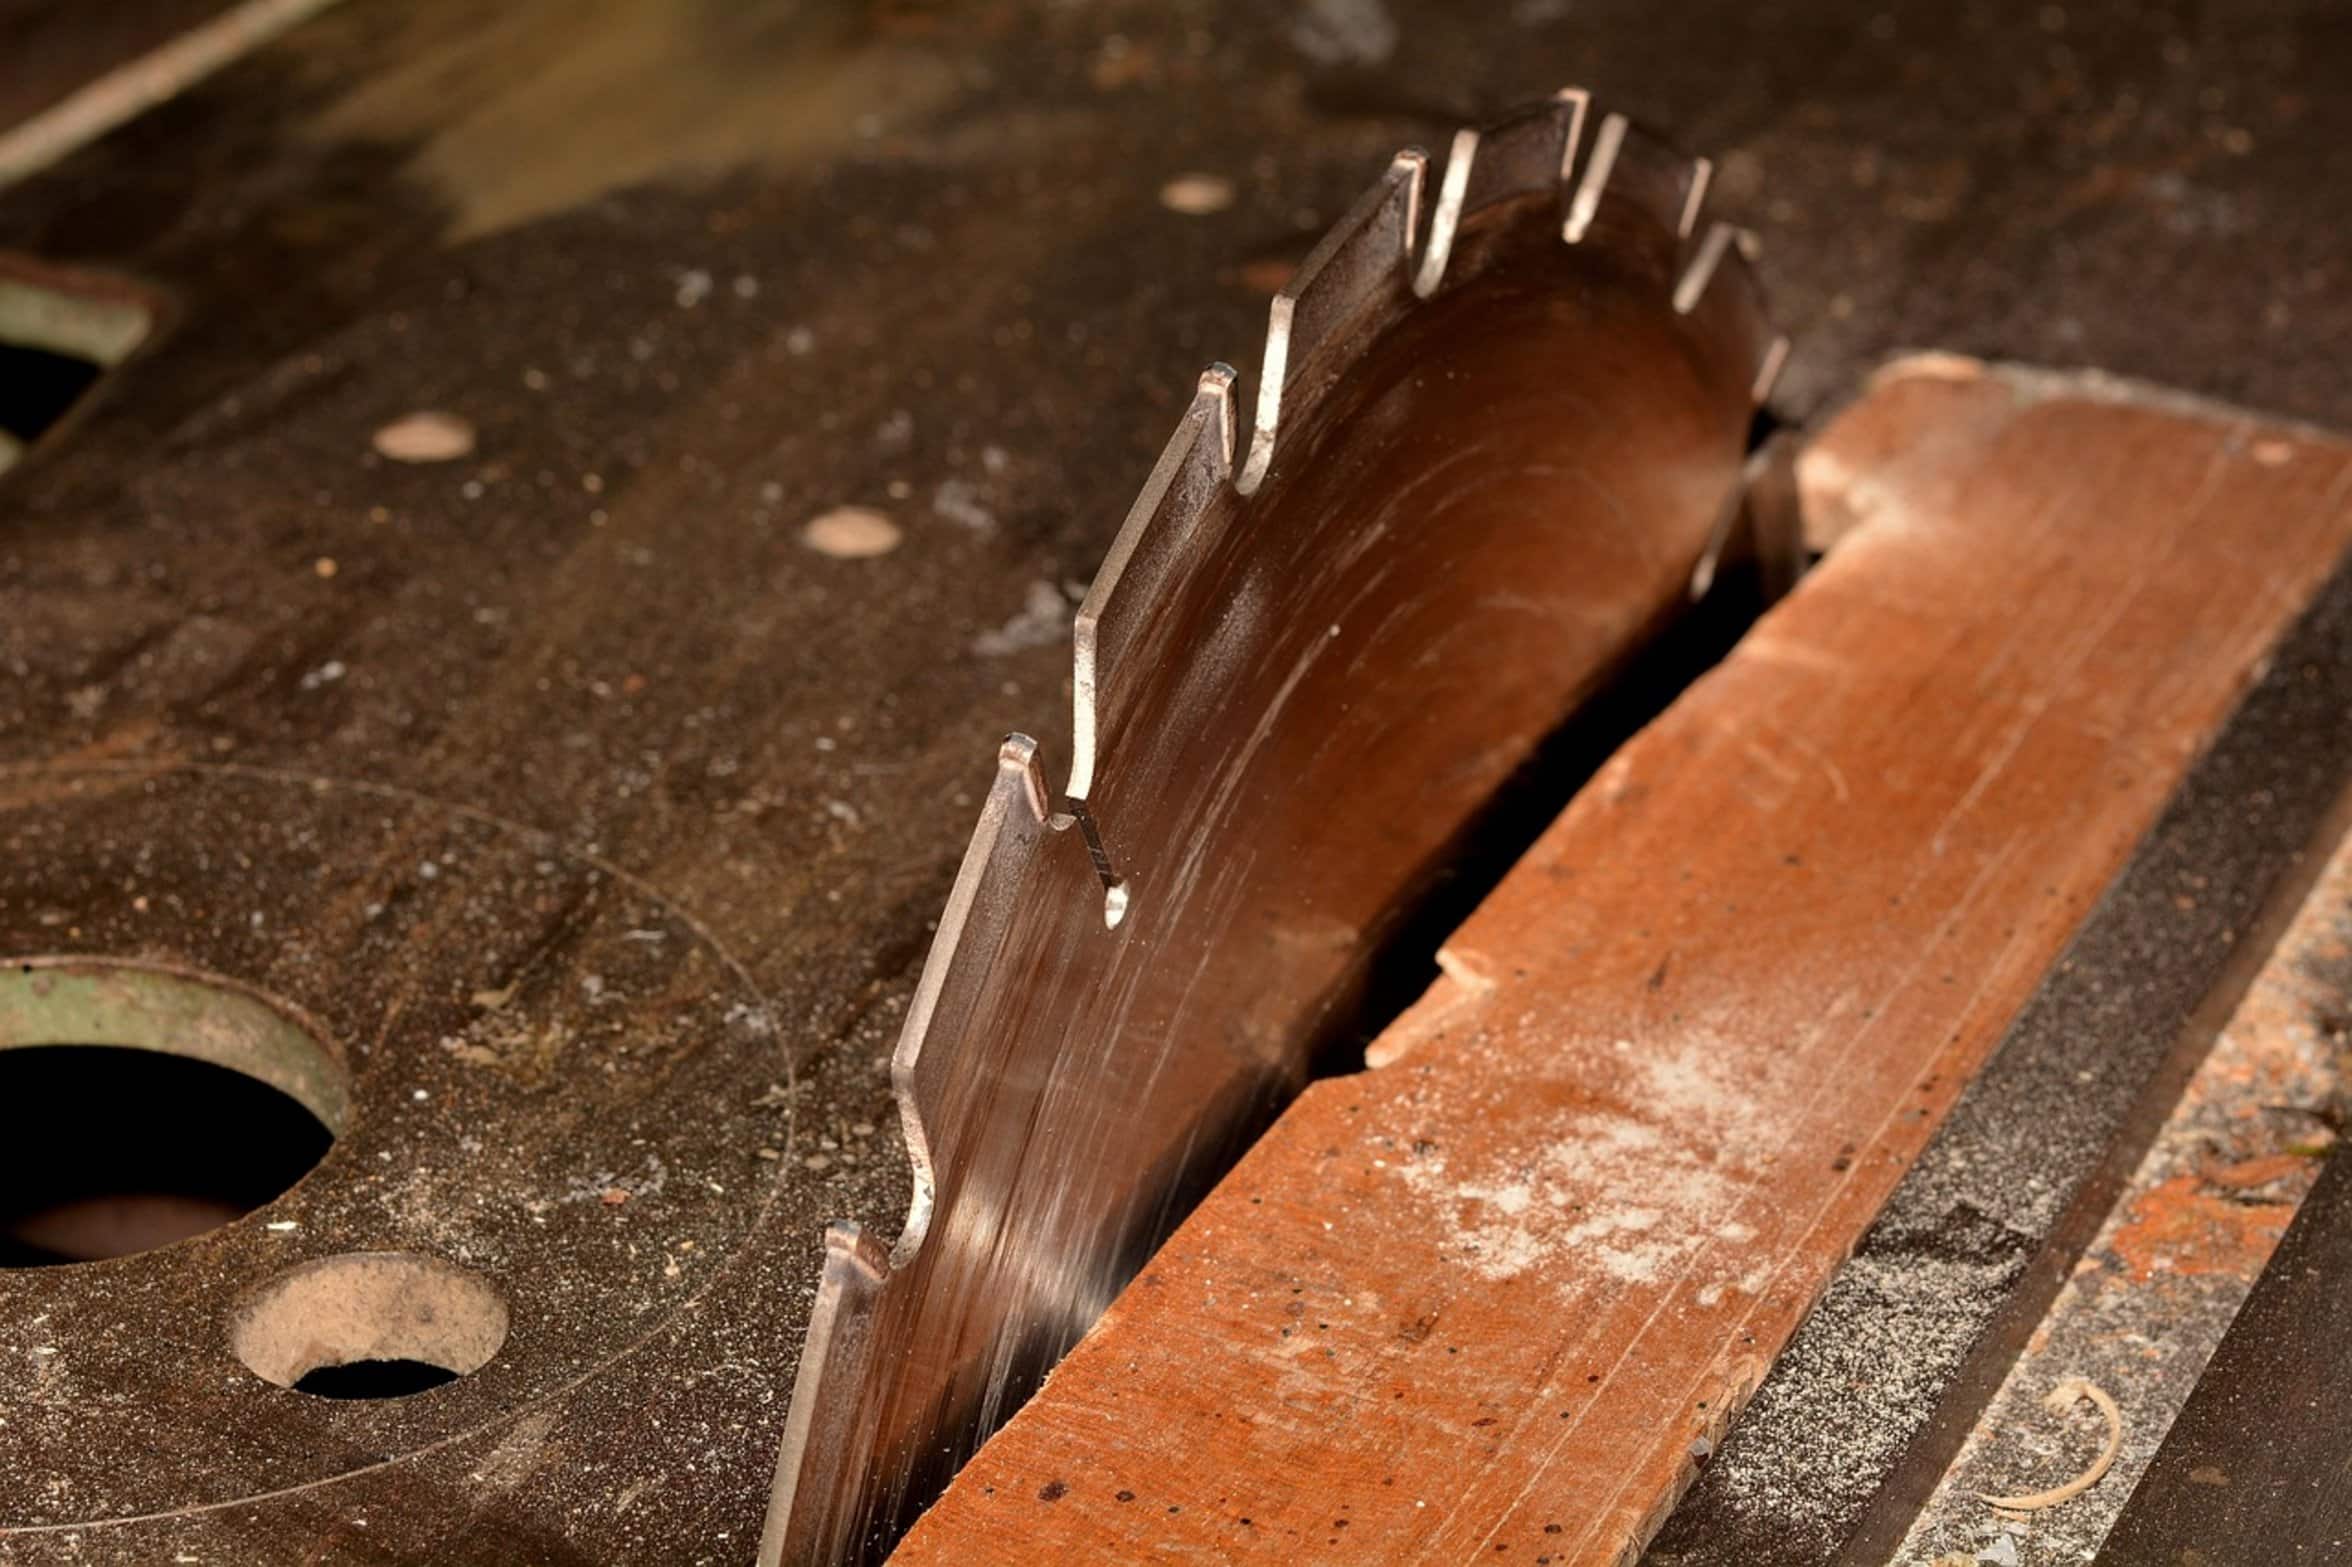
Signs Your Miter Saw Blade Is Dull
Safety Precautions Before Starting
This one should of been a no-brainer; safety isn’t negotiable here. Don’t shortcut this process. Turn it off, first.
Pull the plug out off the wall outlet. The switch won’t cut it, electricity will have its way and it’s not forgiving to you if you accidently hit the start button while your hand is near that blade. Check it by yanking the trigger handle.
Nothing? Go for it. Now set the saw head to stay put.
On most of my Hitachi saws this will be either a pin or a handle locked in position on the saw. Press it down until guard moves out of the way and the blade sticks out. Then, latch it.
This prevent the head from dropping while you work. You want to keep your hands steady; if they are secure, you can concentrate. Next remove the arbor nut.
How to Remove the Old Blade
Hitachis has one big nut in the middle of their blade assembly (most do). The arbor nut will be reverse threaded so you need to remember which direction to turn. To loosen the arbor nut, turn it clockwise.
This keep the nut from unscrewing when it is in use. Again, make sure you have the right wrench for this. Hitachi normaly provides a spanner wrench that insert into slots in the blade.
Be careful as you insert it and turn. Don’t use a hammer to get a stubborn nut off. Cracking the housing or stripping the threads are very possible.
This mean waiting and using penetrating oil. When that nut comes free, take it out plus the retaining plate and washer. Put those aside somewhere safe as one little washer can throw new blade out of balance.
Cleaning the Spindle and Arbor
Check the mounting surface and the spindle: Clean with a cloth. Debris (sawdust) will block blade’s contact, resulting in vibration that’ll decrease accuracy and may also make the new blade wobble on a dirty spindle. Remove any rust or burrs with fine sandpaper.
This is important because you want the blade to sit flat for best cuts. Take your time installing the new blade. Make sure teeth face the right direction.
Installing the New Blade Correctly
They should match up with arrow on the saw that shows the direction the saw is rotating. If you mount it backward, the saw will kick back violently so you don’t want to have the blade mounted backwards. If you’re not sure, check the manual.
After you get it facing the proper direction, slide it up on spindle. Now reassemble all of your hardware in reverse order. Put the nut, washer and retaining plate onto the spindle.
Tighten the nut by hand first, and then tighten it with the wrench. Be sure to remember the reverse thread (counter clockwise is tight). Then spin the blade by hand to make sure that it has cleared both the guard and the table.
The blade should turn freely with no binding. Plug it back in and give it a go. Test cut it on some scrap.
Testing the Replacement Blade
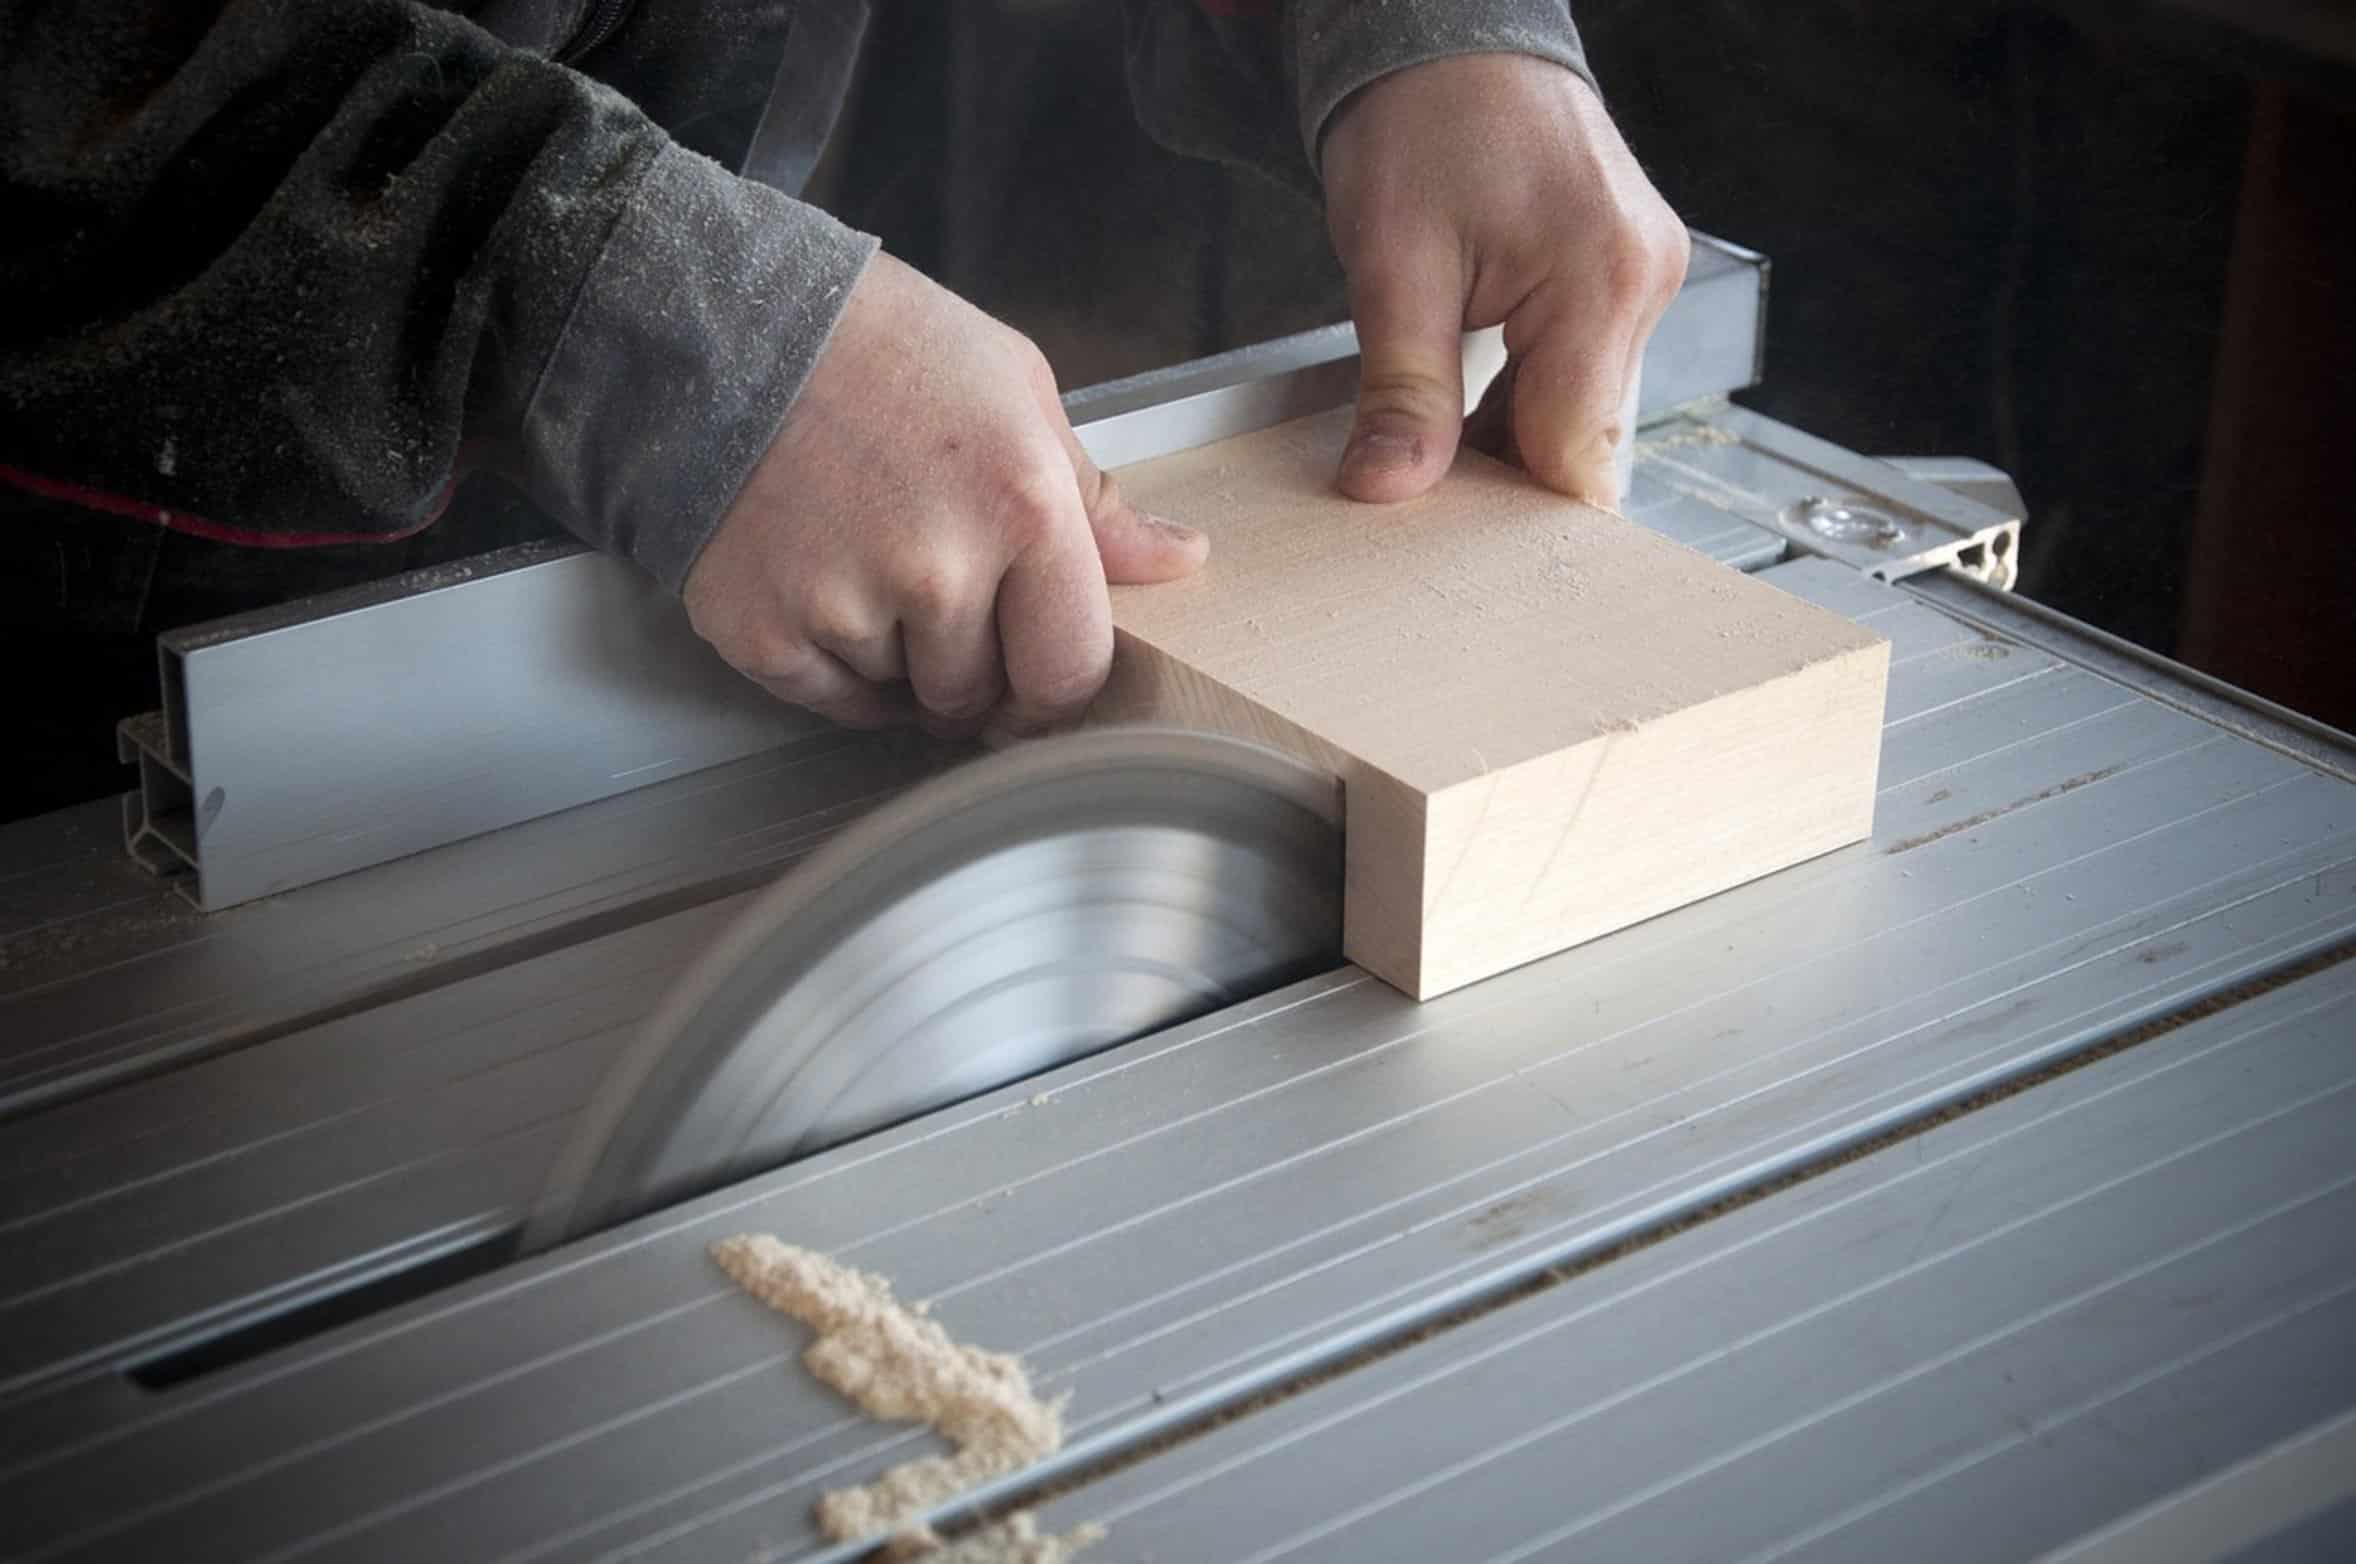
Does it run smoothly? Do you feel any vibration? Then you’re good to go, having pimped out your shop with a blade.
Cuts are faster. Cleaner. Safer.
The burn marks dissapears. The sound lowers. Have another blade handy in the toolbox.
Next time your blade is getting dull you’ll be set.