
There are some job that seem easy; cutting something down the middle is one of those tasks. Cutting a board exacty in half should be a no-brainer. Just take any old two by four and try to cut it in half, it sounds simple, but wood movement and blade wander can make it surprisingly difficult.
No big deal, right? Wrong. Blades goes on tangents.
Wood has a mind of its own. Gravity acts as a barrier to getting your pieces up off the floor and into your stack of properly sized lumber. The goal is precision, not panic.
Take a thicker piece of lumber and walk away with two equal halves, aiming for clean boards despite any minor variations. This exercise will test your patience and test your set-up far more different than your brawn. It’s surgical splitting rather than rough ripping.
How to Cut Board Thickness Accurately
The Challenge of Cutting Narrow Lumber
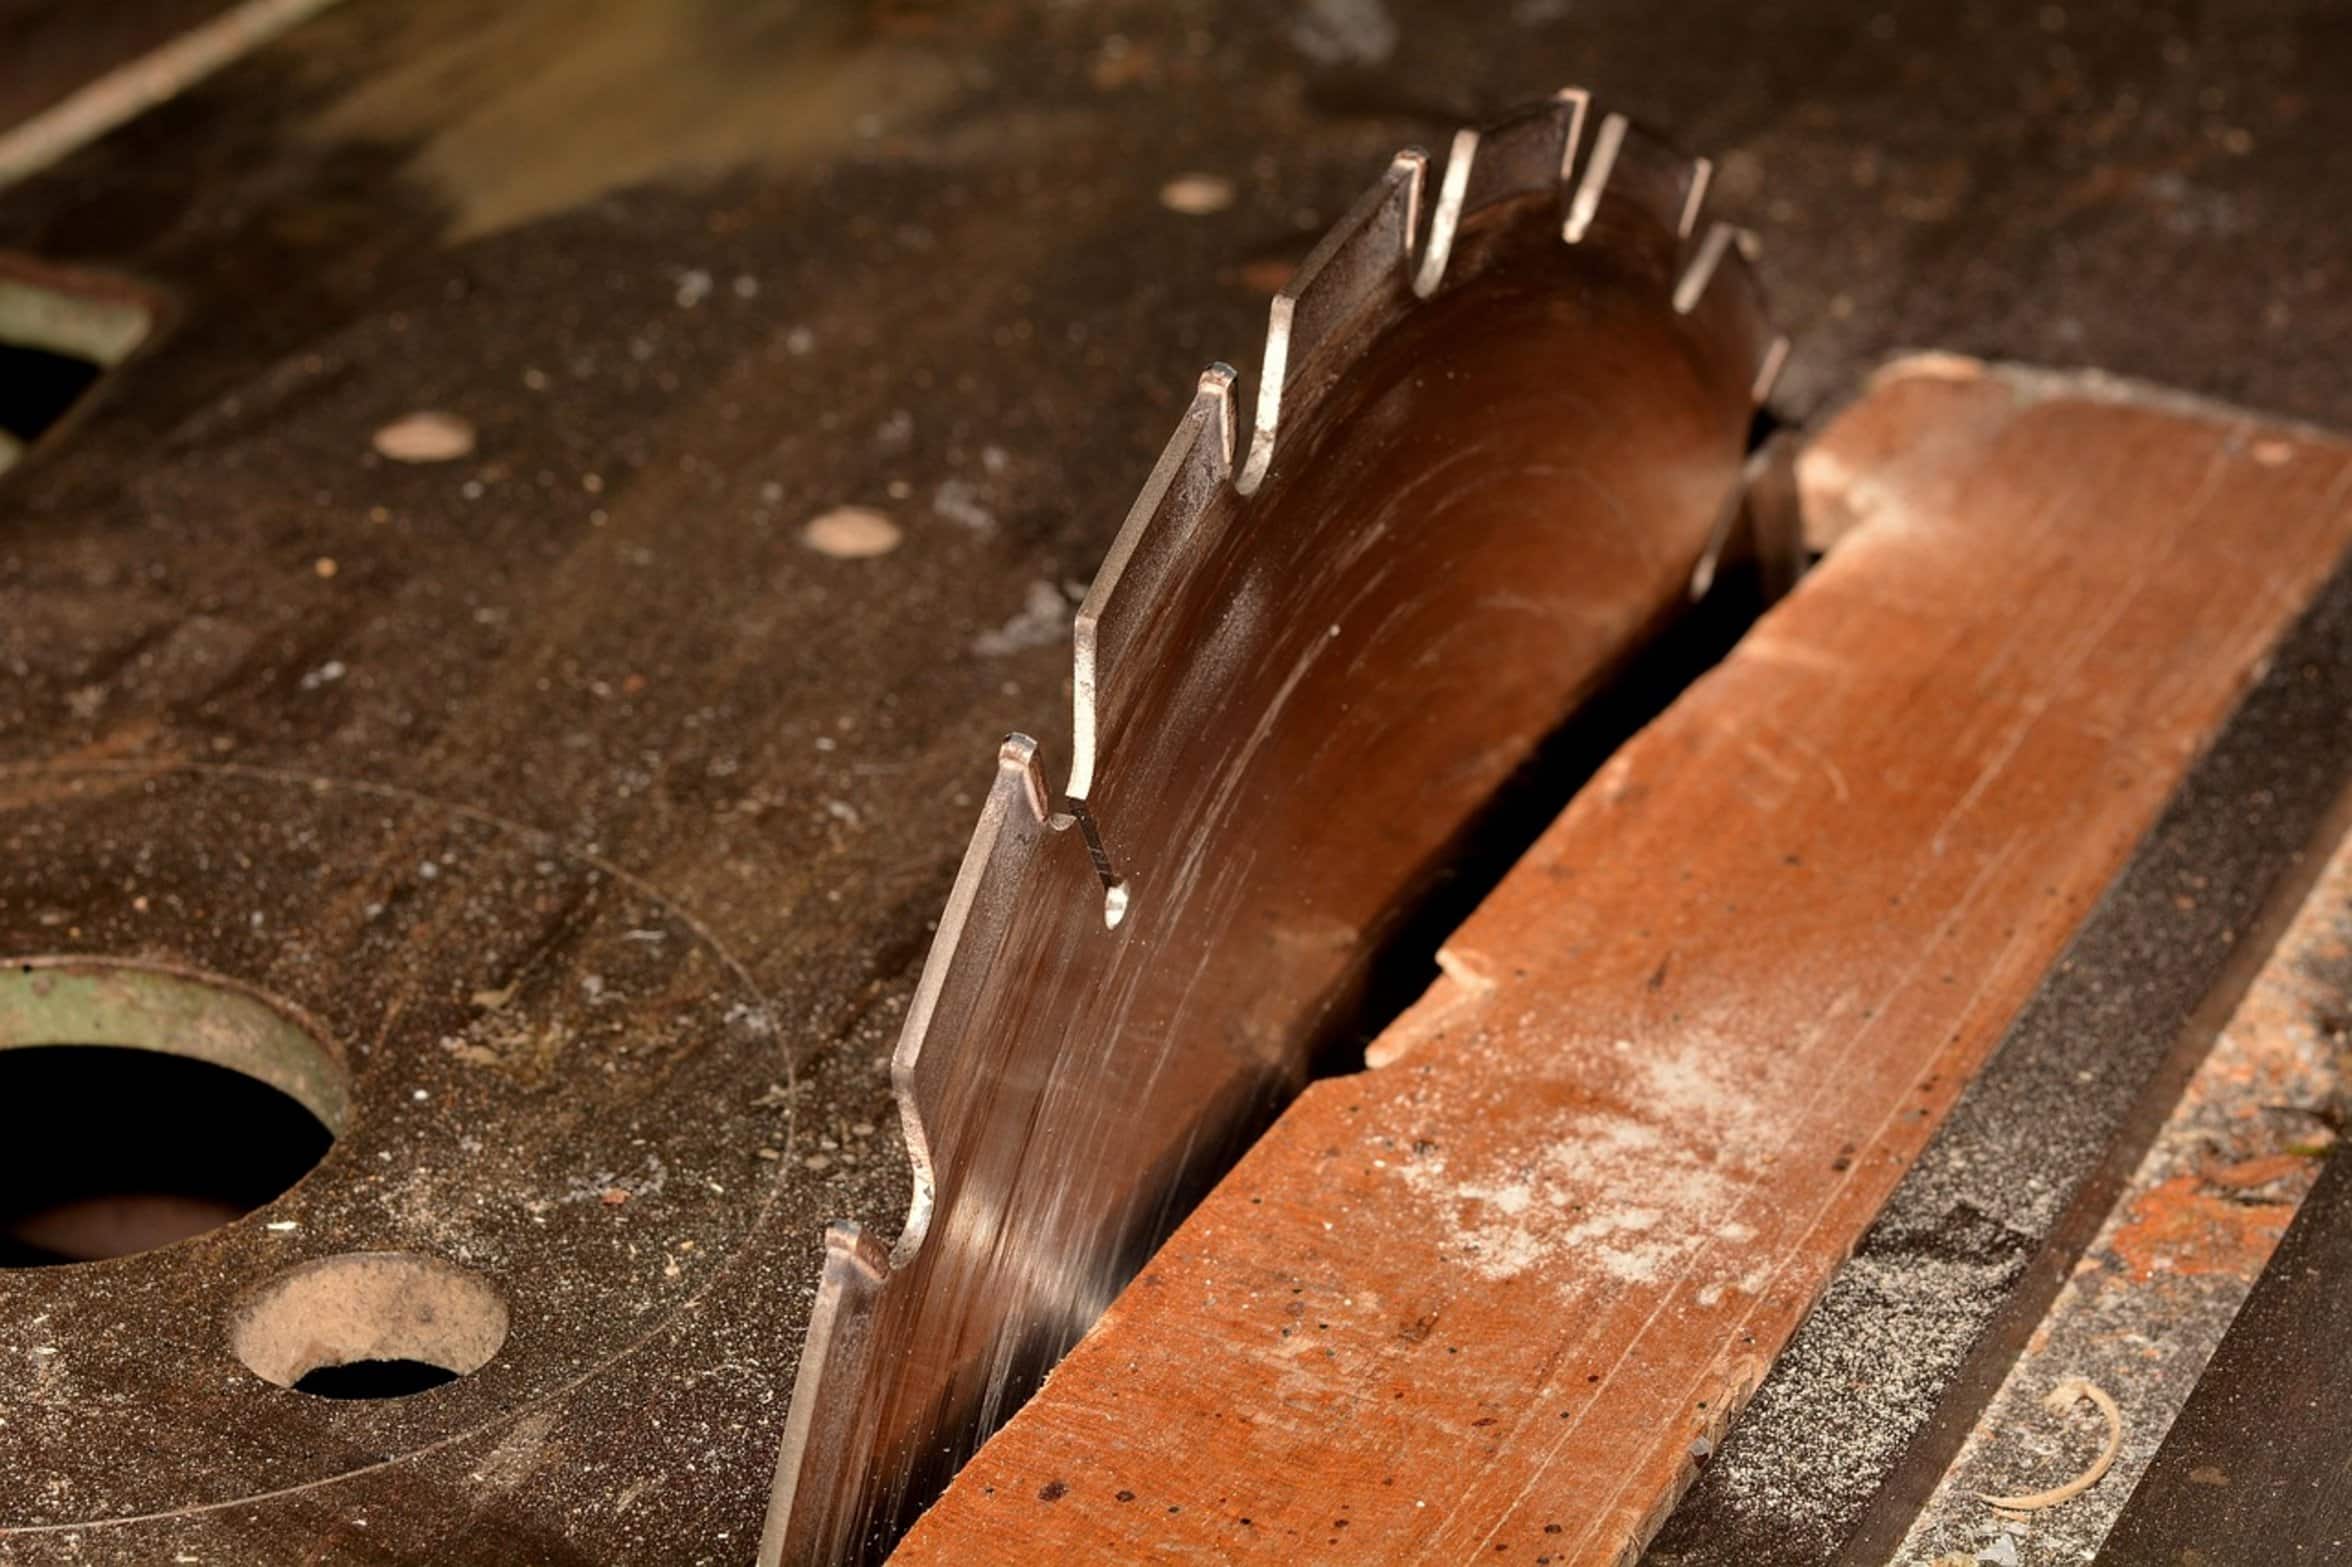
Starting out, many people will just use the regular rip fence. But the fence isn’t set up to put a blade in the middle of narrow face of a plank. It’s meant to guide the blade when cutting across the wide face of a board.
Why Standard Fence Methods Fail
If you clamped the board against the fence and pushed it through, your blade would wander towards the wider part of the plank. This happens because as you push it through, the cut kerf lets the board move a little bit in the fence. What you’ll have left is a thin sliver and a thicker piece.
This are not what we want. Here is the trick. Stand the board up vertically on saw table.
The Vertical Cutting Technique
Now the blade is crossing the face of the board instead of traveling down length of it. Geometry changes completeley. The wood doesn’t want to move as much in this position.
It stay true and stays centered. This works best with a zero clearance insert. Standard inserts has a large gap that allows thin boards to slip down into it or turn as they goes through.
Using Zero Clearance Inserts
A zero clearance insert supports the board all the way back up to the teeth on the blade. When using narrow side of a board this really help keep the cut clean and prevents any type of tearout. You can make a temporary guide by cutting a groove in piece of scrap MDF if you don’t have a zero clearance insert.
Securing the Board with Clamps
Clamps are another important part of this procedure. Don’t try sticking a vertical board in that blade and holding it down by hand. That spinning blade exert huge torque which catches on the wood and can send it flying right back at you.
A simple screw-in clamp like this, or something similar to these hold-down clamps, work fine for securing the board to the miter gauge. It must be absolutely motionless in relation to the guide while the guide itself has to easily slide through the throat plate. It’s the difference between an accurate cut and saving your fingers.
Controlling Feed Rate for Clean Cuts
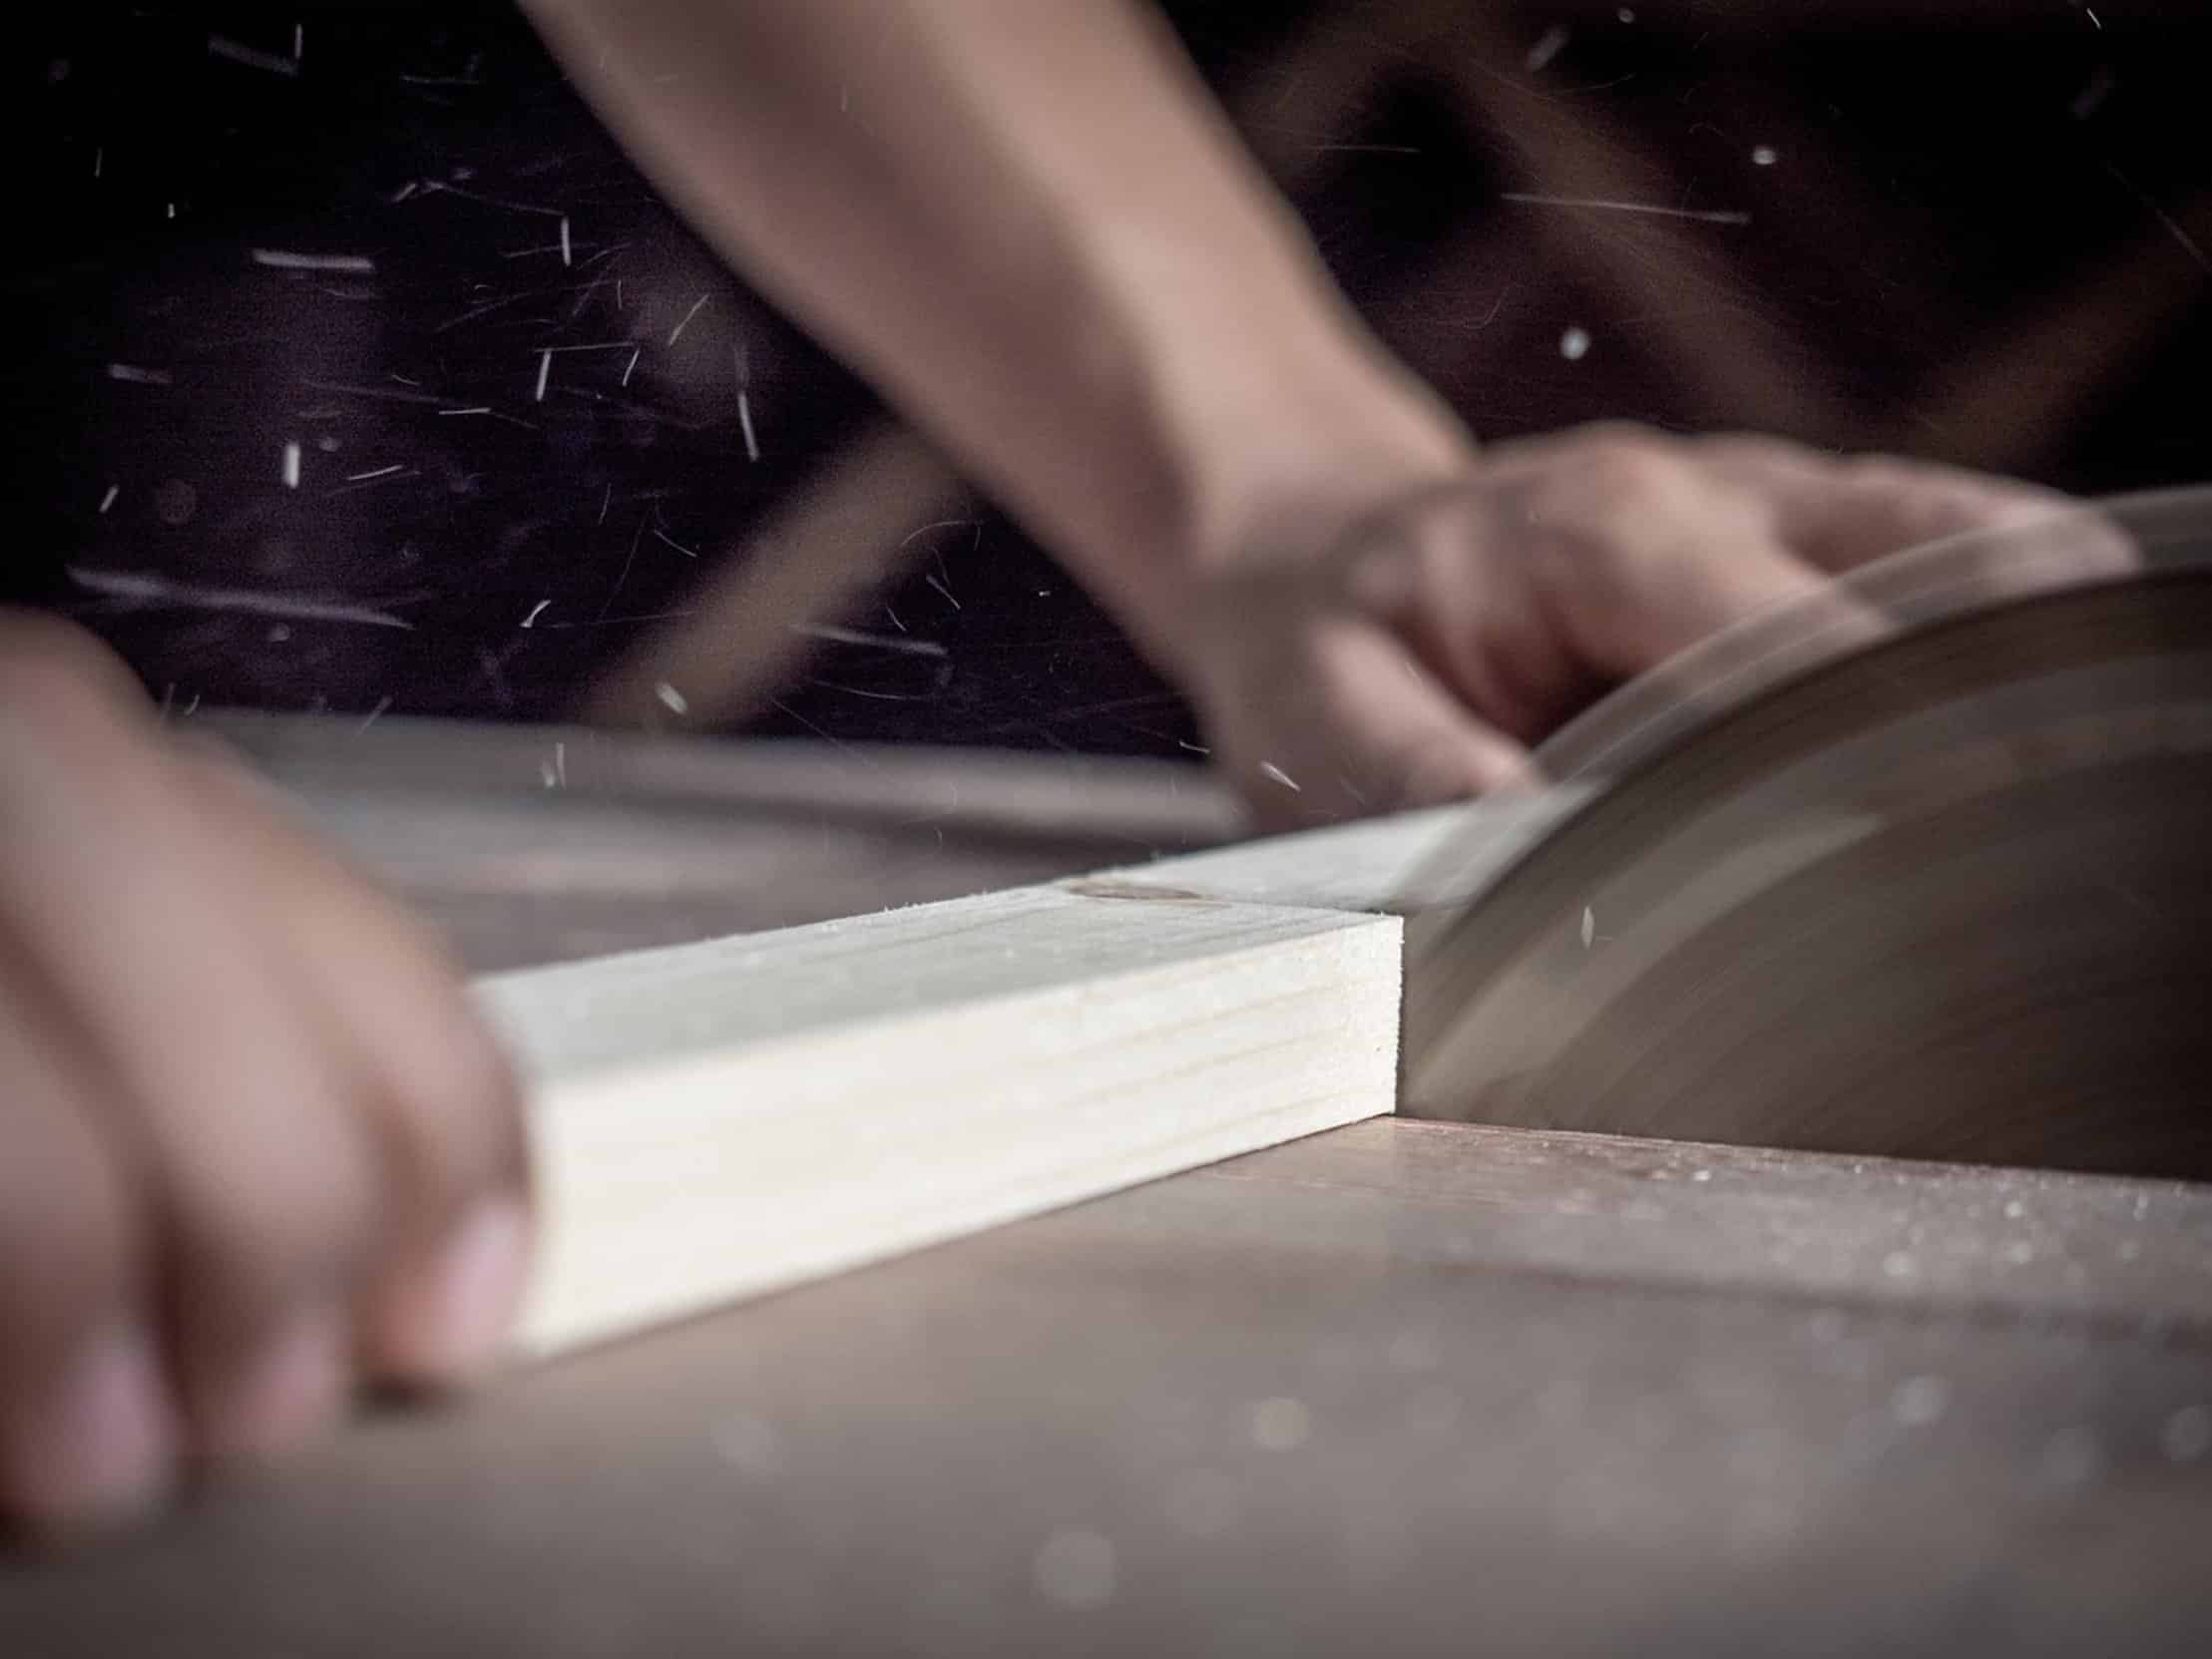
Your feed rate is more important than you think it is. As you are cutting vertically you’re making full use of the teeth on the blade with every turn. There is a lot of drag involved here.
Pushing the blade too quickly results in bogging down the blade and putting strain on the motor. You’ll get a rough cut as a result. Feed slowly and steadily so the blade can cleanly cut through fibers.
Don’t fight the tool. It will do all the work for you. This shouldn’t lessen how important it is to change the orientation of the workpiece you’re cutting.
Safety Precautions for Vertical Ripping
More blade are exposed on a vertical cut. Hands need to remain far behind miter gauge or push stick. Eye protection is also a must.
Even with the right clamp, there is a chance for kickback and it’s not something to mess around with. Respect the tool. A distracted second can mean a trip to the emergency room.
Refining Cuts and Final Tips
If it’s your first time through with the cut, you’ll probably find that they aren’t quite all the same thickness. No big deal, wood isn’t perfect and blades aren’t paper-thin! If you’re making several boards, adjust your guide/fence accordingly when you go back through.
If it’s just one board, live with the slight imperfection. In the finished project, the difference is rarely visible. Once you get the hang of it, you’ll be able to do all kinds of stuff you couldn’t before: make your own moldings, make perfect joints of exactly the right size, even cut really thin pieces for things like shelving cleat.
That’s what this process does… Turns scrap into useful wood. So whenever you’re in a position where you want some very narrow piece of wood, think Feed It Slow.
Stand It Up. Clamp It Down. And then go to work.
Because making precision is about habits; it doesn’t happen by accident.