
We all have our little pet peeves, and one of them is the frustration of an hour installing a rotor only to look at that AMMCO lathe as if it were a mule with something wrong. The chuck is tight, the cutter is sharp and the power is on but it won’t cut because the feed won’t engage. If you find yourself in this situation, fear not; you’re not alone and it doesn’t necessarily mean your machine is dead either.
It’s usually just a mechanical disconnect or a safety interlock working properly. The machine are built to prevent hurting you or costly damage to expensive component by stopping work before that happens. Knowing where the signal is broken means the difference between being able to finish your shift or having to call your service tech.
The lathe isn’t moving, this is electrical: I believe most of us assume it’s an electrical issue. Electricity is scary and invisible so we automatically start by looking at the breakers and plugging. Electrical issues can occurs but the AMMCO line are known for its strong mechanical simplicity.
You’ve got a series of sensor, clutches and gears working together to drive the feed mechanism. Blockage, misalignment or stiffness of any of those component will halt the entire system. In many cases it’s not a burnt out motor; it’s physical resistance that throws the wrench in the gears.
That’s what people miss. Many times it’s a slightly out of place lever, worn out part or simply dirt. People look for something complex when it’s typically something simple.
Top Fixes For AMMCO Lathe Feed Issues
Check the Chuck and Workholding System
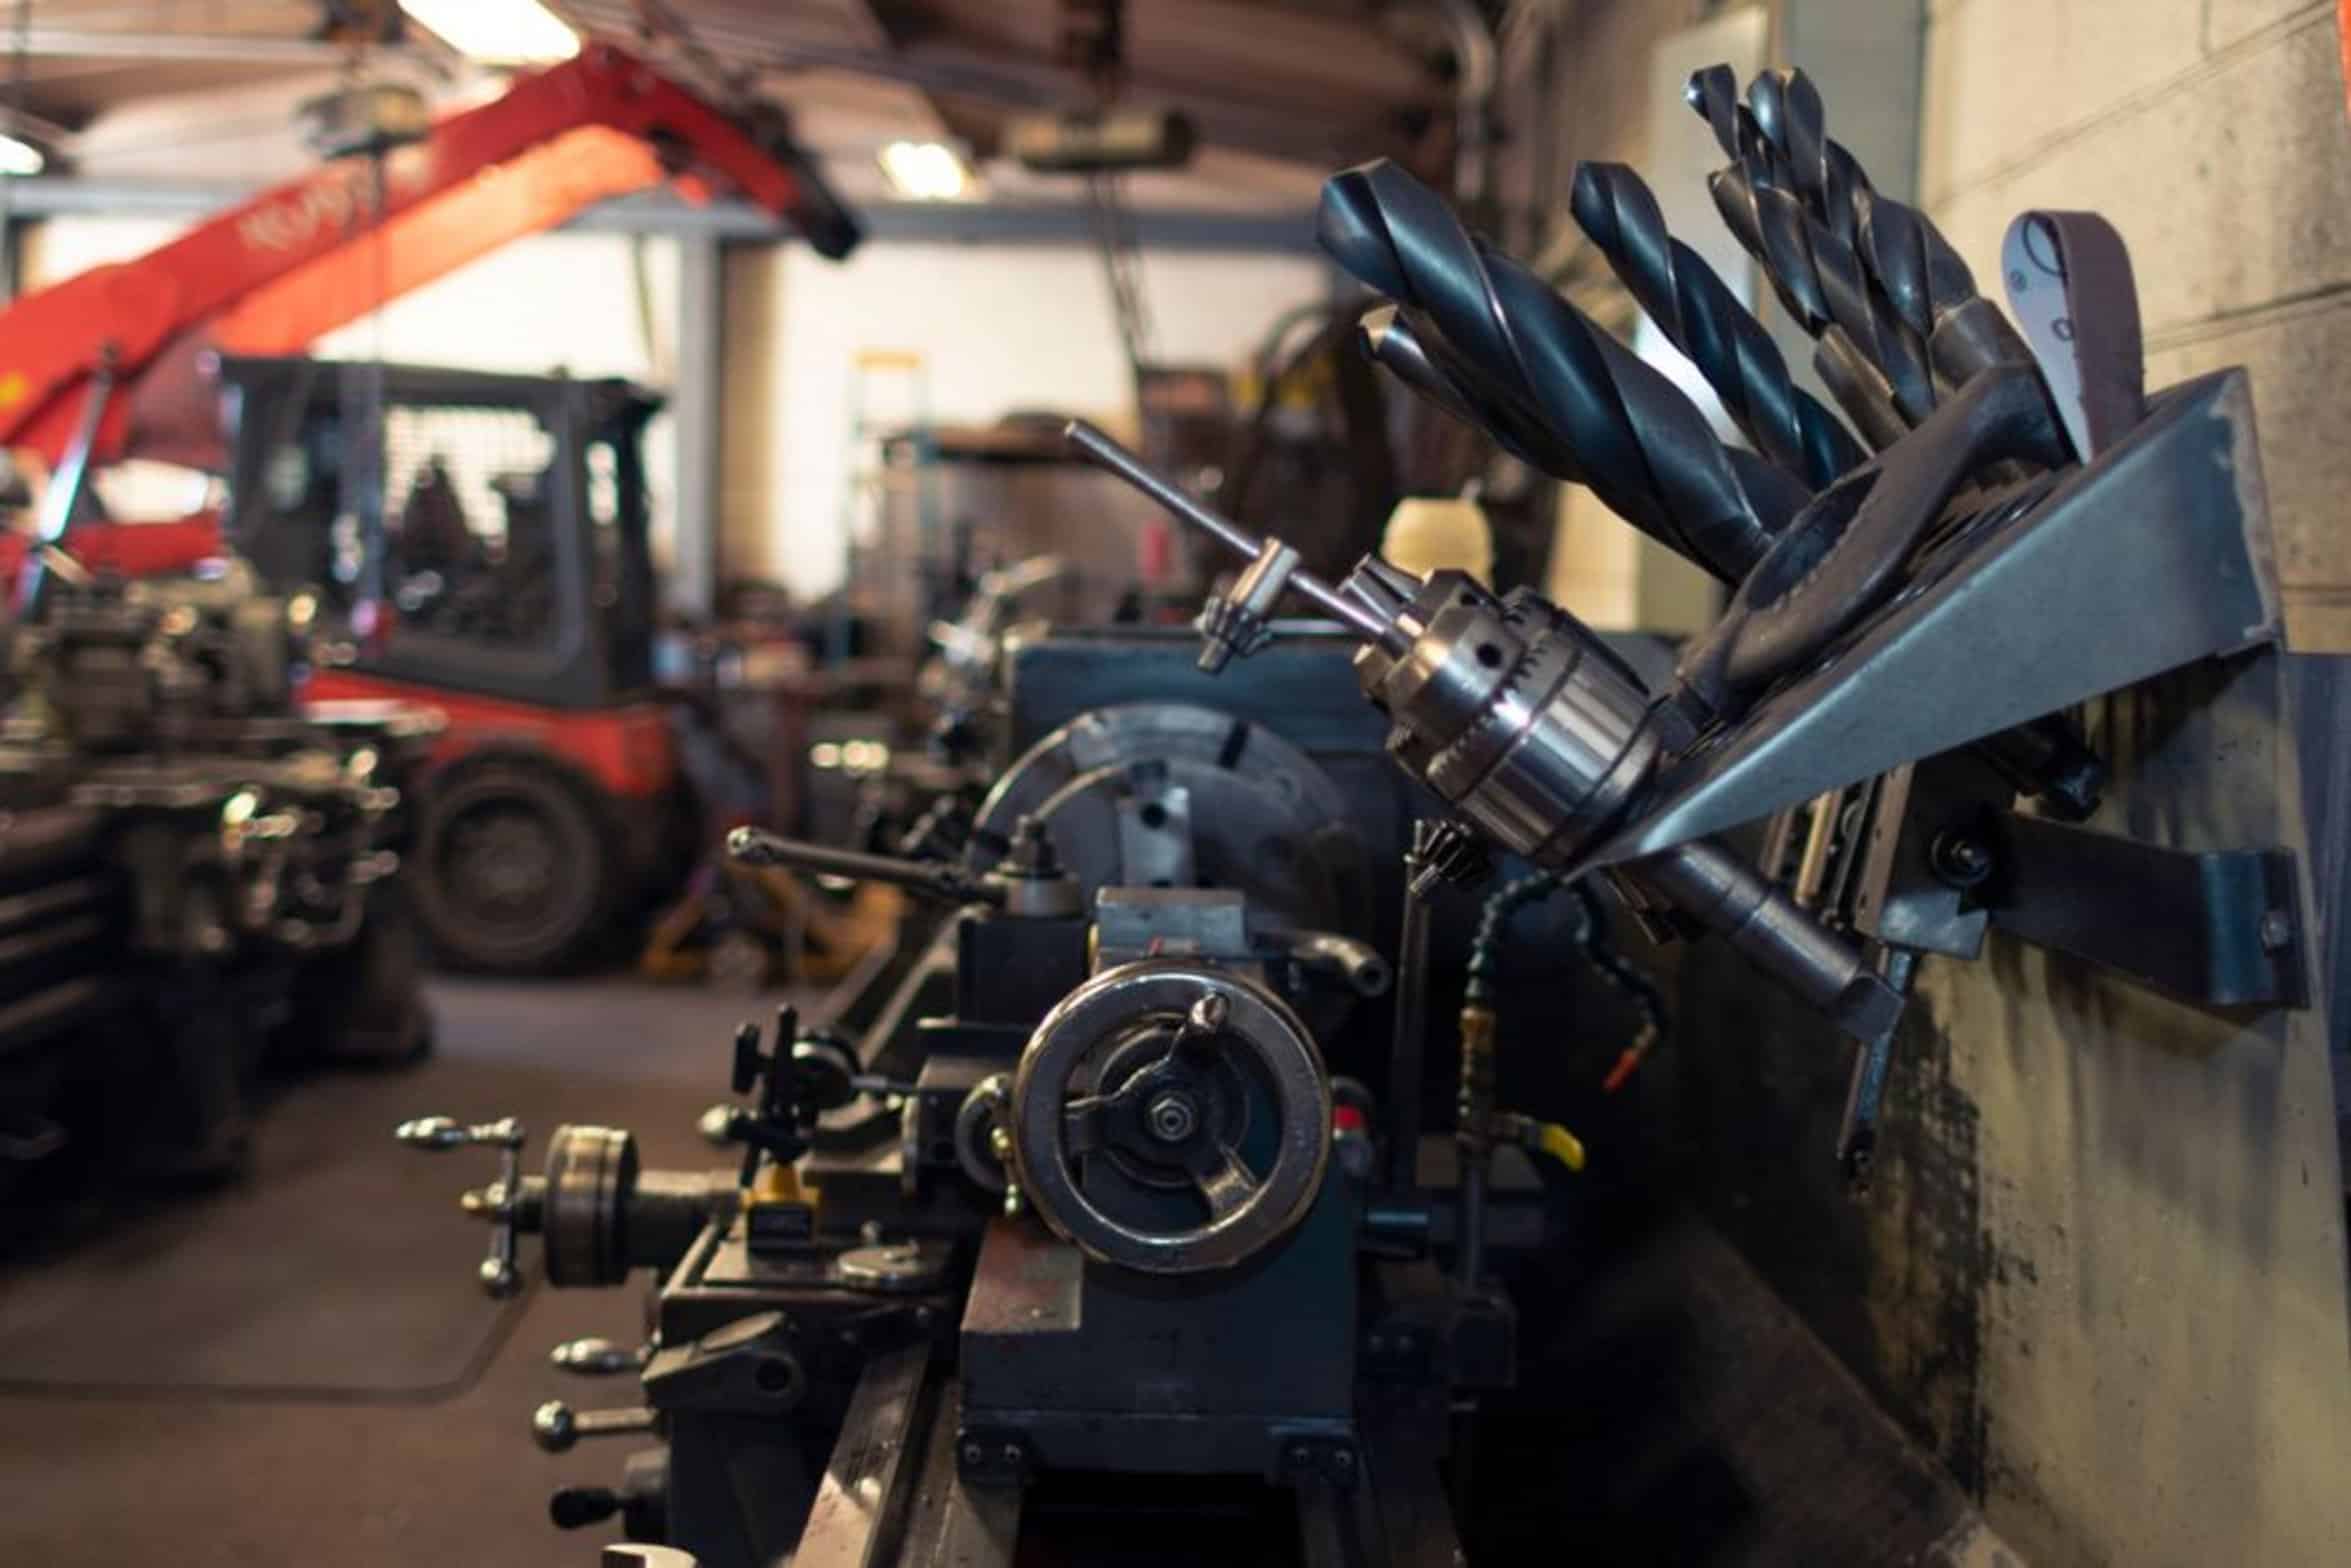
Always begin by examining the workholding system. The lathe has a built-in safety feature that prevents it from feeding if the chuck jaws aren’t seated properly on the rotor flange. The system detect when something isn’t right, whether the jaws aren’t engaged all the way or they have slipped off the rotor flange.
It kills the feed instantly. Examine the rotor for proper engagement on the locating ring and make sure the jaw screws are all tight and even. A dirty taper or sometimes a warped hub will lift the rotor slightly causing this safeguard to activate.
This one’s obvious. Obvious things gets overlooked in the rush of shop pressure. Recheck your mount.
Inspect the Feed Clutch Mechanism
Thirty seconds and you’ve saved yourself hours of head scratching. Many AMMCO units use a manual lever that uses a clutch pack to start the feed. The lever should “click” into place when set to engage; it shouldn’t feel spongy.
If you see any metal shavings or the grease has hardened over time, this might cause some drag preventing the clutch plates from meshing. Take apart the lever housing (if your manual permits) and clean the gears then relube with new high temp grease. A sticky lever mean no feed.
This is a mechanical problem that does not need an electrical diagnosis. Also check position of cutting tool and the depth stop. Set the depth stop way back on the tool.
Verify Depth Stop Alignment
If an obstruction binds the depth stop to the frame, the lathe will sense the stop and shut itself off. This prevents the tool from scoring the rotor deeper then the cut can be removed. This prevents the tool from digging in and scoring the rotor beyond repair.
Make sure your depth stop wheel turn freely and that it is set far back from the actual cutting edge when attempting to feed. A fraction of an inch can cause the whole cycle to come to a screeching halt, which sounds like nothing but it does. The lathe protects itself because it think it has hit something.
Align the Tool Post Properly
Align the tool post. Spindle bearing If the tool post is not perfectly parallel to the chuck face, the feed gears can bind under load. If they’re not perfectly aligned with the tool post, they can bind up under load.
This causes a grinding sound or even a full stop before any cut is made. If you think there’s been some drift in your tool post use a dial indicator to check for proper alignment. A misaligned tool post is hard on the feed screw because it wasn’t built to take side pressure.
It’ll jam. Keep all things square so that the load remain straight; this is where the machine is strong. Lastly, inspect the fuses and electrical interlocks.
Test Safety Switches and Interlocks
Safety switches are located on both the chuck housing and on the cover of moddern AMMCO lathes. A microswitch can turn off the feed motor yet leave the lights operating if the cover isn’t latched properly. This is not uncommon.
Push on the safety switches. Are they sticking in the open position? Do you have blown fuses?
Change them out, but find out why they failed before you put in new fuses. Short circuits aren’t a problem that will repair themselves. Keep it simple.
Examine the mounting; wipe the clutch; inspect the stops; test all safety switches. If there is a small mechanical problem, most feed issues are not serious. Remove the blockage, and your trusty lathe returns to its predictable pace.
Just follow the safety logic of this machine, and the cut is well worth the hassle. You should of checked everything first. It could of been simpler.
Actualy, it’s just how it goes. It dissapears when you need it most. The luxurius feel of a running machine is naturaly missed.
I recieve many calls about this. One adult-sized sofa isnt enough for the work space. Based off my experience, things go wrong.
This feels different than before. I’ll be livig in the shop later.