
It happens to almost everyone: whether you are a weekend warrior framing a shed or a seasoned carpenter, some days your Bostitch nailer just won’t cooperate. You pull the trigger and all you get is a click; no thud as the fastener drives home, just a sputter or silence. You tap it on your knee and take a peek at the magazine, you wait.
And the cycle repeats. The bad news: It’s happened to you. Good news: Almost always it’s not some catastrophick mechanical failure.
Most likely, it’s one of those simple oversights, one you can fix in minutes using nothing but a clean set of hands and a few drops of oil. If your pneumatic tools gets jammed, you save yourself some money by knowing how it happened. A Bostitch nail gun is not a hammer.
It’s a precision piece of machinery. It needs to run smoothly all the time. This requires clean fuel, smooth internal movement, and consistent air pressure.
The moment one of these changes, the feeding system stop working. Don’t throw away money on a new tool because you don’t know what went wrong. Look at the problem systematically.
Examine the obvious problems first. Then don’t take the thing apart if you can fix the issue without it. Skipping the basics means you may have torn down a perfectly fine gun when it was only low pressure or a stuck nail the entire time.
Simple Fixes For Bostitch Nailer Feeding Issues
Clean the Magazine Channel
This is Clean Magazine. This seems obvious, but all this junk prevents your spring from pressing the next nail into the firing position because it’s creating friction. Wood shavings, sawdust and drywall dust gets stuck in the channel that the nails ride down.
Take ’em off, use some compressed air to blow the channel out, then wipe it down with a clean rag. Look for any bent or broken nails as well that may be jamming up the works. One bad nail can become a hurdle and stop the whole line.
Most feed problems is corrected by this one step. It is cheap, quick, and frequently forgotten.
Inspect Air Supply and Pressure
Secondly, inspect your air supply.
Proper cycling requires a certain level of pressure from your compressor’s tank to your tool. Your hose may be kinked or your tank may be low. This allow the tool to shoot the driver blade but leaves it without enough power to retract and bring up the next nail.
For most Bostitch tools, best performance is between 70 and 120 PSI. Read your owners manual to get the right number, but for framing work, shoot for the midpoint of this range. Excess pressure damage your tool.
Inadequate pressure results in exactly what you’re attempting to correct, the failure to feed nails propery. Make sure your hose isn’t restricted, and confirm that your regulator is correctly adjusted.
The other thing about air: It should be clean.
Sticky valves and internal corrosion are caused by water in the air lines. Have a filter installed in your hose? If not, add one.
Dirty air is bad air, which causes internal corrosion and sticky valve.
Lubricate Pneumatic Tool Parts
The other part to consider is lubrication. Like any pneumatic tool, it has moving parts which heat up and will eventually become worn out.
Left un-oiled, those parts seizes up. To remedy this, just before each use, open the air intake fitting and drip a couple of drops of pneumatic tool oil into the fitting. It’s one of the best maintenance habits you can get into.
Caution though. Don’t go overboard on the oil. Too much oil can attract dust and make a gummy mess inside the mechanism, ironically causing exactly what you’re trying to avoid.
A little goes a long way. Use pneumatic tool oil. WD-40, cooking oil etc. These will damage the plastic parts and internal seals over time.
Check the Driver Blade
Inspect the driver blade. This metal part come down on top of the nail head and drives it into the material. It should be in proper alignment and free from wear and bends.
Take the driver blade out. Depending on your Bostitch model, you may have to remove a nose piece first. Check for any damage and wear.
Cleaning out debris from the magazine alone fix the majority of feeding issues. If your driver blade is damaged, simply swap it out. Replacing it takes more time than a simple adjustment but is a doable task for most people.
When putting the tool back together, follow the directions provided by the manufacturer exactly. Make sure everything is placed in position and nothing gets trapped in the housing.
Select Correct Nails
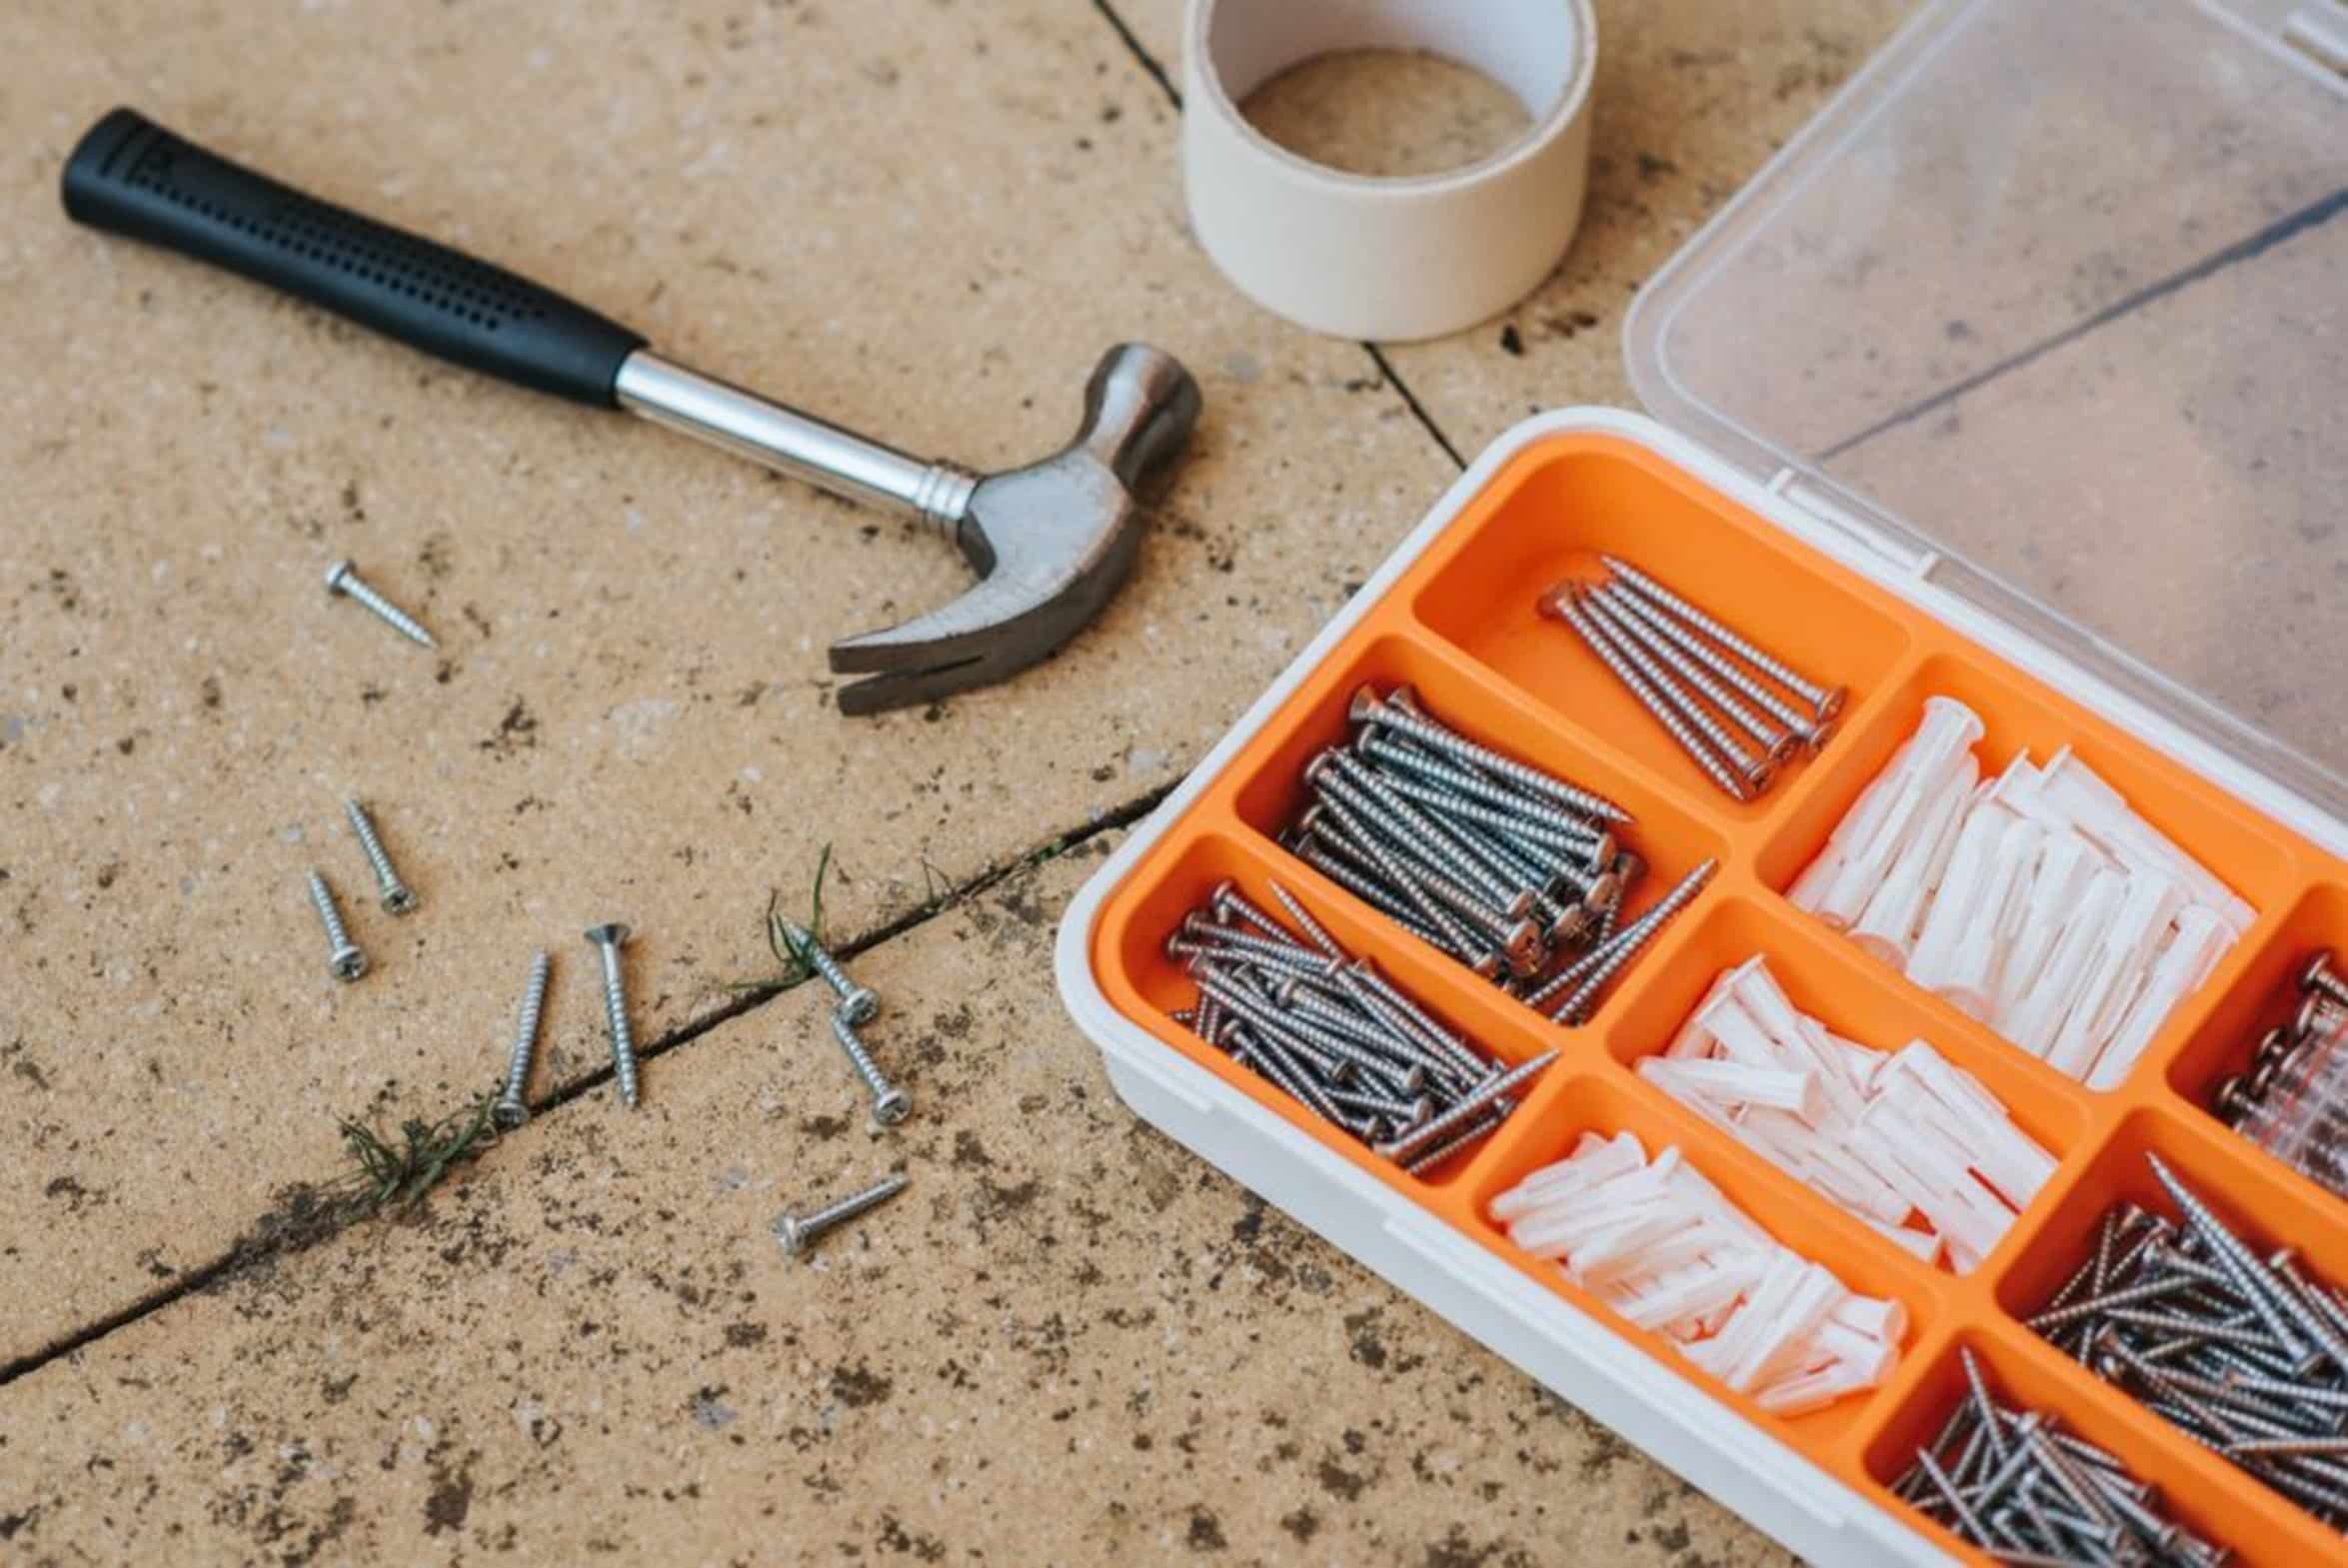
Last thing is the nails.
All nails aren’t made equal. The wrong size or gauge may cause problems with feeding. Always use nails made for your particular Bostitch model.
Sometimes brands will not work together due to slight differences in size or coating. It pays to be consistent. Use one brand and type of nail.
If a batch has seemed troublesome, go buy another box from a different brand. Nail quality does matter. Some have smoother heads than others, which feeds better.
That little detail may make a big difference. A Bostitch nail gun that won’t feed can typically be fixed if we’re willing to put in the time and go through the proper troubleshooting process. First, check the air, then the magazine.
Lubricate the tool. Examine the internal parts. These are the common culprits for most jamming problems.
With some effort, you’ll have your tool back up and running reliably. And when you squeeze the trigger, you’ll once again hear that sweet thud. Your tool becomes a trusted companion instead of a pain-in-the-butt hindrance.
You’re staying on target with your project. Clean ’em up. Oil ’em up.
They’ll work right along with you.