
Halfway through your project, the drill scream. Your screw’s stripped; your bit’s stripped; your patience is stripped. Where’s the chuck key?
That little L-shaped chunk of metal? Gone. Now you’re holding an impotent hunk of rotating metal that won’t let go of its worthless payload.
Sound familiar? Many of us has been there. But there’s an easier answer then you might imagine.
Keyless chucks has been common on most new drills for the last fifteen years. Any drill purchased within the past decade or so will be equiped with one. Keyless chucks grip both because of internal teeth that bite onto the bit and because of internal friction.
They’re fast and convenient. The key is for older drills and was made before the current chucks, which are designed only for speed and convenience. Having one around is nostalgia, not necessity.
Learning to remove and replace bits without it prevent workshop panic. First off, what kind of chuck do you have? Examine the front of your drill.
How To Change Drill Bits Without A Key
Identifying Your Drill Chuck Type

Do you notice three small screw lined up in a circular pattern? That’s a keyed chuck. It’s an older type of mechanism.
Those screws is turned using a wrench or some other tool. Do you notice a smooth collar that doesn’t show any screws? That’s a keyless chuck.
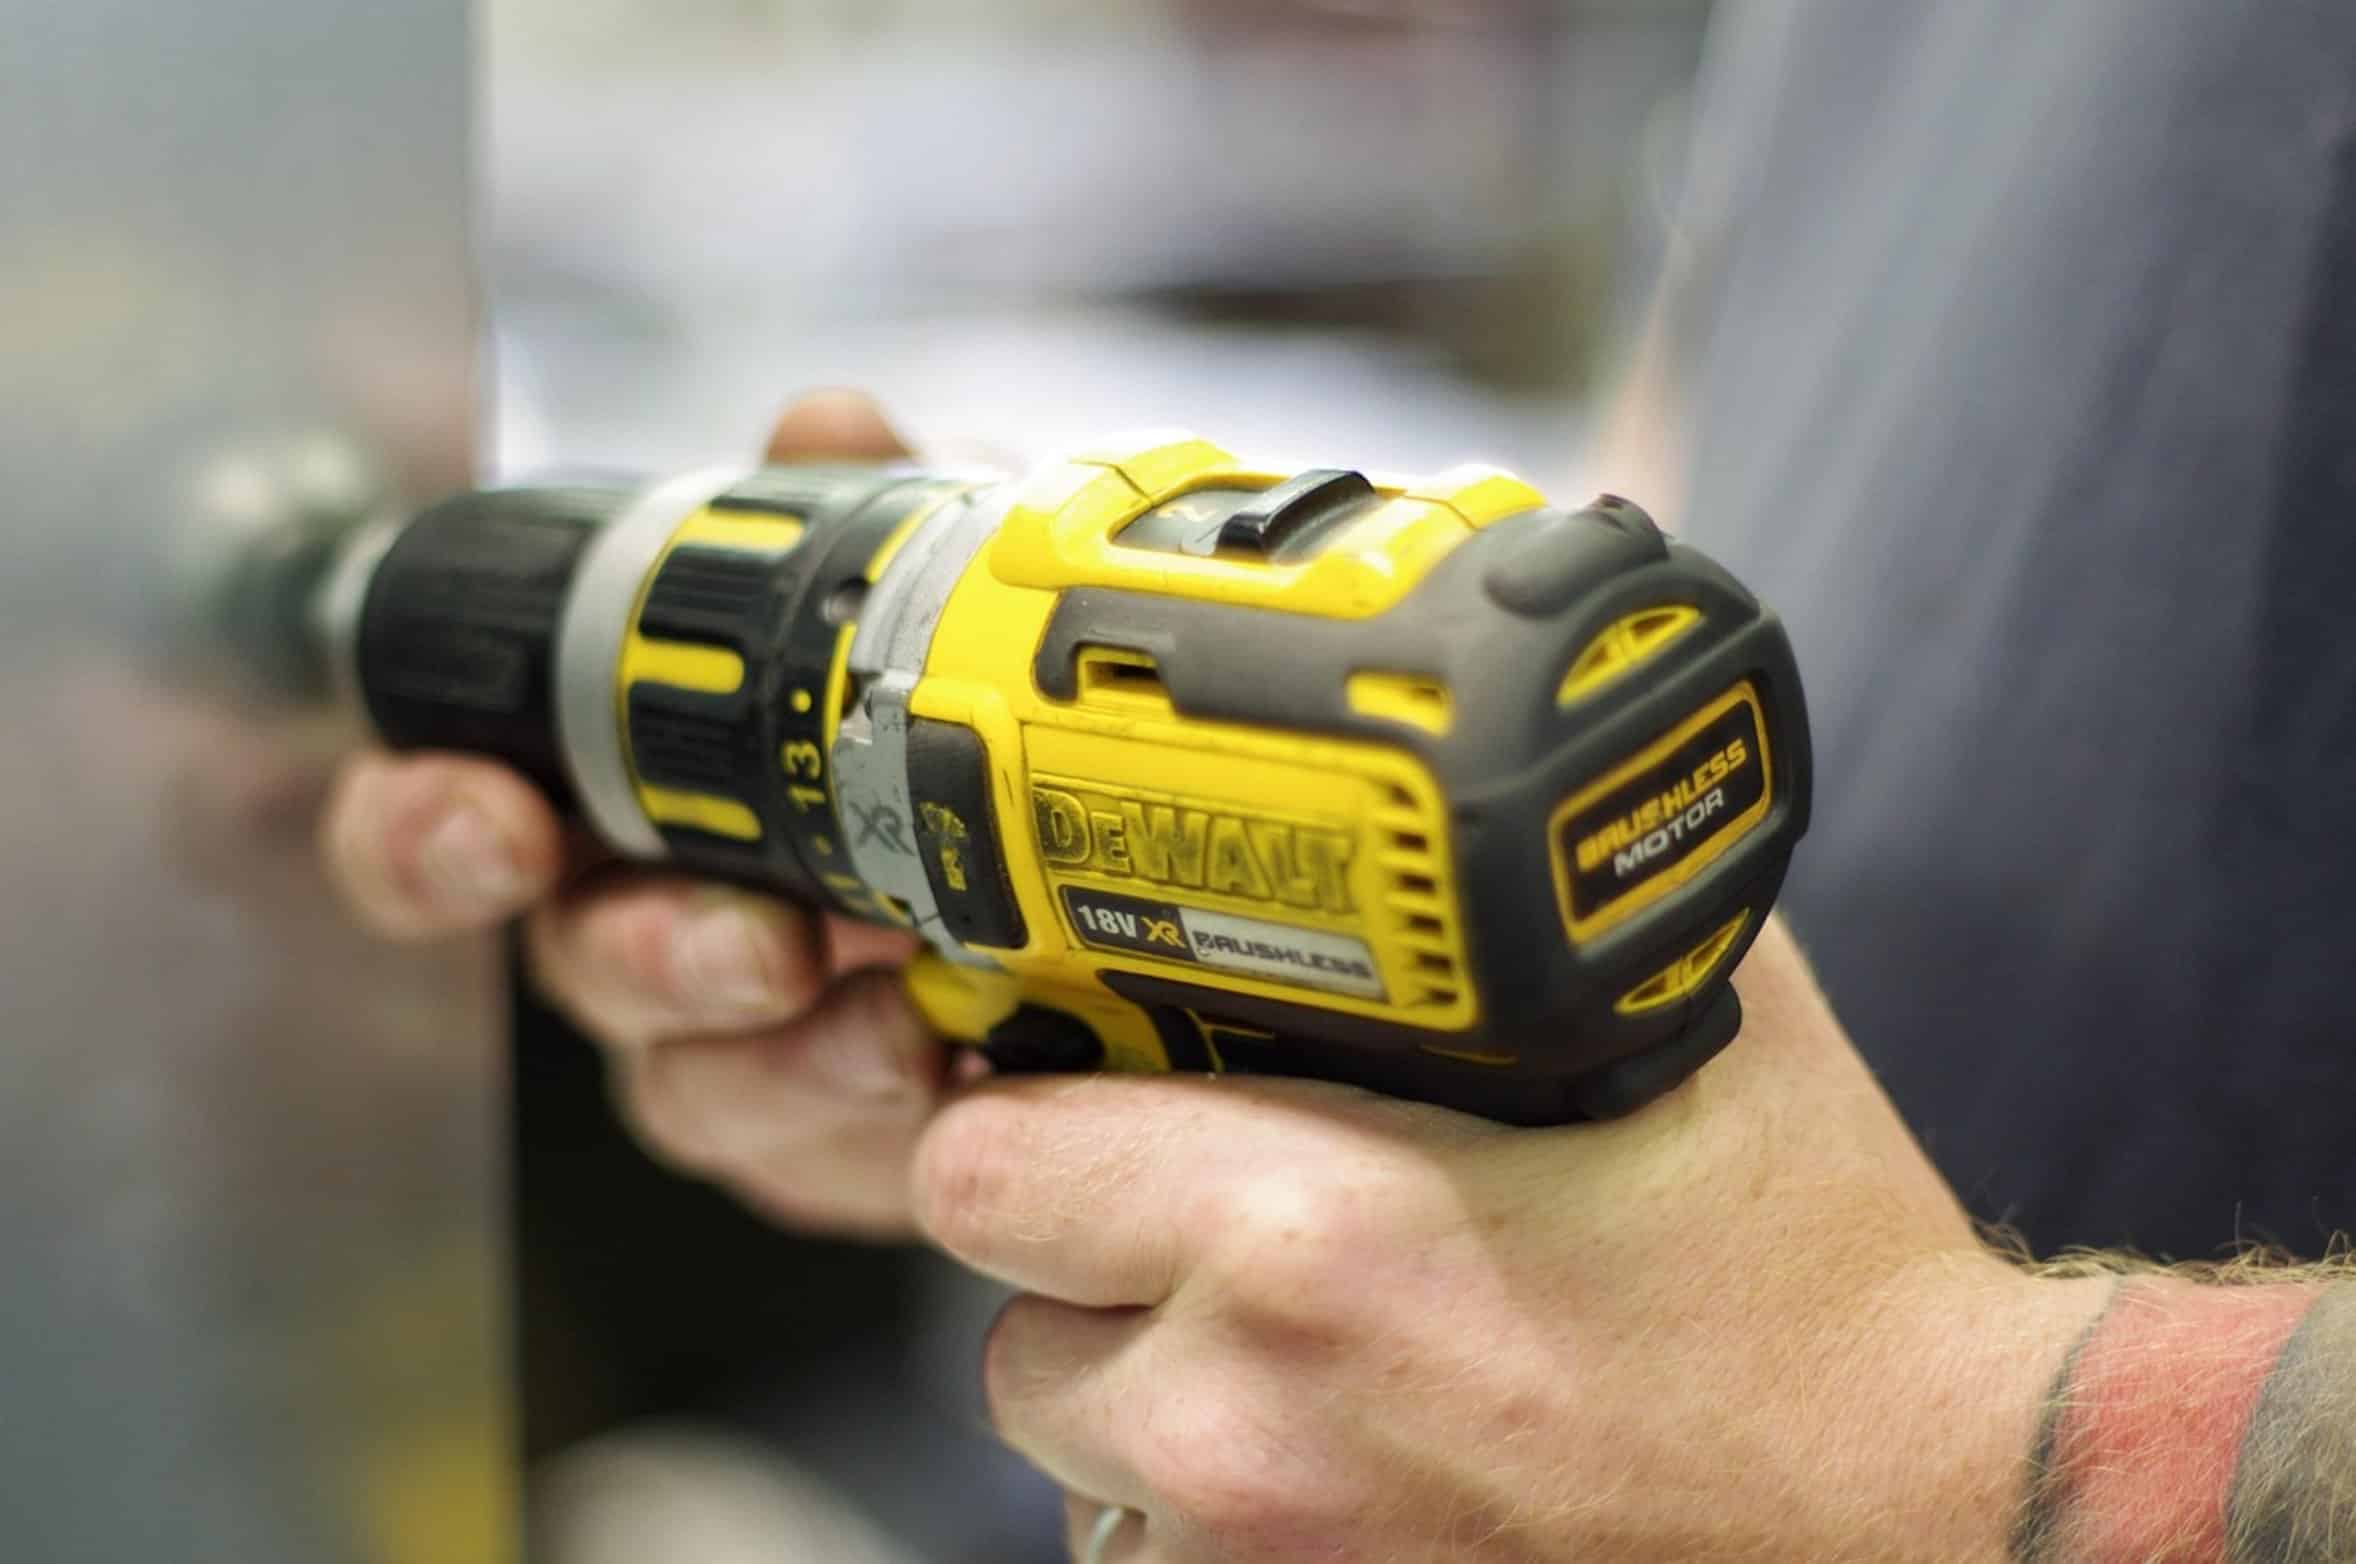
That’s the standard for most cordless drill (Ryobi, DeWalt, Milwaukee, etc.). Knowing which one you have completely determine how you change your bits. Fortunately, if you’re a homeowner, chances are you have the second type, which is easier for you.
How to Remove Bits from Keyless Chucks
Replacing bits on a keyless chuck take a little time and effort. The collar needs to be turned the opposite way the bit turns. On most drills, that’s counter clockwise on the front jaw assembly.
Grasp the collar in one hand while holding the rest of the drill with the other. Turn tightly. It’ll take some muscle.
Don’t get impatient; you may meet some pushback initially. That’s okay. They’re designed to hold on tight to keep bits from flying off during use.
A hammer won’t help; they just damage the threads. Instead, apply steady firm torque until the jaws release. Remove the old bit and slip the new one into place.
Then tighten the collar by turning it clockwise. The bit is stuck hard sometimes. Maybe you heated the bit up by friction or maybe you was trying to drive a screw in hard wood.
Fixing Stuck Drill Bits
Heat expands metal, creating a tight bond between the shank and the jaws. It expands then contracts. When that happens the jaws gets a good hold on the shank.
First let the drill cool off. Second try using a rubber glove. That provides more grip.
Third, very carefuly twist the bit and tap the end lightly with a hammer. The vibration will break the friction seal. Do not hit the chuck directly, that will ruin its alignment.
Usually a small hit on the bit release it. But wait! Do you realy have a keyed chuck?
Changing Bits on Keyed Chucks
If so, it’s another story. Out comes your trusty wrench. Anything with a handle that can fit on the screw head will suffice.
Forget the special key that the tool include. Loosen those screws by turning them counterclockwise. Feed the new bit into the chuck.
Tighten the screws up even. Now be sure to snug them down in a star pattern. Snug the first one then snug the next opposite.
Then snug the third, that centers the bit. A wobbly bit result in stripped screws and a wasted project. While slower than the wrench trick, it hold things together better for the big jobs.
Tightening Bits with Battery Power
Using Battery Power to Tighten Keyless Chucks Hand tighten the bit first then switch on the drill (forward rotation only). Hold down the trigger for about a second. Let go.
This cause the chuck to rotate and locks the bit into position. It provides maximum bite without unnecessary force. Just make sure you don’t hold it down too long because you can over tightens and destroy the internal mechanism.
A short burst will do. When you click it into readiness, you’re ready to go. The system runs well if it is maintained.
Cleaning and Maintaining Drill Chucks
Wood shavings and dust creep into the jaws. It’s like grit on a hinge. Periodically blow the chuck out with compressed air.
Every couple of months put a drop or two of light machine oil on the jaws. This protect them from corrosion and allow for a smooth twisting action. A well-tuned chuck make changing bits easy.
No struggle at all. That was the point, make it work easily. When the tools is doing their job, you’re moving right along.
Getting back to the build rather than fighting the equipment. You should of known that.