
The snap is high-pitched, a warning sound of trouble in the workshop. There’s been some failure of metal, and now there is fresh hole in wall or on the floor. The drill come out with confidence, only for the bit to shear cleanly away.
Oh no, not again…bad luck? No, not realy. Bit breakage typically result from material mismatch or poor technique, which is why the bit fail.
Most DIYers and wood workers believe their drill bits are consumable tools that slowly become duller as more hole is drilled. Not true. If you care for a good drill bit (Milwaukee, DeWalt, etc), it should of being capable of punching hundreds of holes in wood before needing replacement.
How To Stop Your Drill Bits From Breaking
Why Drill Bits Break
And when one do finally fail, it’s almost always due to a lack of understanding of the nature of twist drills. They don’t “cut” like a knife; they scrape and chip their way along. Knowing this help change your approach at the trigger.
Twist Drill Mechanics
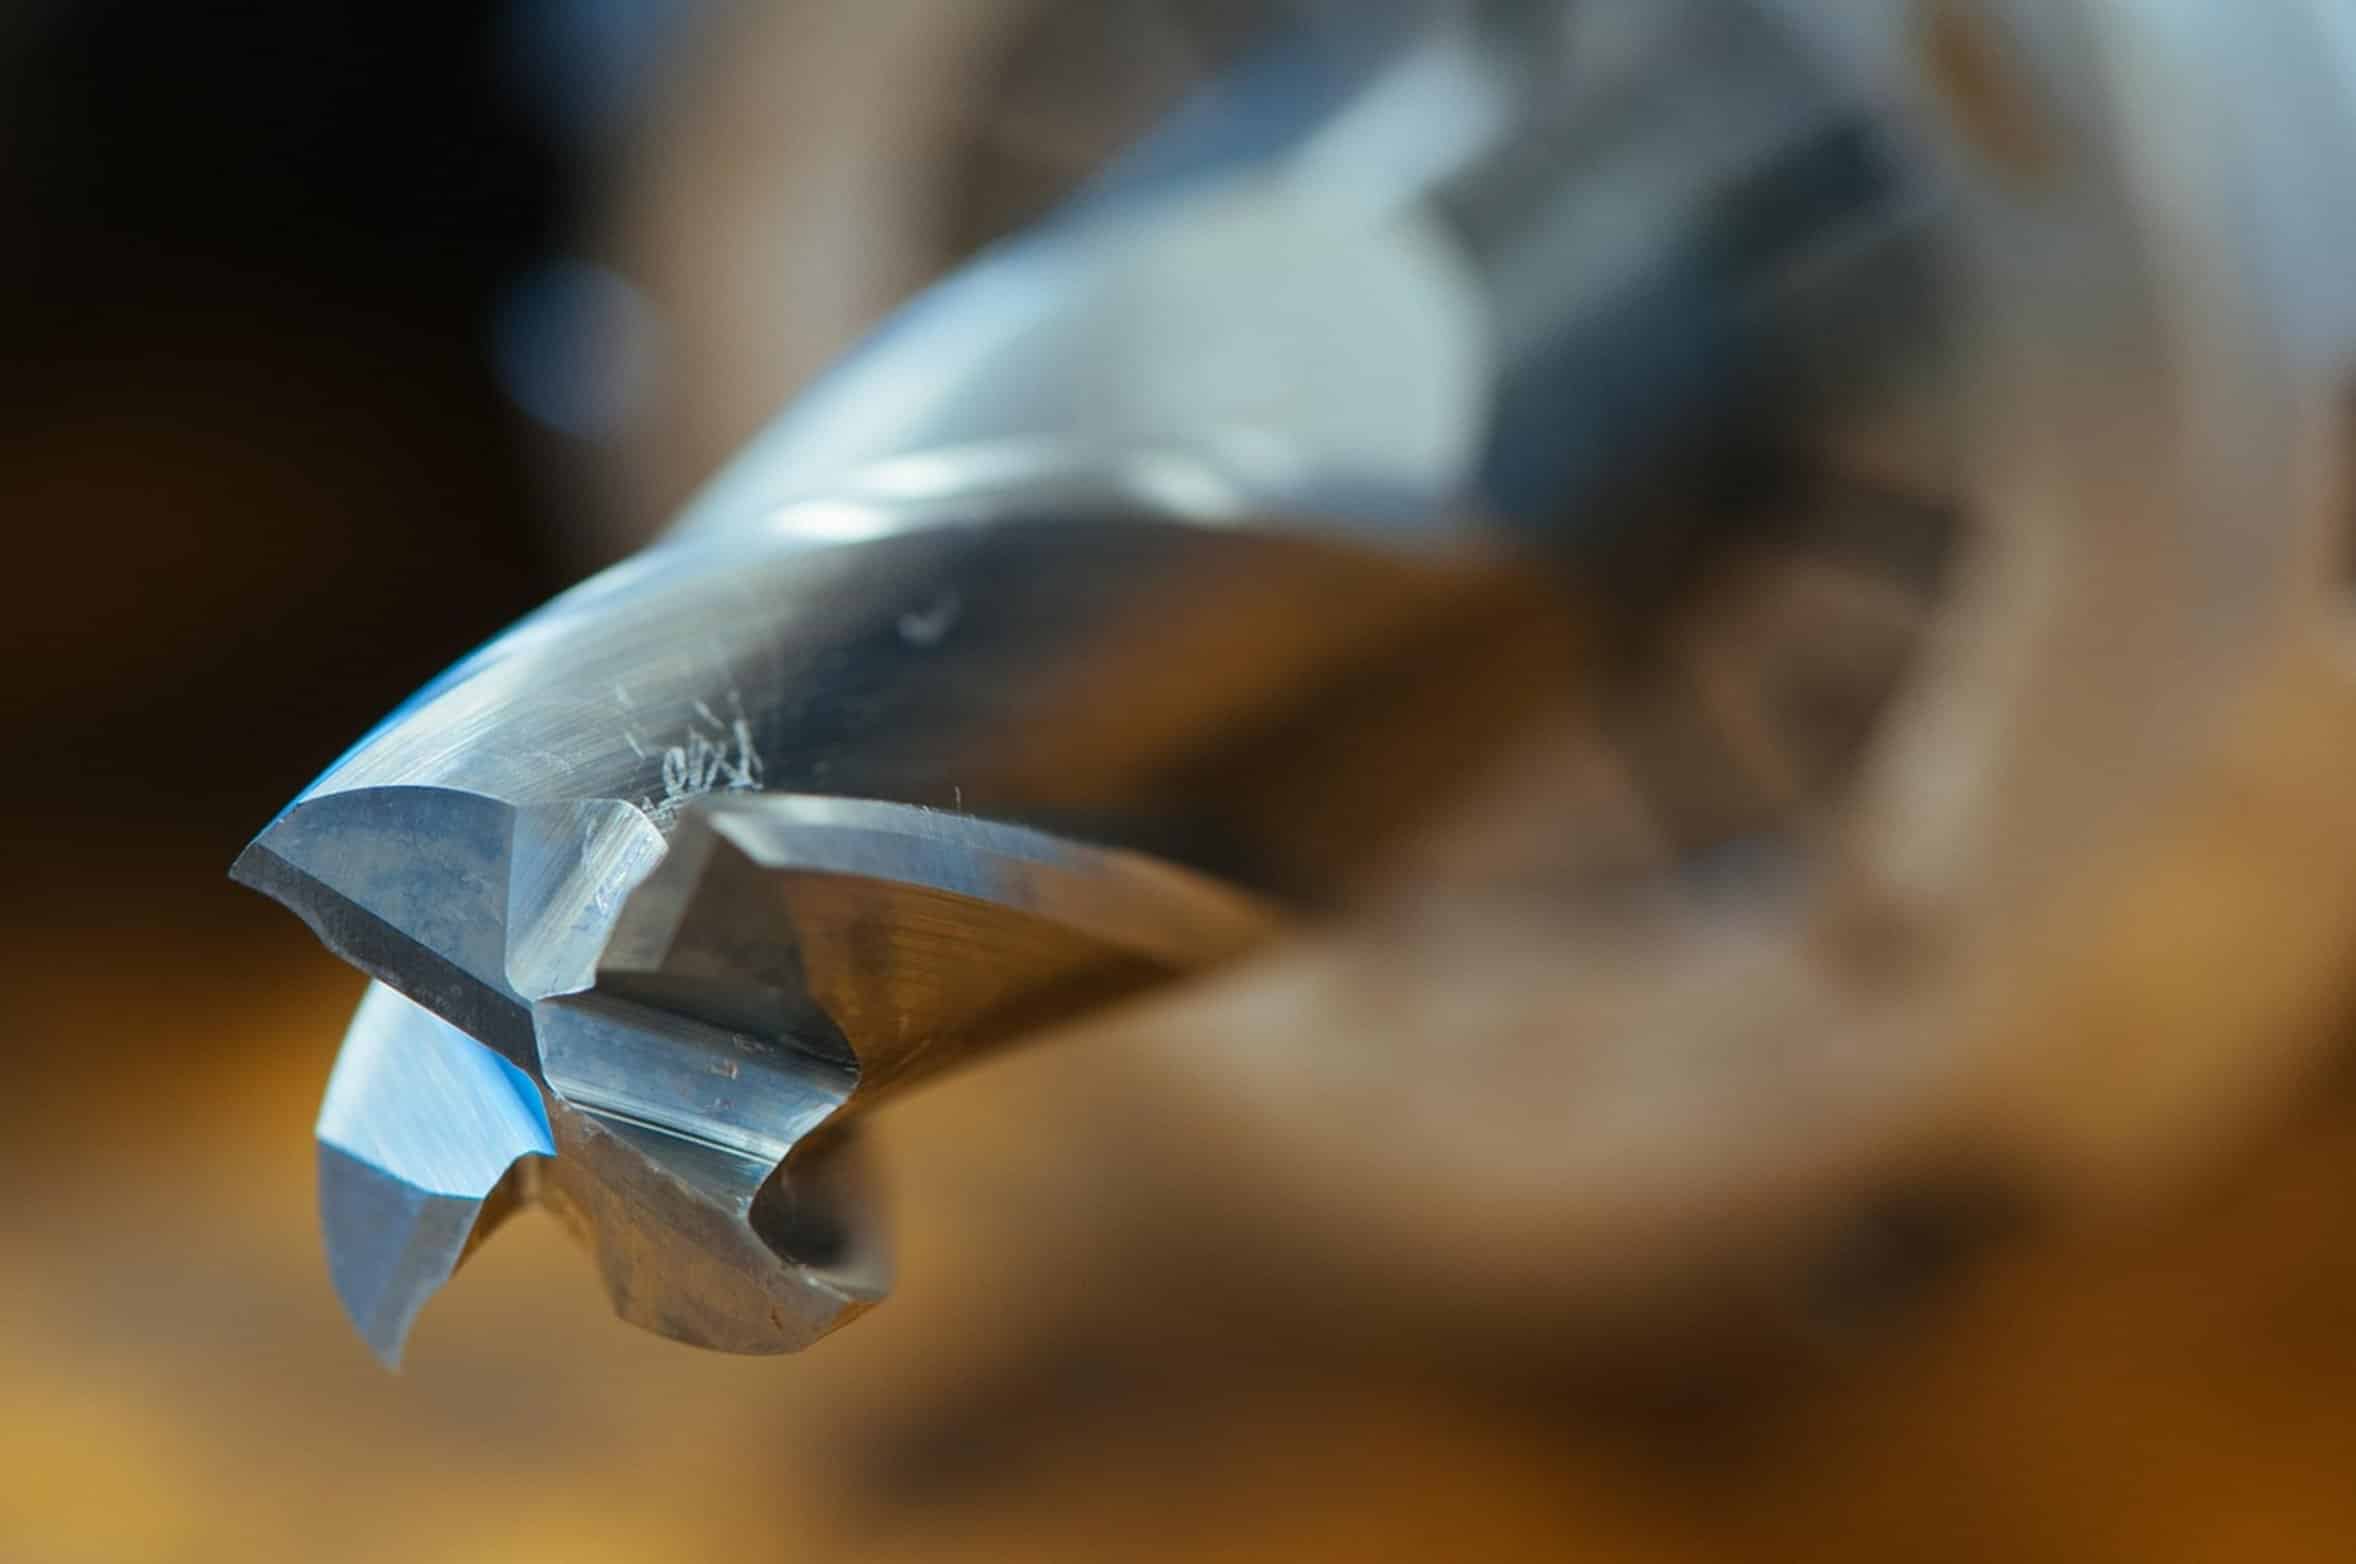
One of the biggest offenders here is starting too quickly. Heat is bad, heat will softens the steel. Pushing it too hard will even burnish the carbide tips, causing them to lose their hardness or “temper”.
Starting Technique
What you realy want to do is have the bit bite softly initially. Start at a low RPM to establish the groove. Get that groove going at a slow RPM.
Once the chips start flying and the tip bite into the wood, you can increase your RPMs. The bit doesn’t know what to do when you rev it up instantly; it spin but doesn’t cut, which frustrate the tool.
The Importance of Clamping
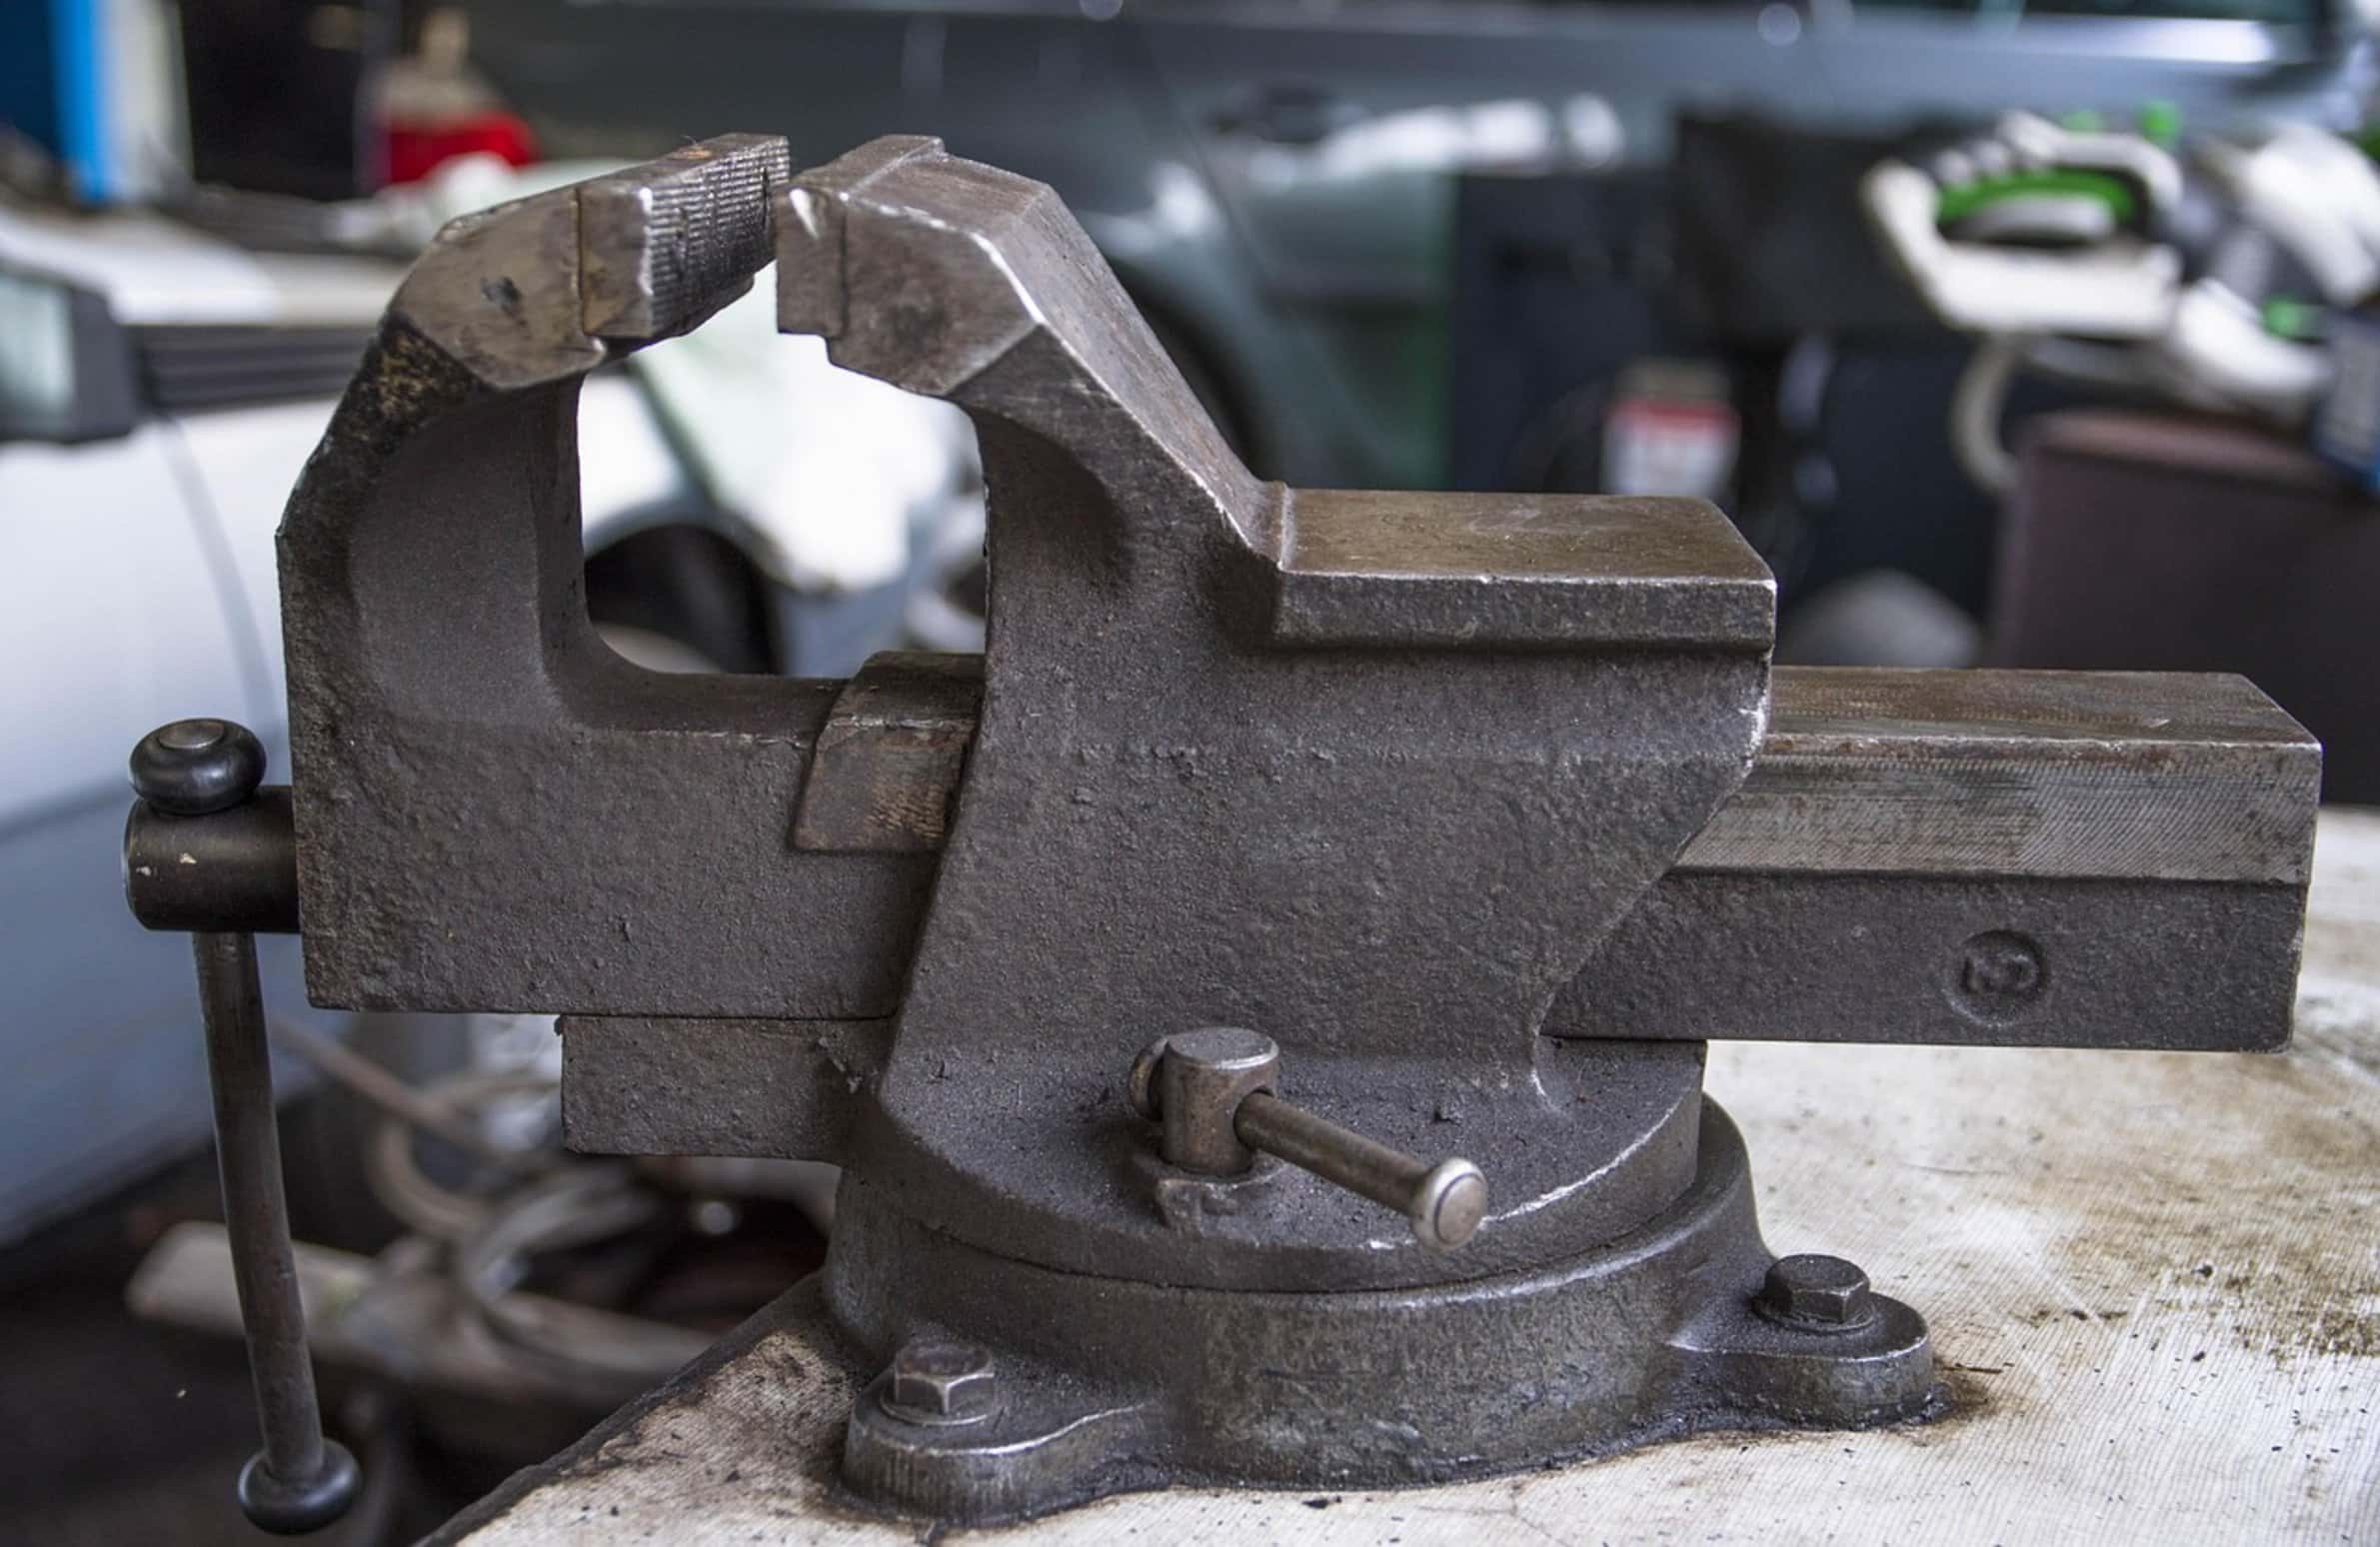
Clamping is non negotiable Drilling without holding down a piece of wood are a recipe for disaster, you’re going to have one hand holding the wood in place while you try to use your other to drill, right?
That make it likely that the drill will spin out of control and bind when it meet any resistance (even a fraction of an inch). When the bit binds, it create immediate torque which is more than the tensile strength of the metal, and SNAP! Your best bits is destroyed.
Secure your material using clamps or a vice. Sounds simple right? That’s why so many people new to this hobby destroys their best bits.
Managing Pressure
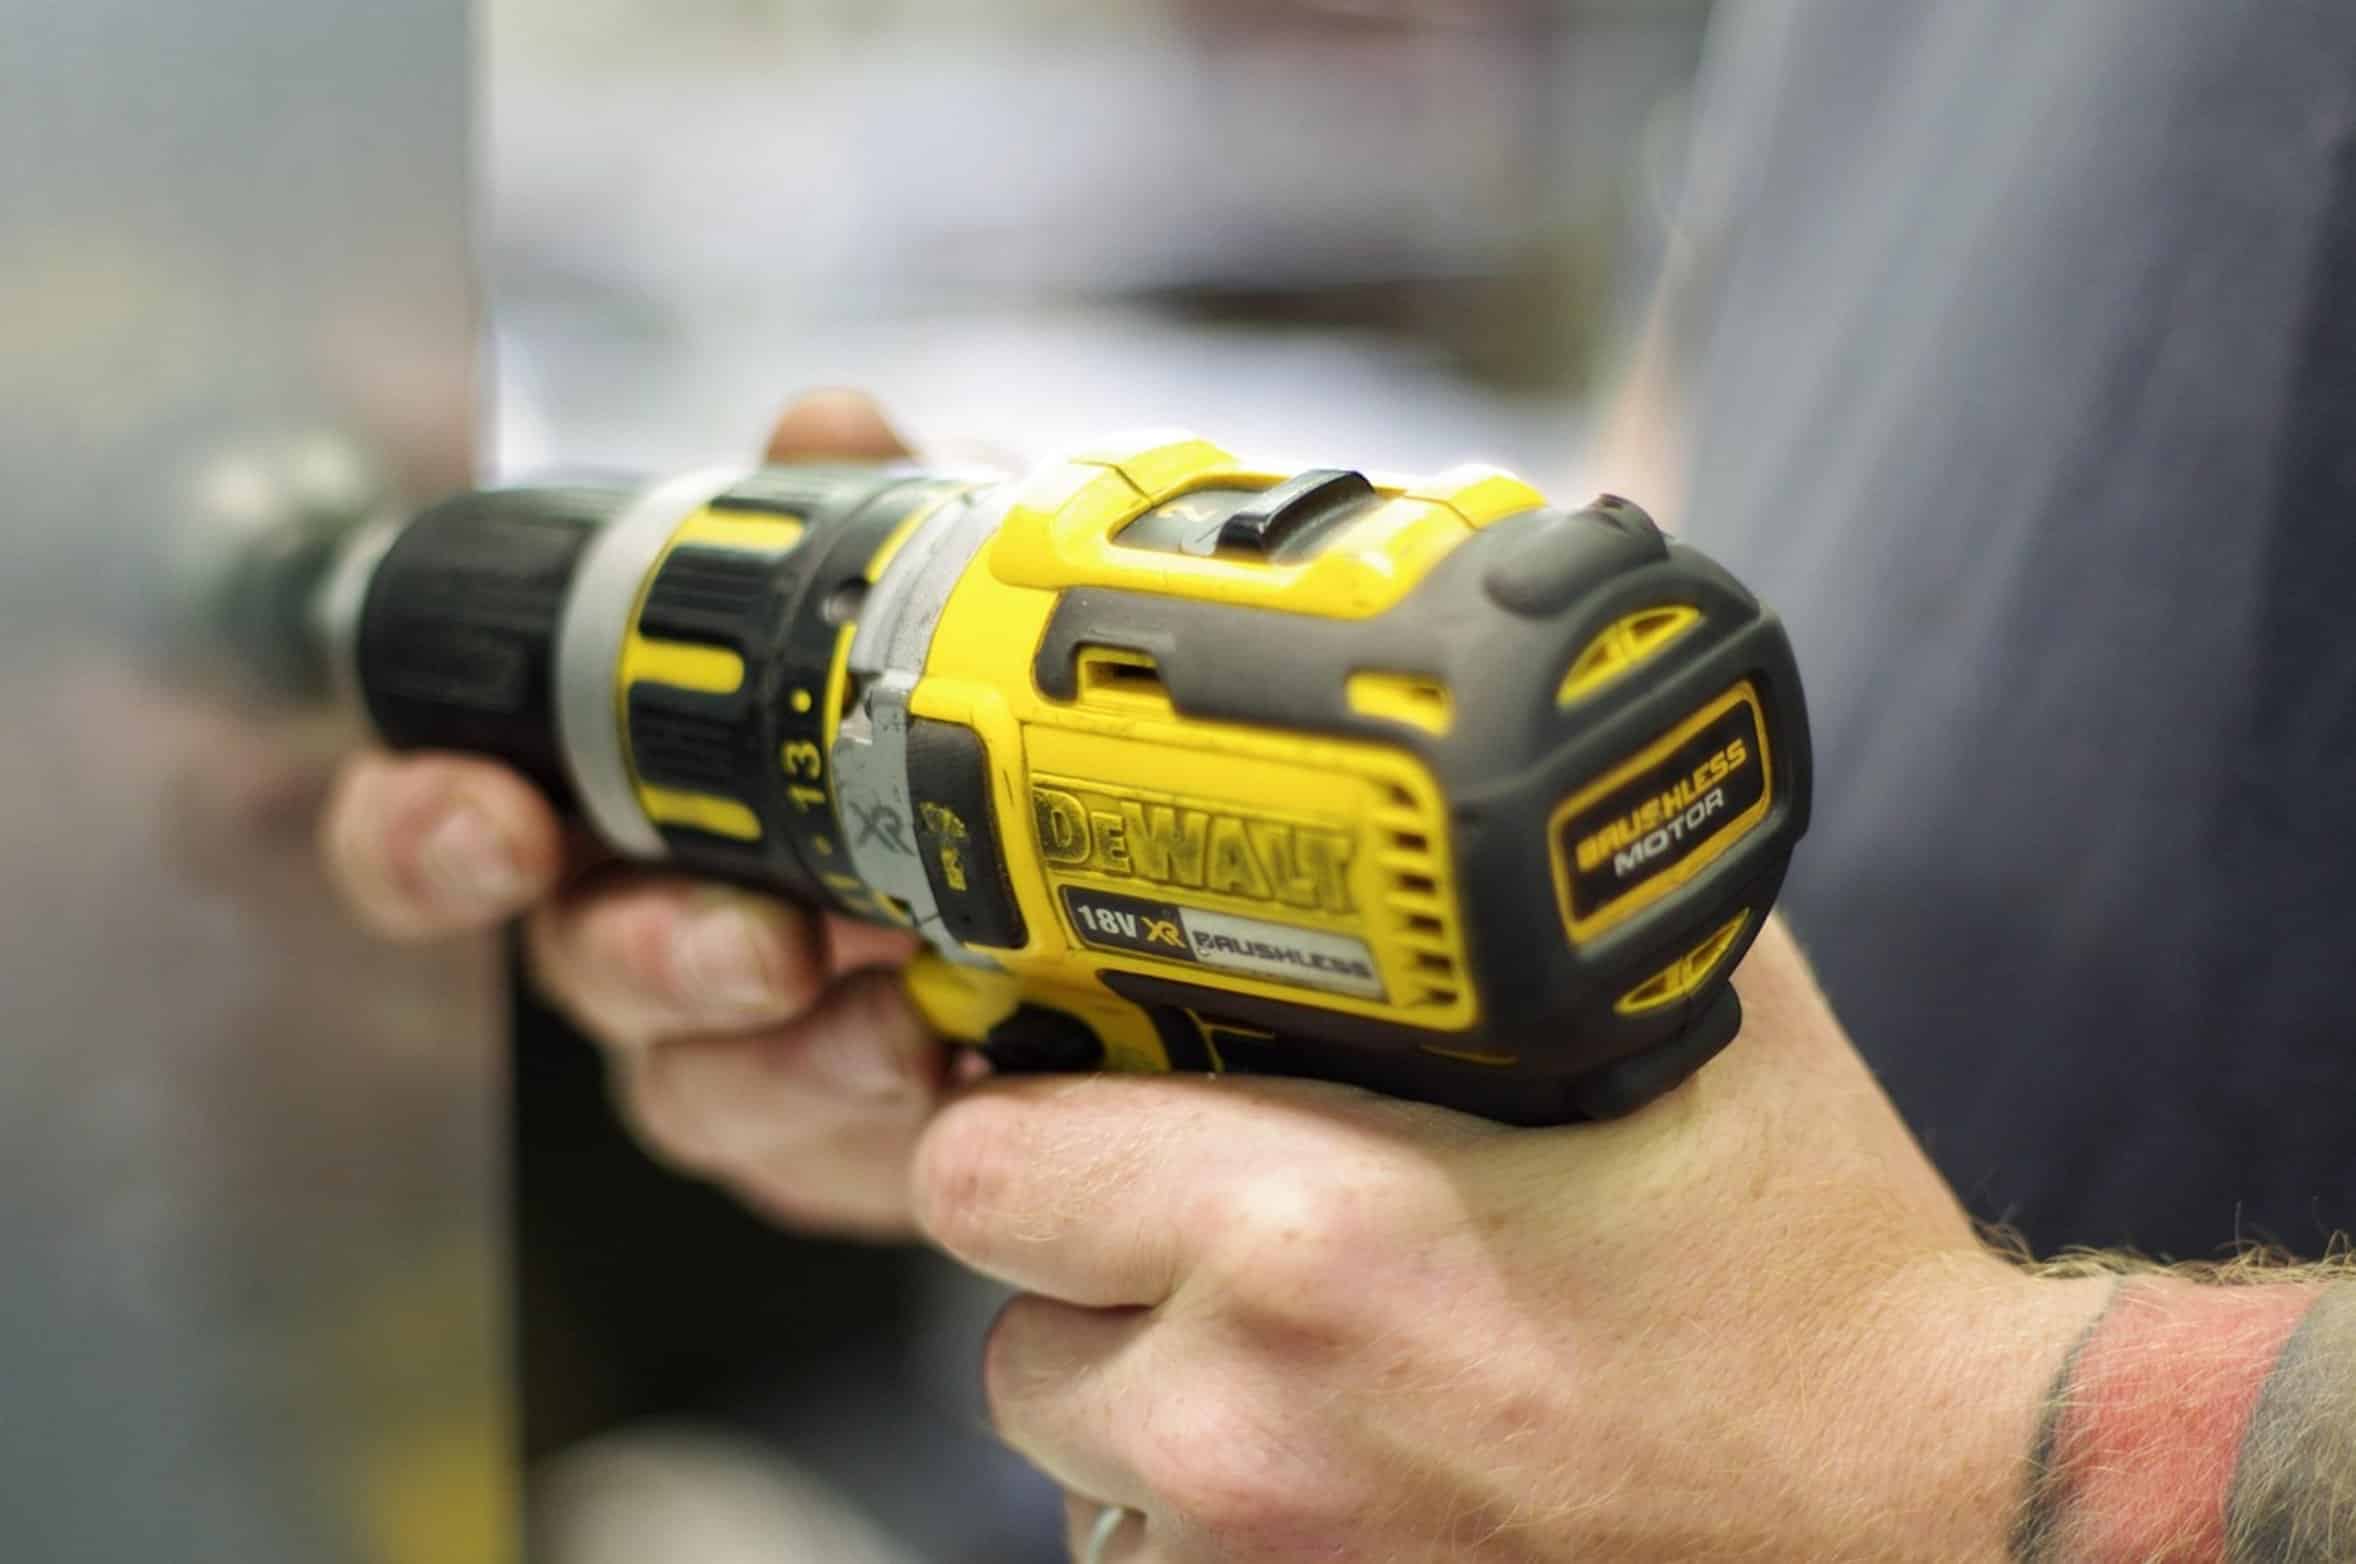
Let the machine twist the thing, don’t let your grip twist it or your wrist twist it. Finally, we have pressure management which is where our intuitions fail again. Force = Speed right?
Wrong. Excessive downward force simply crush the cutting edge. It cause friction heat too.
Let the sharp teeth do the work. Moderate steady pressure are all that’s needed. Listen to your motor and guide the drill.
When you hear it slow down, you’re pushing too hard. When you feel the sound change to a higher whine, you’re binding. Trust the shape of the bit.
It want to cut, not crush.
Controlling Heat and Friction
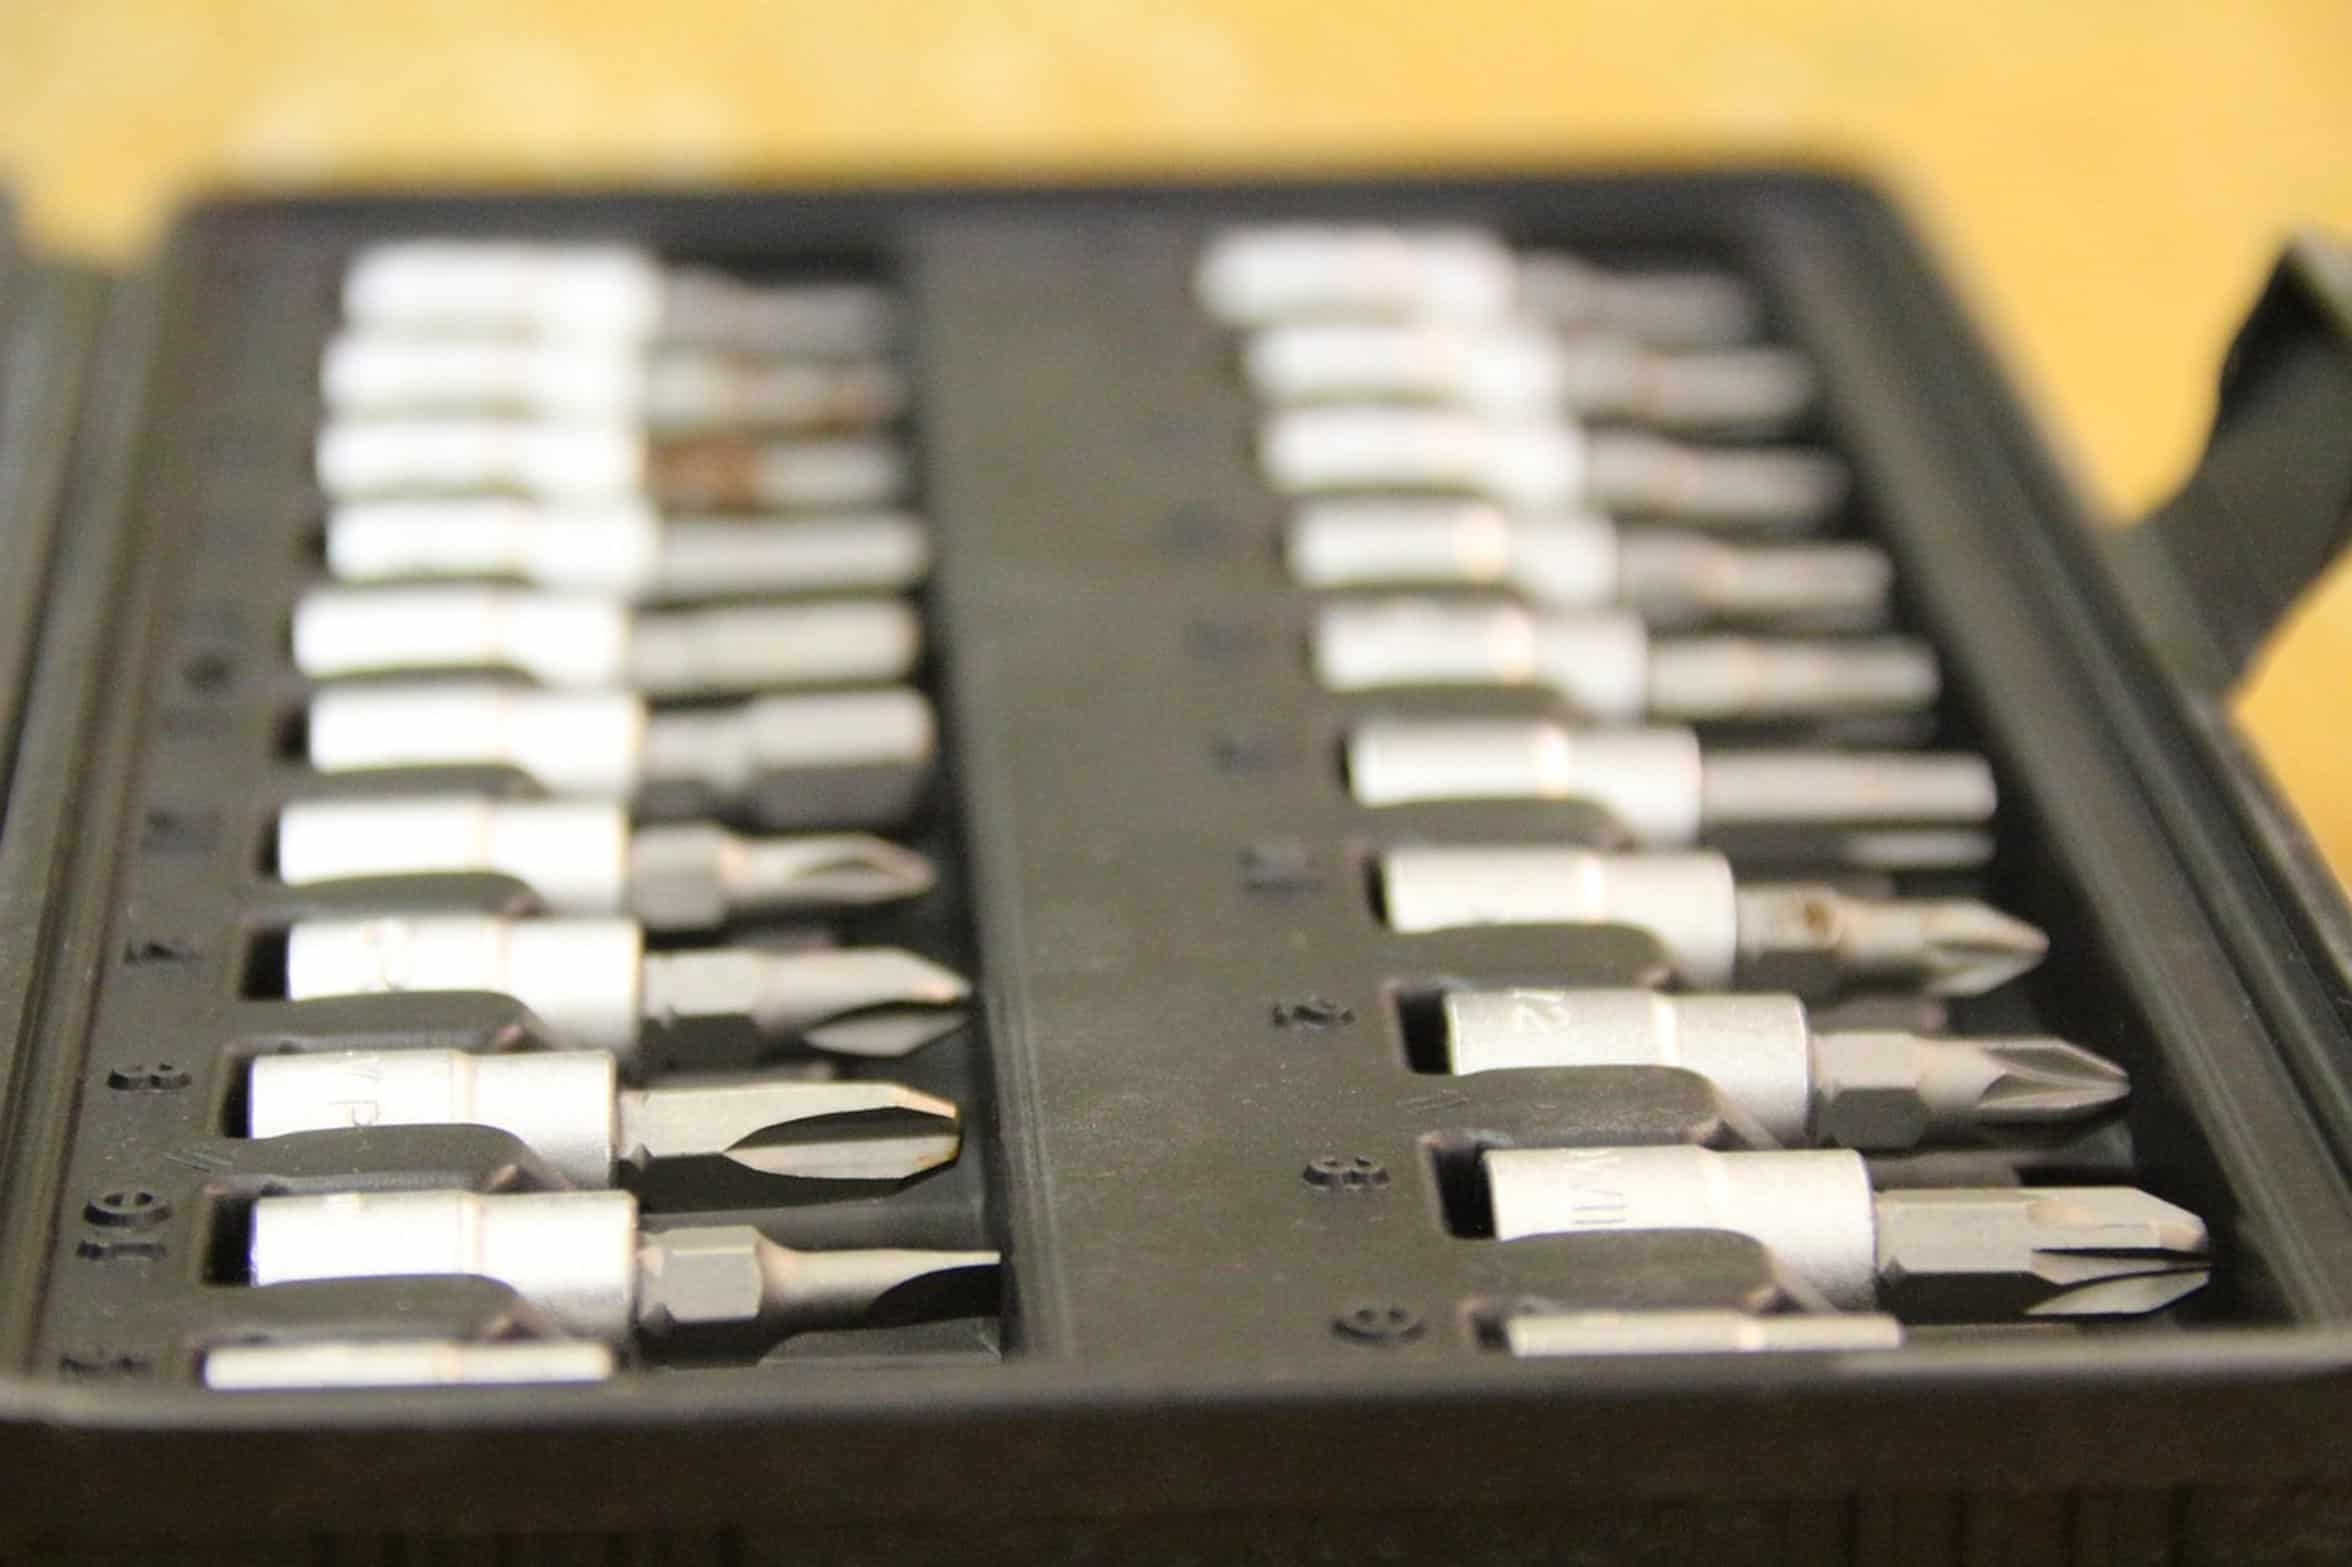
Heat is the silent killer of drill bits. The heat of friction melt the microscopic structure of the steel and turns the hardened cutting edge into that of soft iron.
This is particularly important with aluminum or steel drilling application. Coolant will prevent glazing and allow the bit to continue cutting. If no coolant are used, the bit soon grind rather than cuts and gets hot fast until it’s done.
Adding a few drops of cutting oil (even water in the case of wood) will help keep the heat down. This allow the drill bit to remain sharp longer and extends its life by a large amount. This little trick pays off big.
Choosing the Right Bit
The other mistake we make too often is selecting the incorrect bit for the task at hand. You don’t want to use a basic wood bit on masonry. Likewise a general purpose bit doesn’t have an aggressive flute design that help remove debris effectively.
For example, when drilling in brick, you need a carbide tipped masonry bit. When drilling through steel, you’ll want a black oxide or cobalt bit. The point being if you match your material with the correct bit, you can get the best performance from the cutting edge for that given resistance.
Using a general purpose bit for heavy duty application is simply begging for trouble.
Checking Sharpness and Maintenance
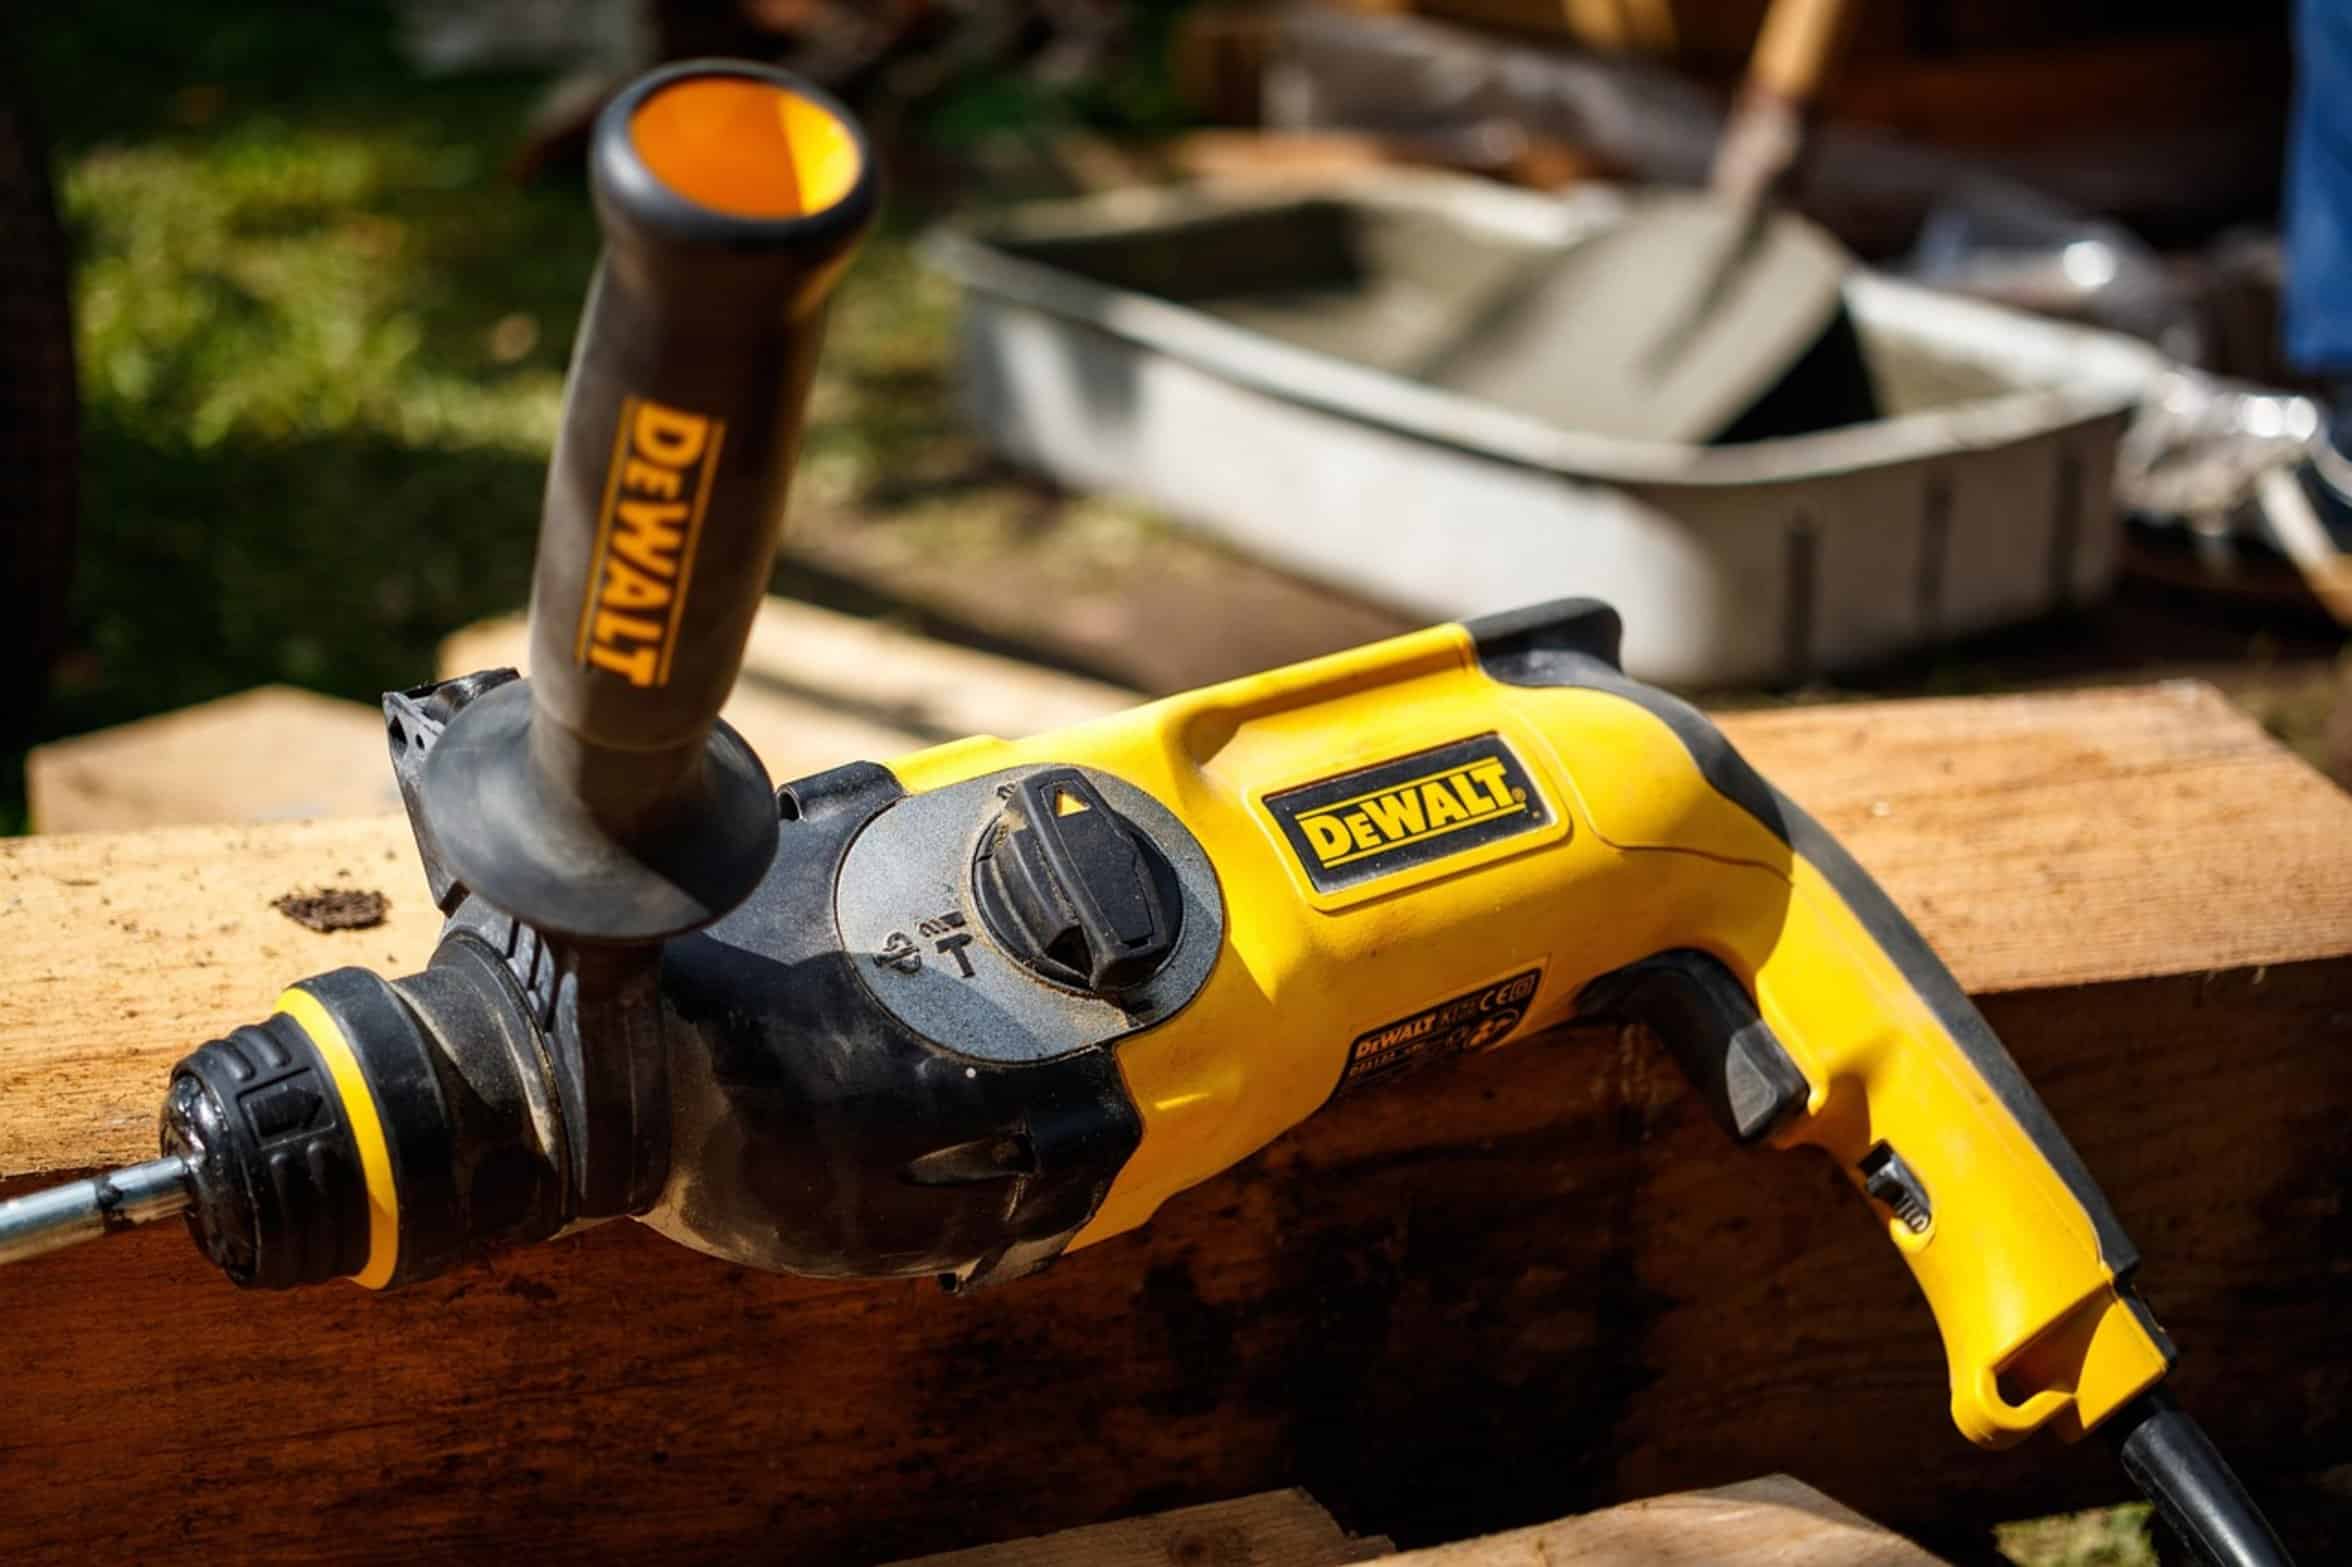
And lastly, think about how sharp your point is. The more force needed to punch the wood, the less good it will cut.
The more force are used, the more heat is generated. This leads to more binding, and it continues like that. Look at your bits.
Check them often. Do you see any roundness in the tip? Are the flutes clogged with the resin of the wood?
Time for some action. It’s easier to hone a bit or replace one than it is to replace what it’s cutting. A sharp bit chips well and therefore cool by its own actions while leaving a clean cut.
Finding the Sweet Spot
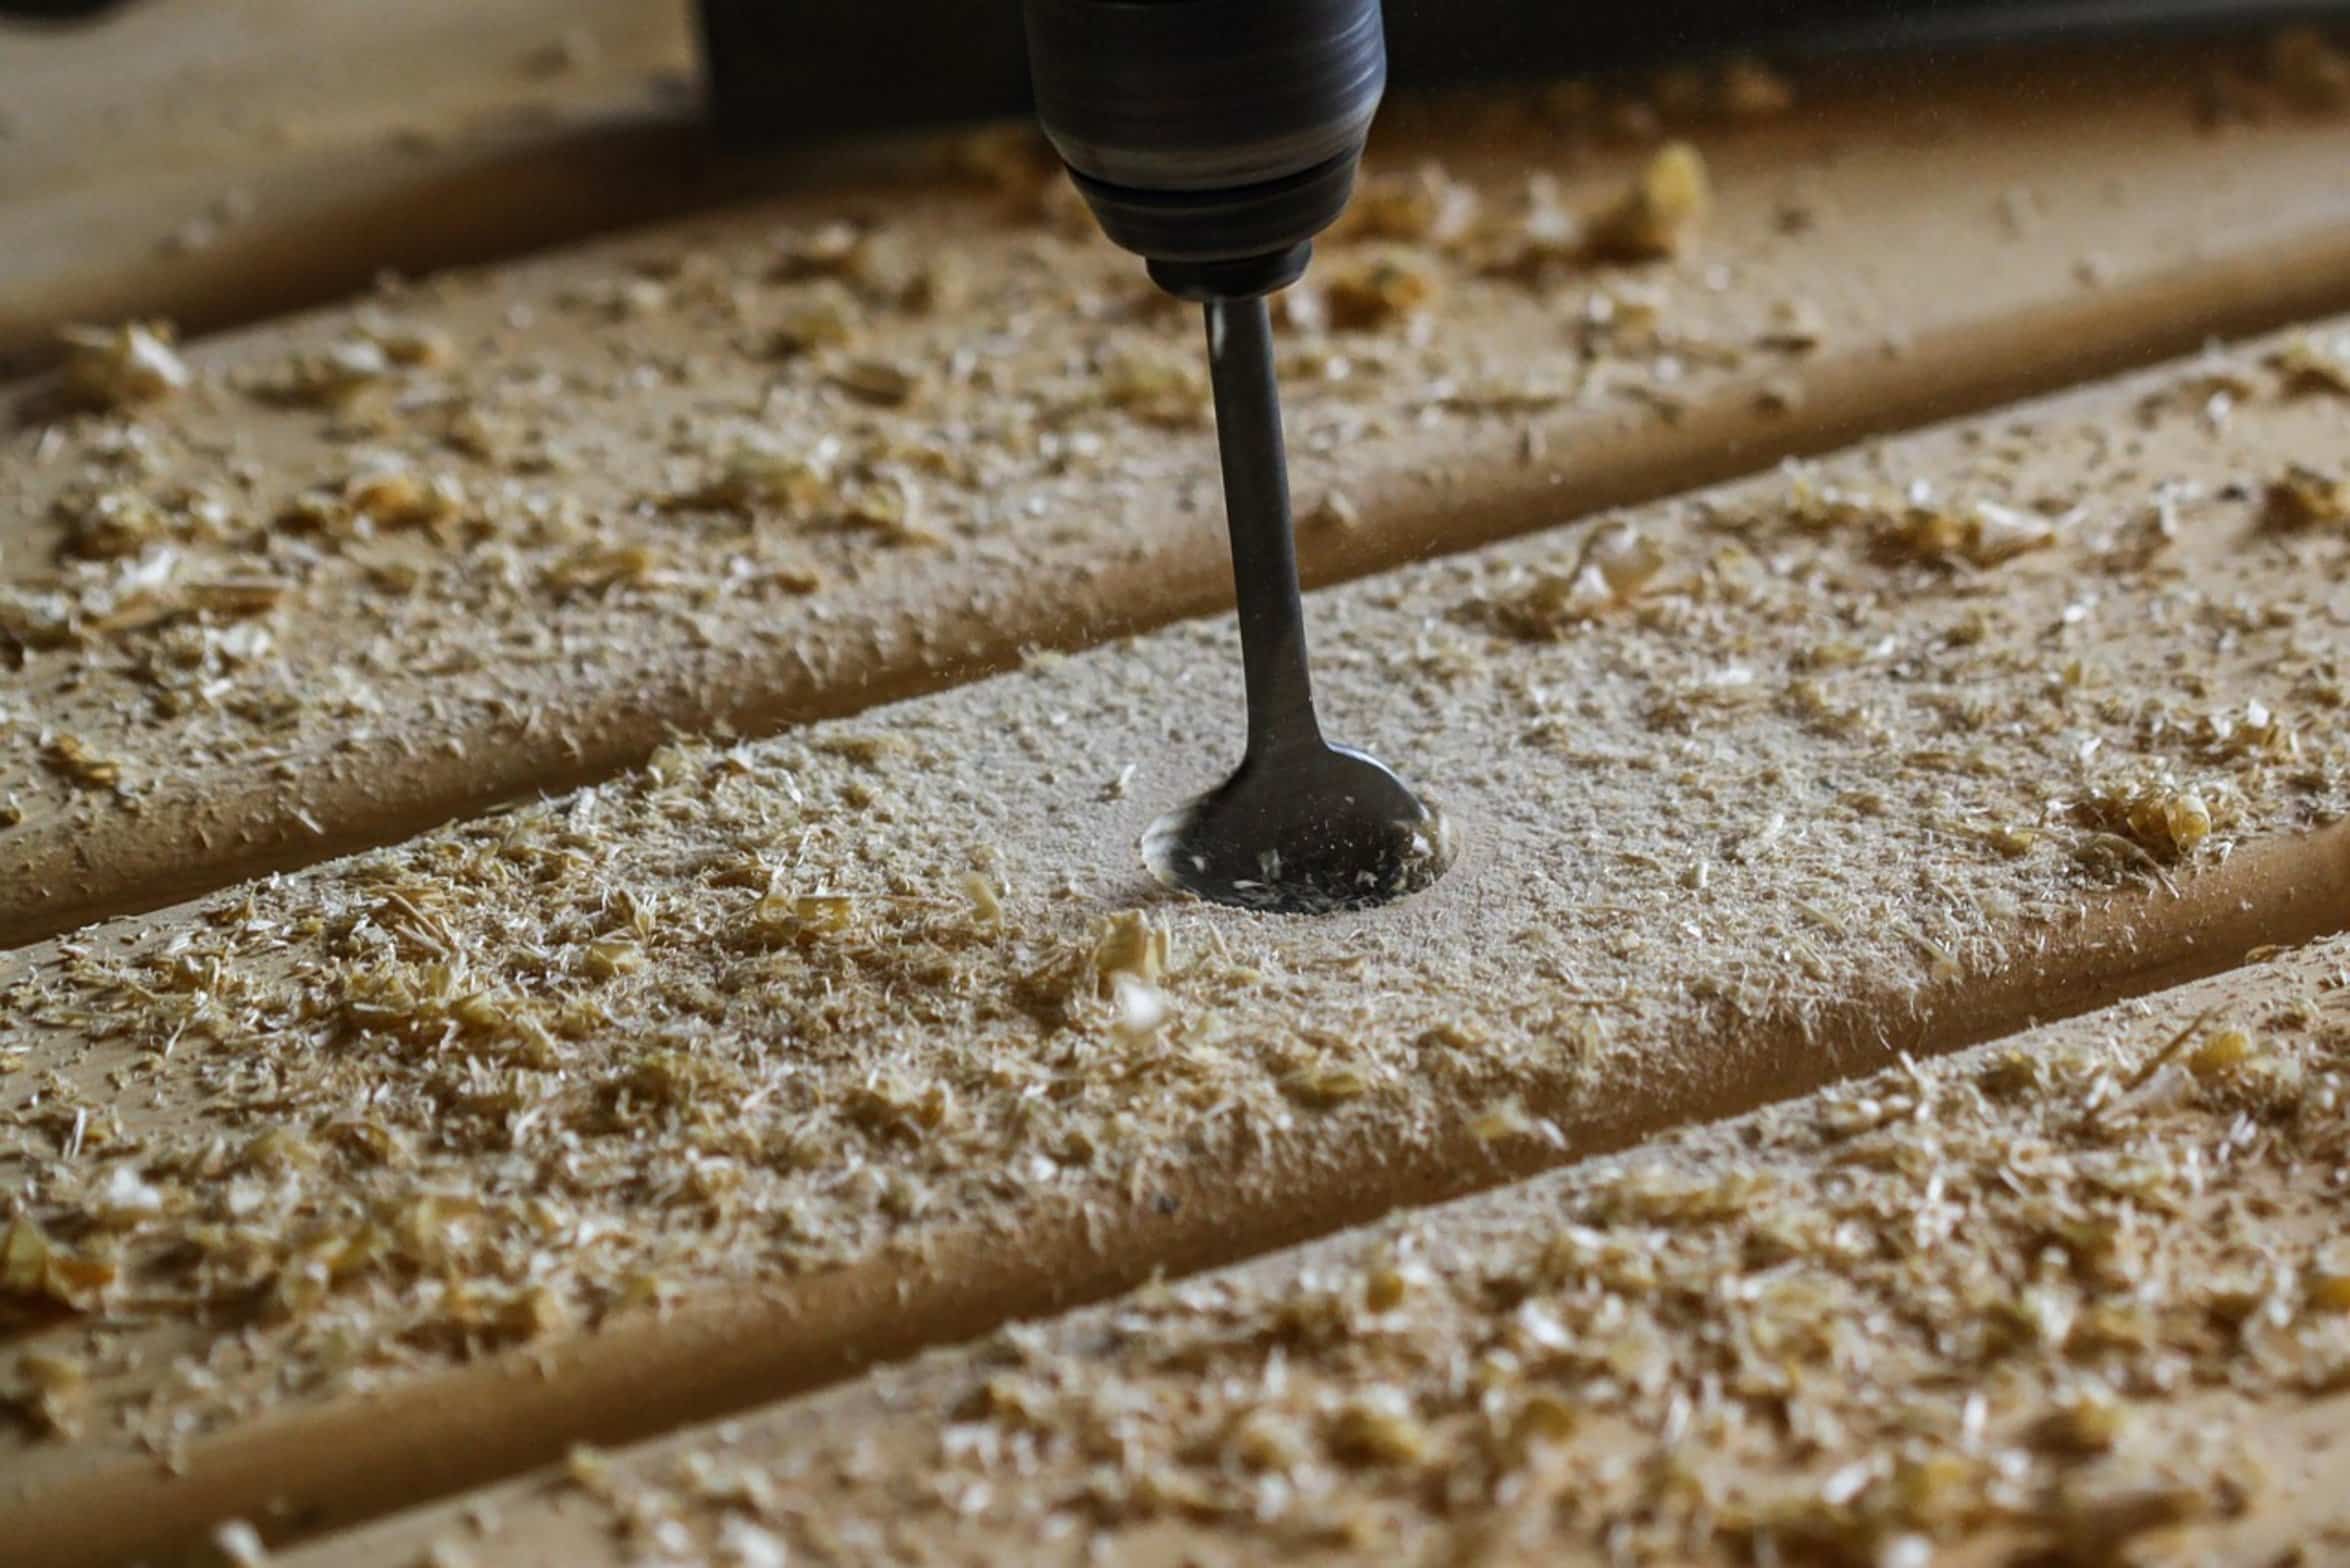
So what I mean by drilling is you don’t want to go crazy and just start putting pressure on it. You also don’t want to spin it like crazy either. There’s a sweet spot where it’s both.
Go slow but not too slow. Apply some light pressure but not too much pressure. Let your cutting edge do its thing.
Use your head (and apply a little elbow grease). You’ll get better holes, keep your bits for longer, and say goodbye to that awful snapping noise.