
Screwdriver in one hand, drill in the other; you’re standing at the workbench, ready to go. It’s an easy job with just one little hole. All you have to do is take out the closest bit from the jumble-in-a-mug on the countertop.
But that’s bad practice, it can lead to stripped screw heads, walking the bit across some slick surface, and even ruining whole piece. Sometimes it comes down to shape of the bit, and whether it makes a clean hole or jagged mark. Drill bits is like most tools; they are generic.
Using a wood bit on metal is asking for a broken tip. Metal is metal right? Wrong.
Key Differences Between Metal And Wood Drill Bits
The Importance of Using Correct Drill Bits
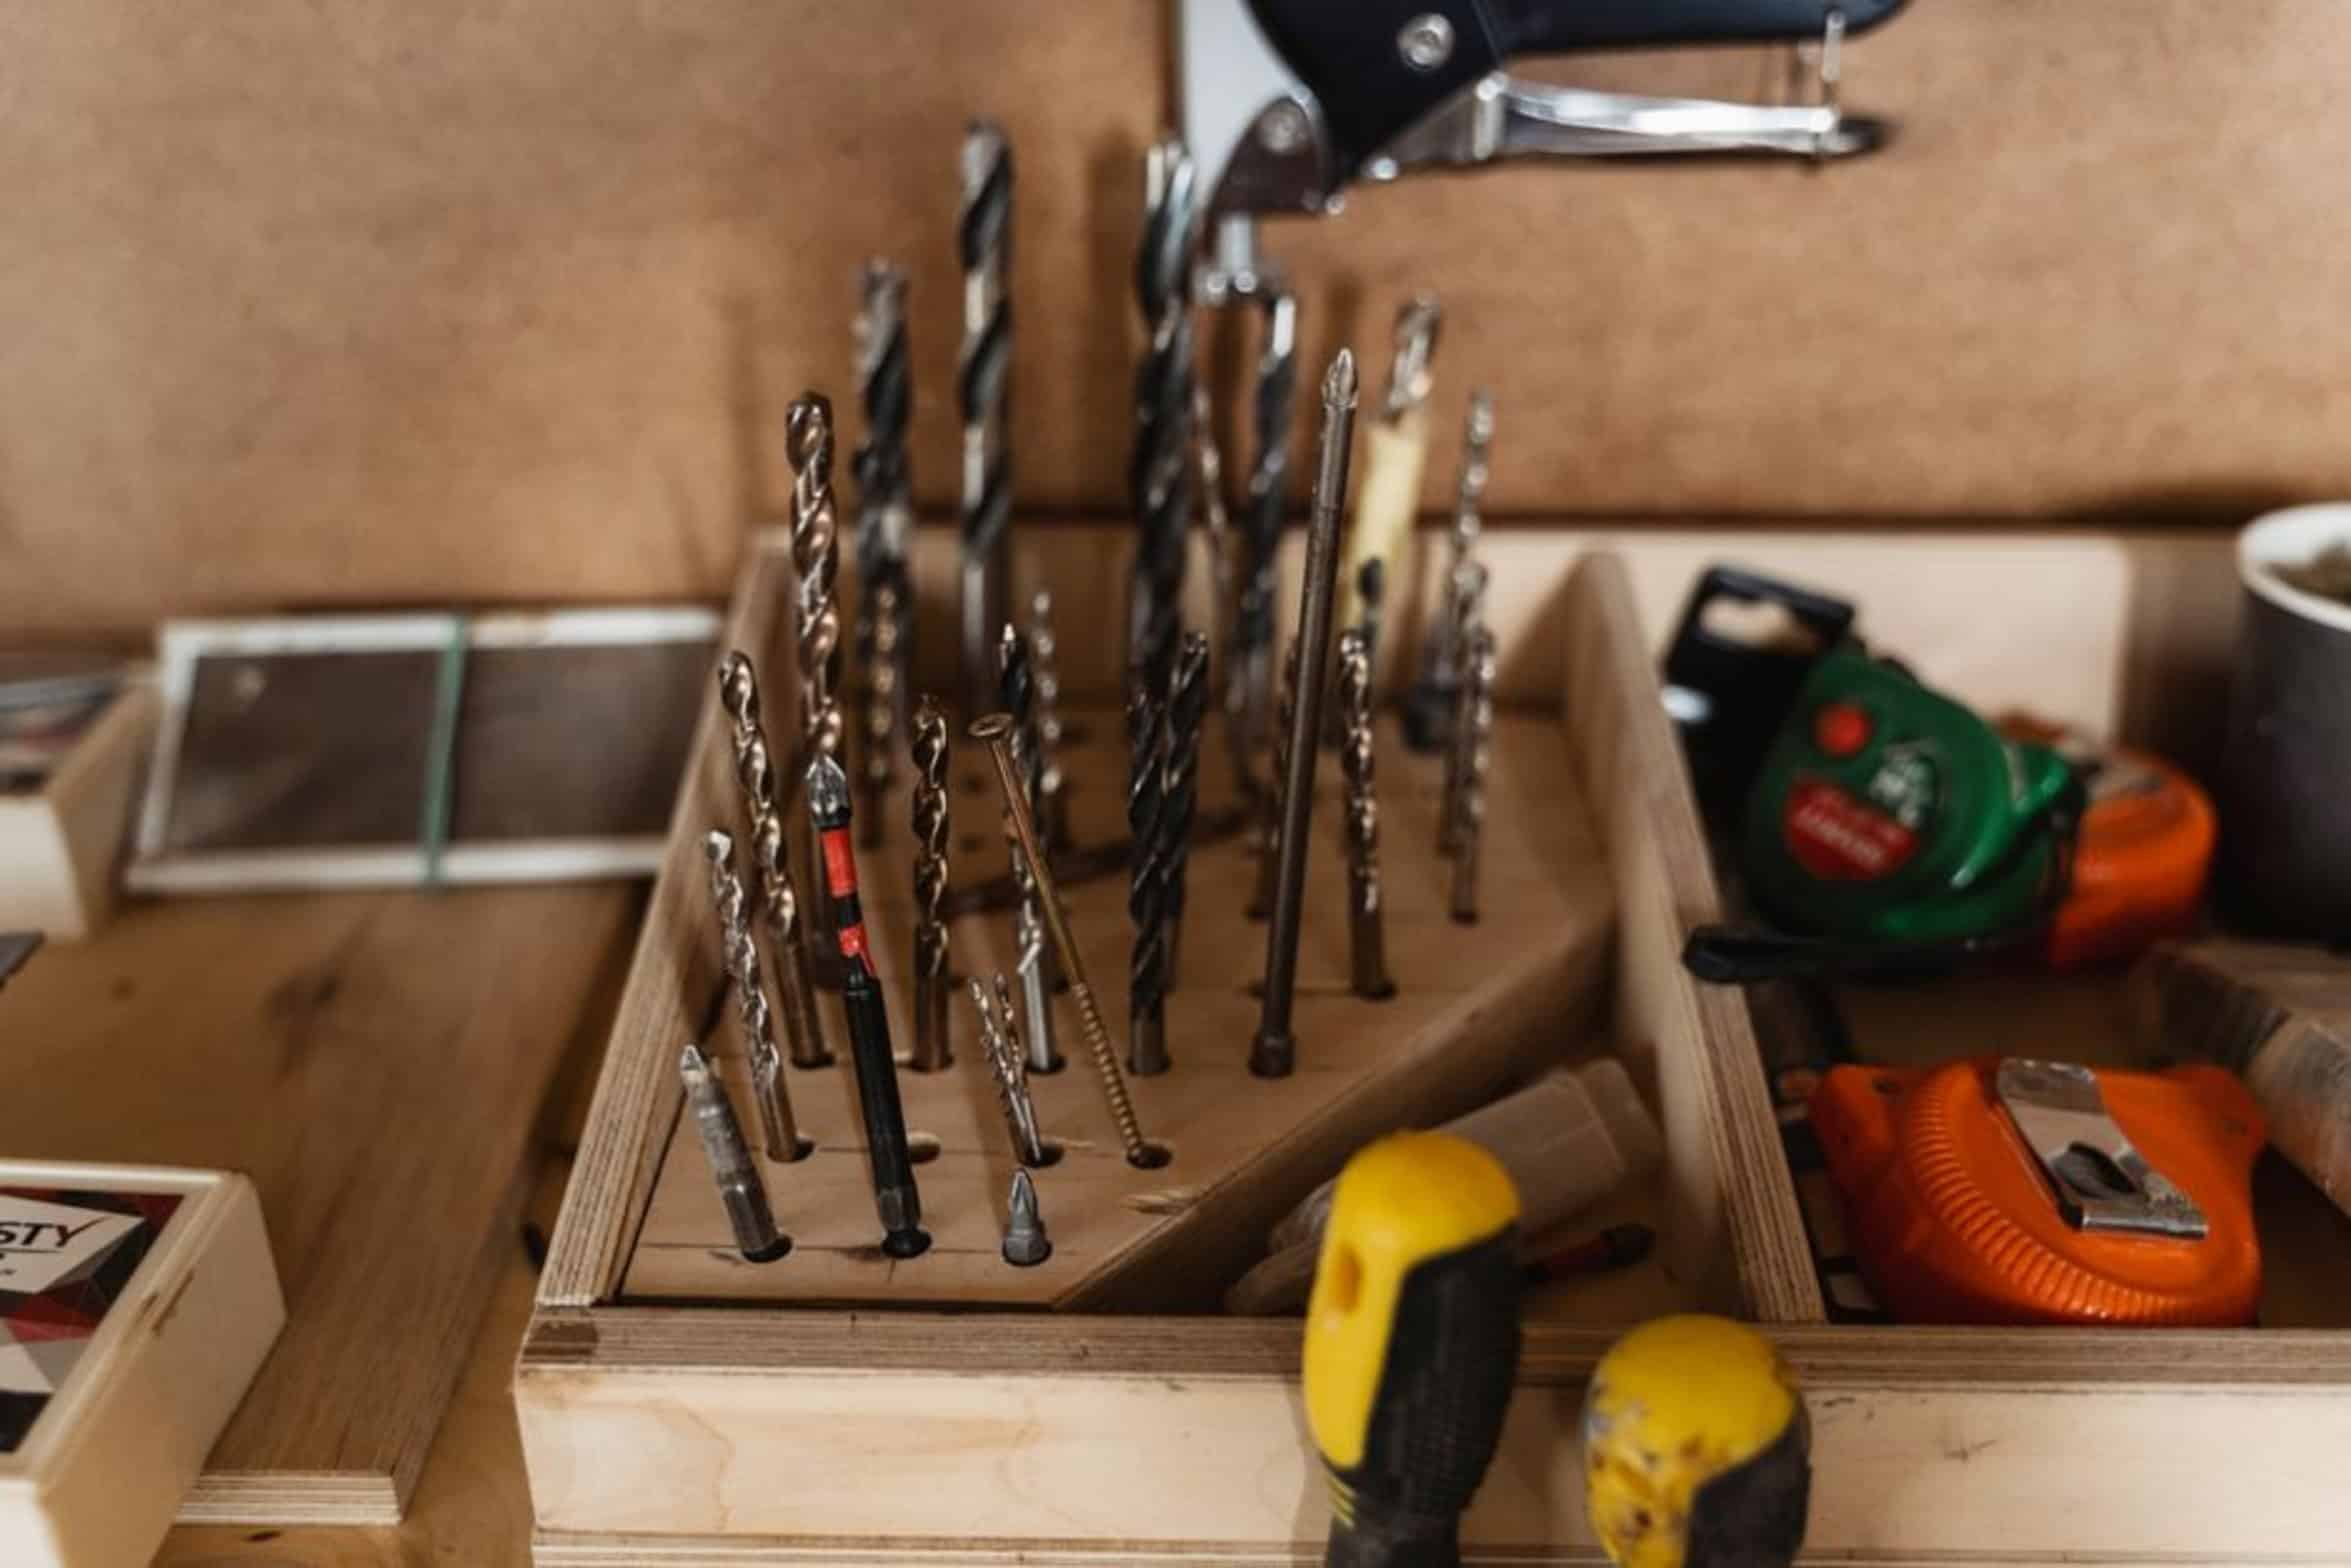
There’s a difference in metallurgy. The flute design are different. The angle of attack is differenter.
A steel bit on wood is inefficiently. A wood bit on steel are dangerous. Knowing how they’re designed save time.
It also saves your material. One hole isn’t that big of a deal. When you get to putting your confidence in the tool it should of been.
Understanding Point Angle Differences
The first observation are the point angle. Wood bits (especially ones with a Brad point and even more so auger bits) has what is called spade-like point in the center. It’s like a chisel.
It dig into the fibers and keeps the bit cutting without wandering around. Ever try to begin a hole and the bit skitters off to the side? Yeah, me too.
And it drive you nuts. So why is that? Because there isn’t realy a point at the center.
A wood bit avoids that issue because it is designed to cut through soft stringy material. It have a lot of grip. Twist drills, also known as metal cutting bits, has different looking tips.
Typically they’re either a 135-degree or a more standard 118-degree split point. Don’t think of biting. Think shearing.
Metal’s tough. It doesn’t breathe. What you want here is to have geometry that slices through what it does but doesn’t create too much heat.
Split point enable the bit to self-center through pressure and friction instead of a chisel edge. Sounds slight but makes all the difference in how tool engages the workpiece.
How Flute Design Affects Chip Evacuation
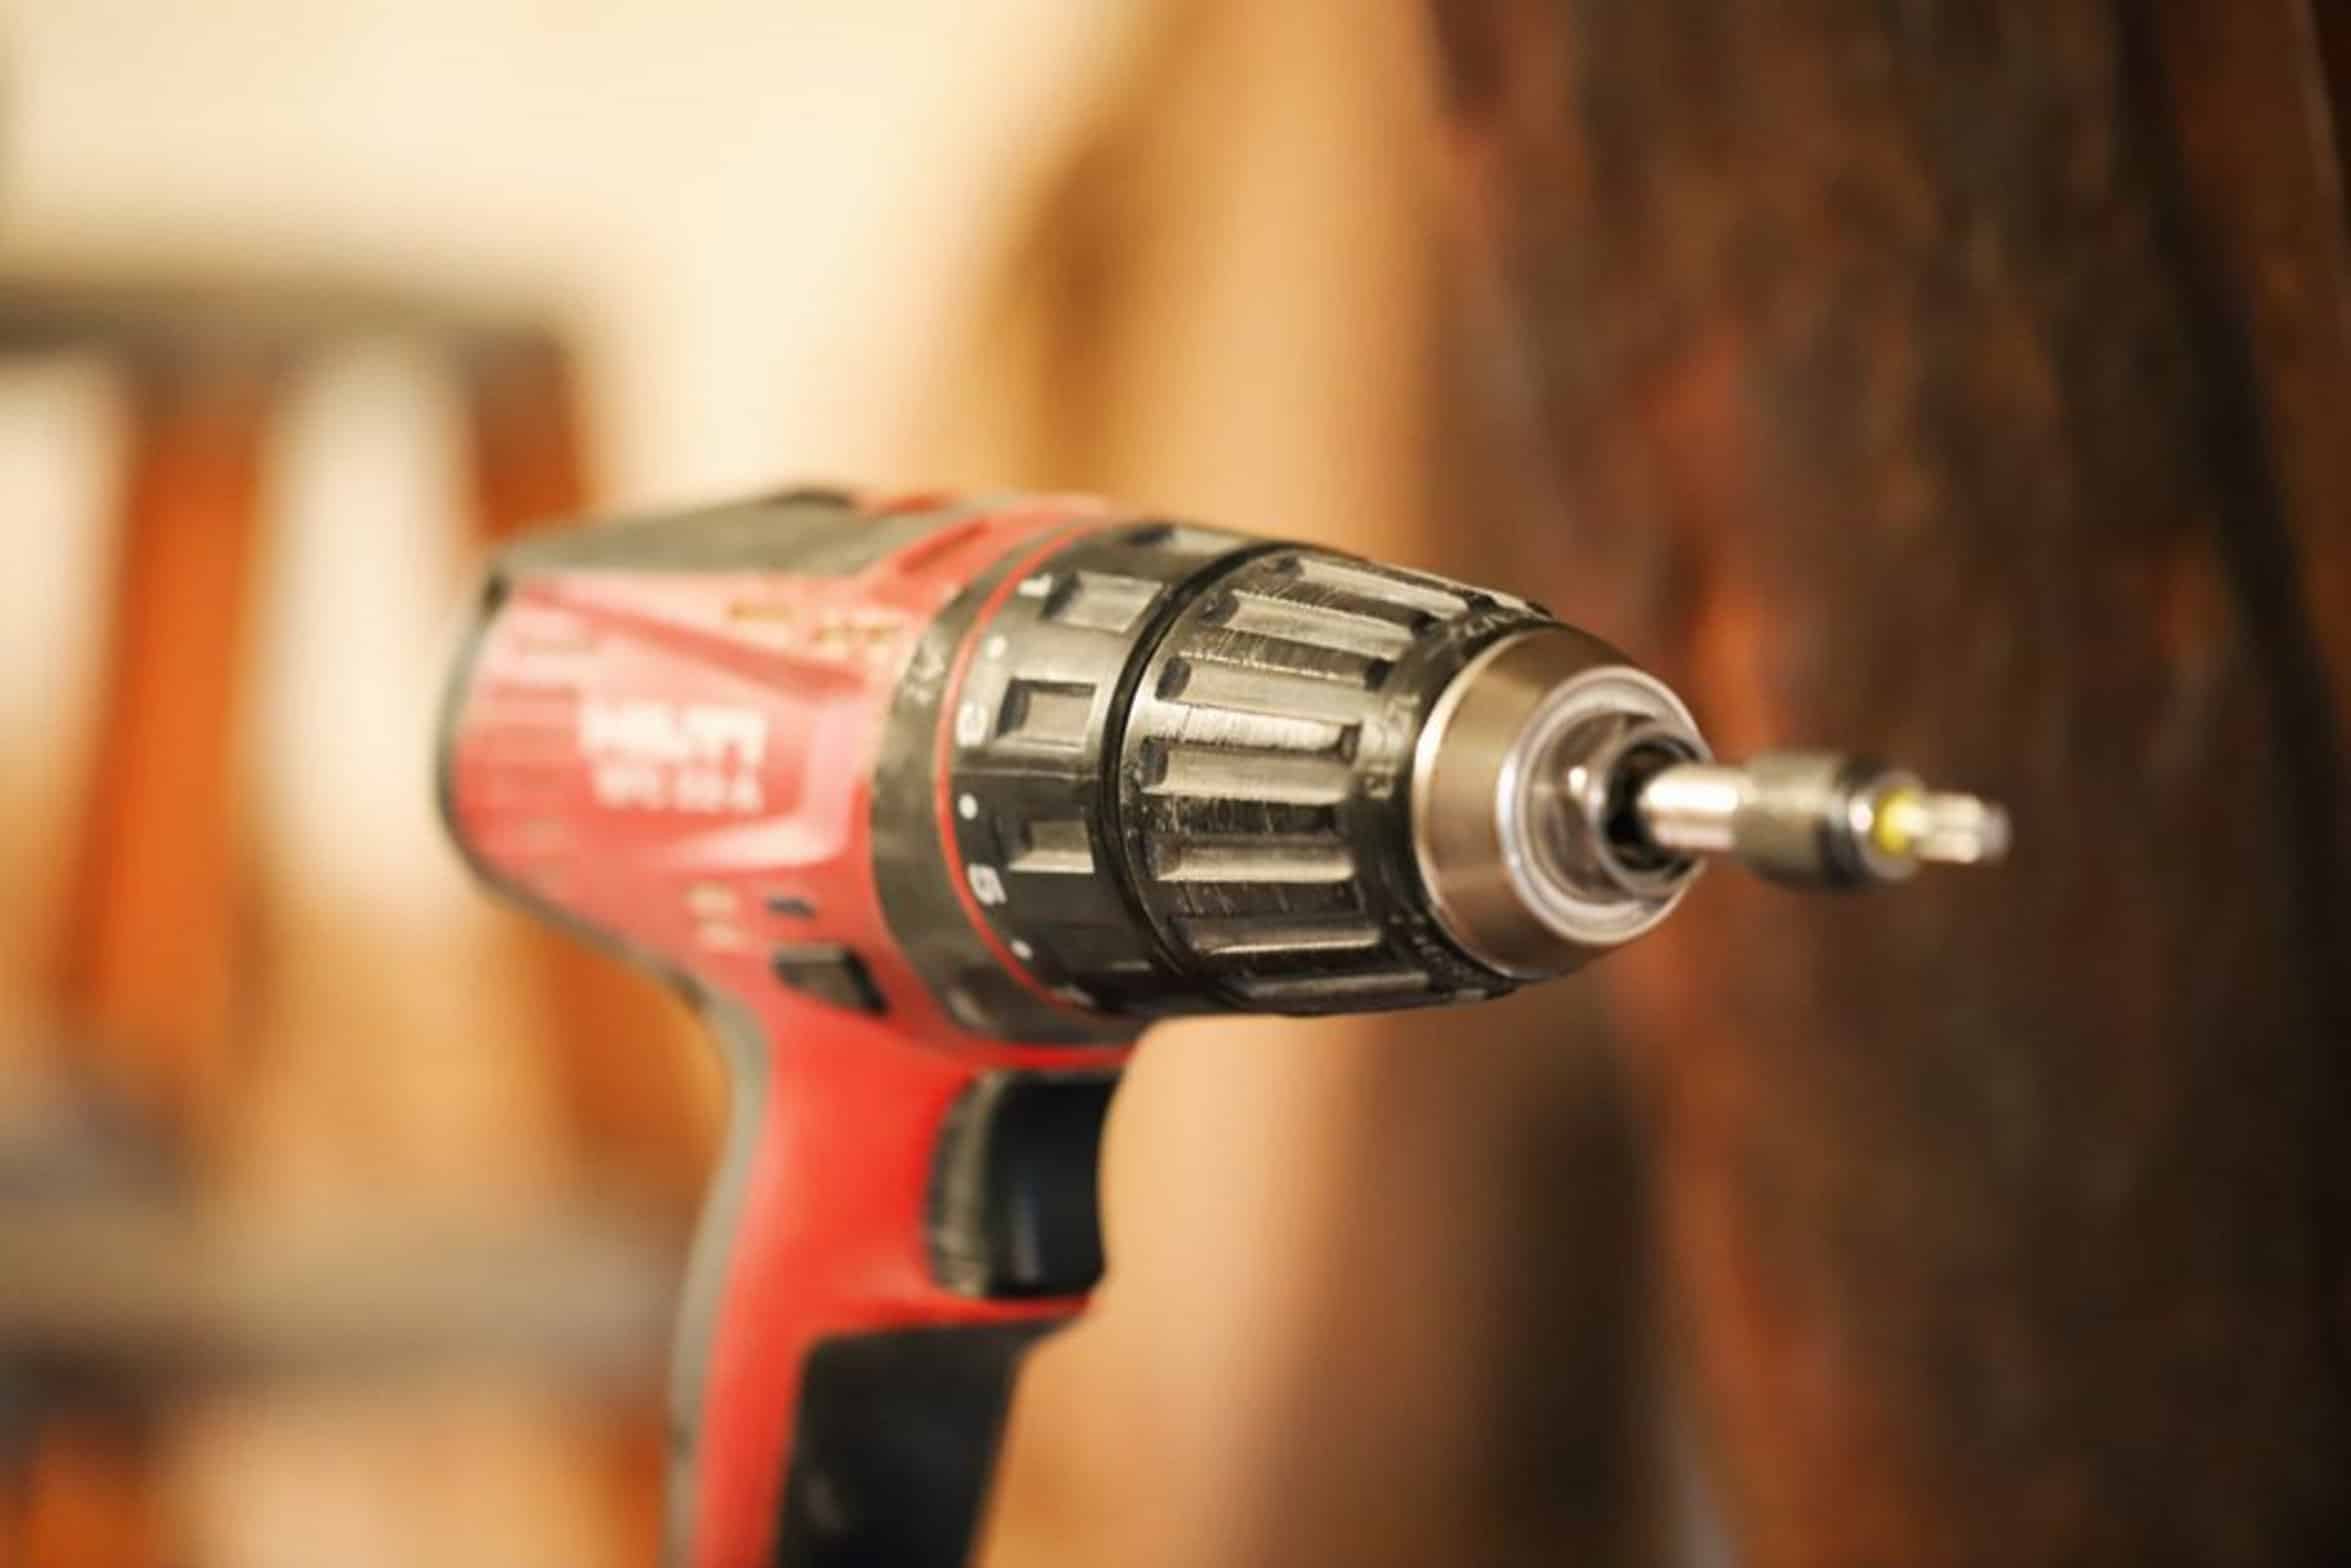
So what about those flutes?
Look at high-speed steel bit intended for use on aluminum or iron. Notice how deeply and how tightly the flutes spiral. Why?
That’s an evacuation design. Aluminum and iron has stringy, continuous metal shavings that require a direct path to exit the hole. When the bit get gummed up, it start grinding the metal.
Grinding heat things up and the temper of your bit will be destroyed. You’ve got a chunk of worthless, soft metal where you had a pricey bit.
Wood dust is powdery.
With a shallow, gradual spiral, it’s no problem clearing out of the hole. Speed and a nice, smooth wall is more important than aggressively removing chips in wood.
Optimal Drilling Speeds for Wood and Metal
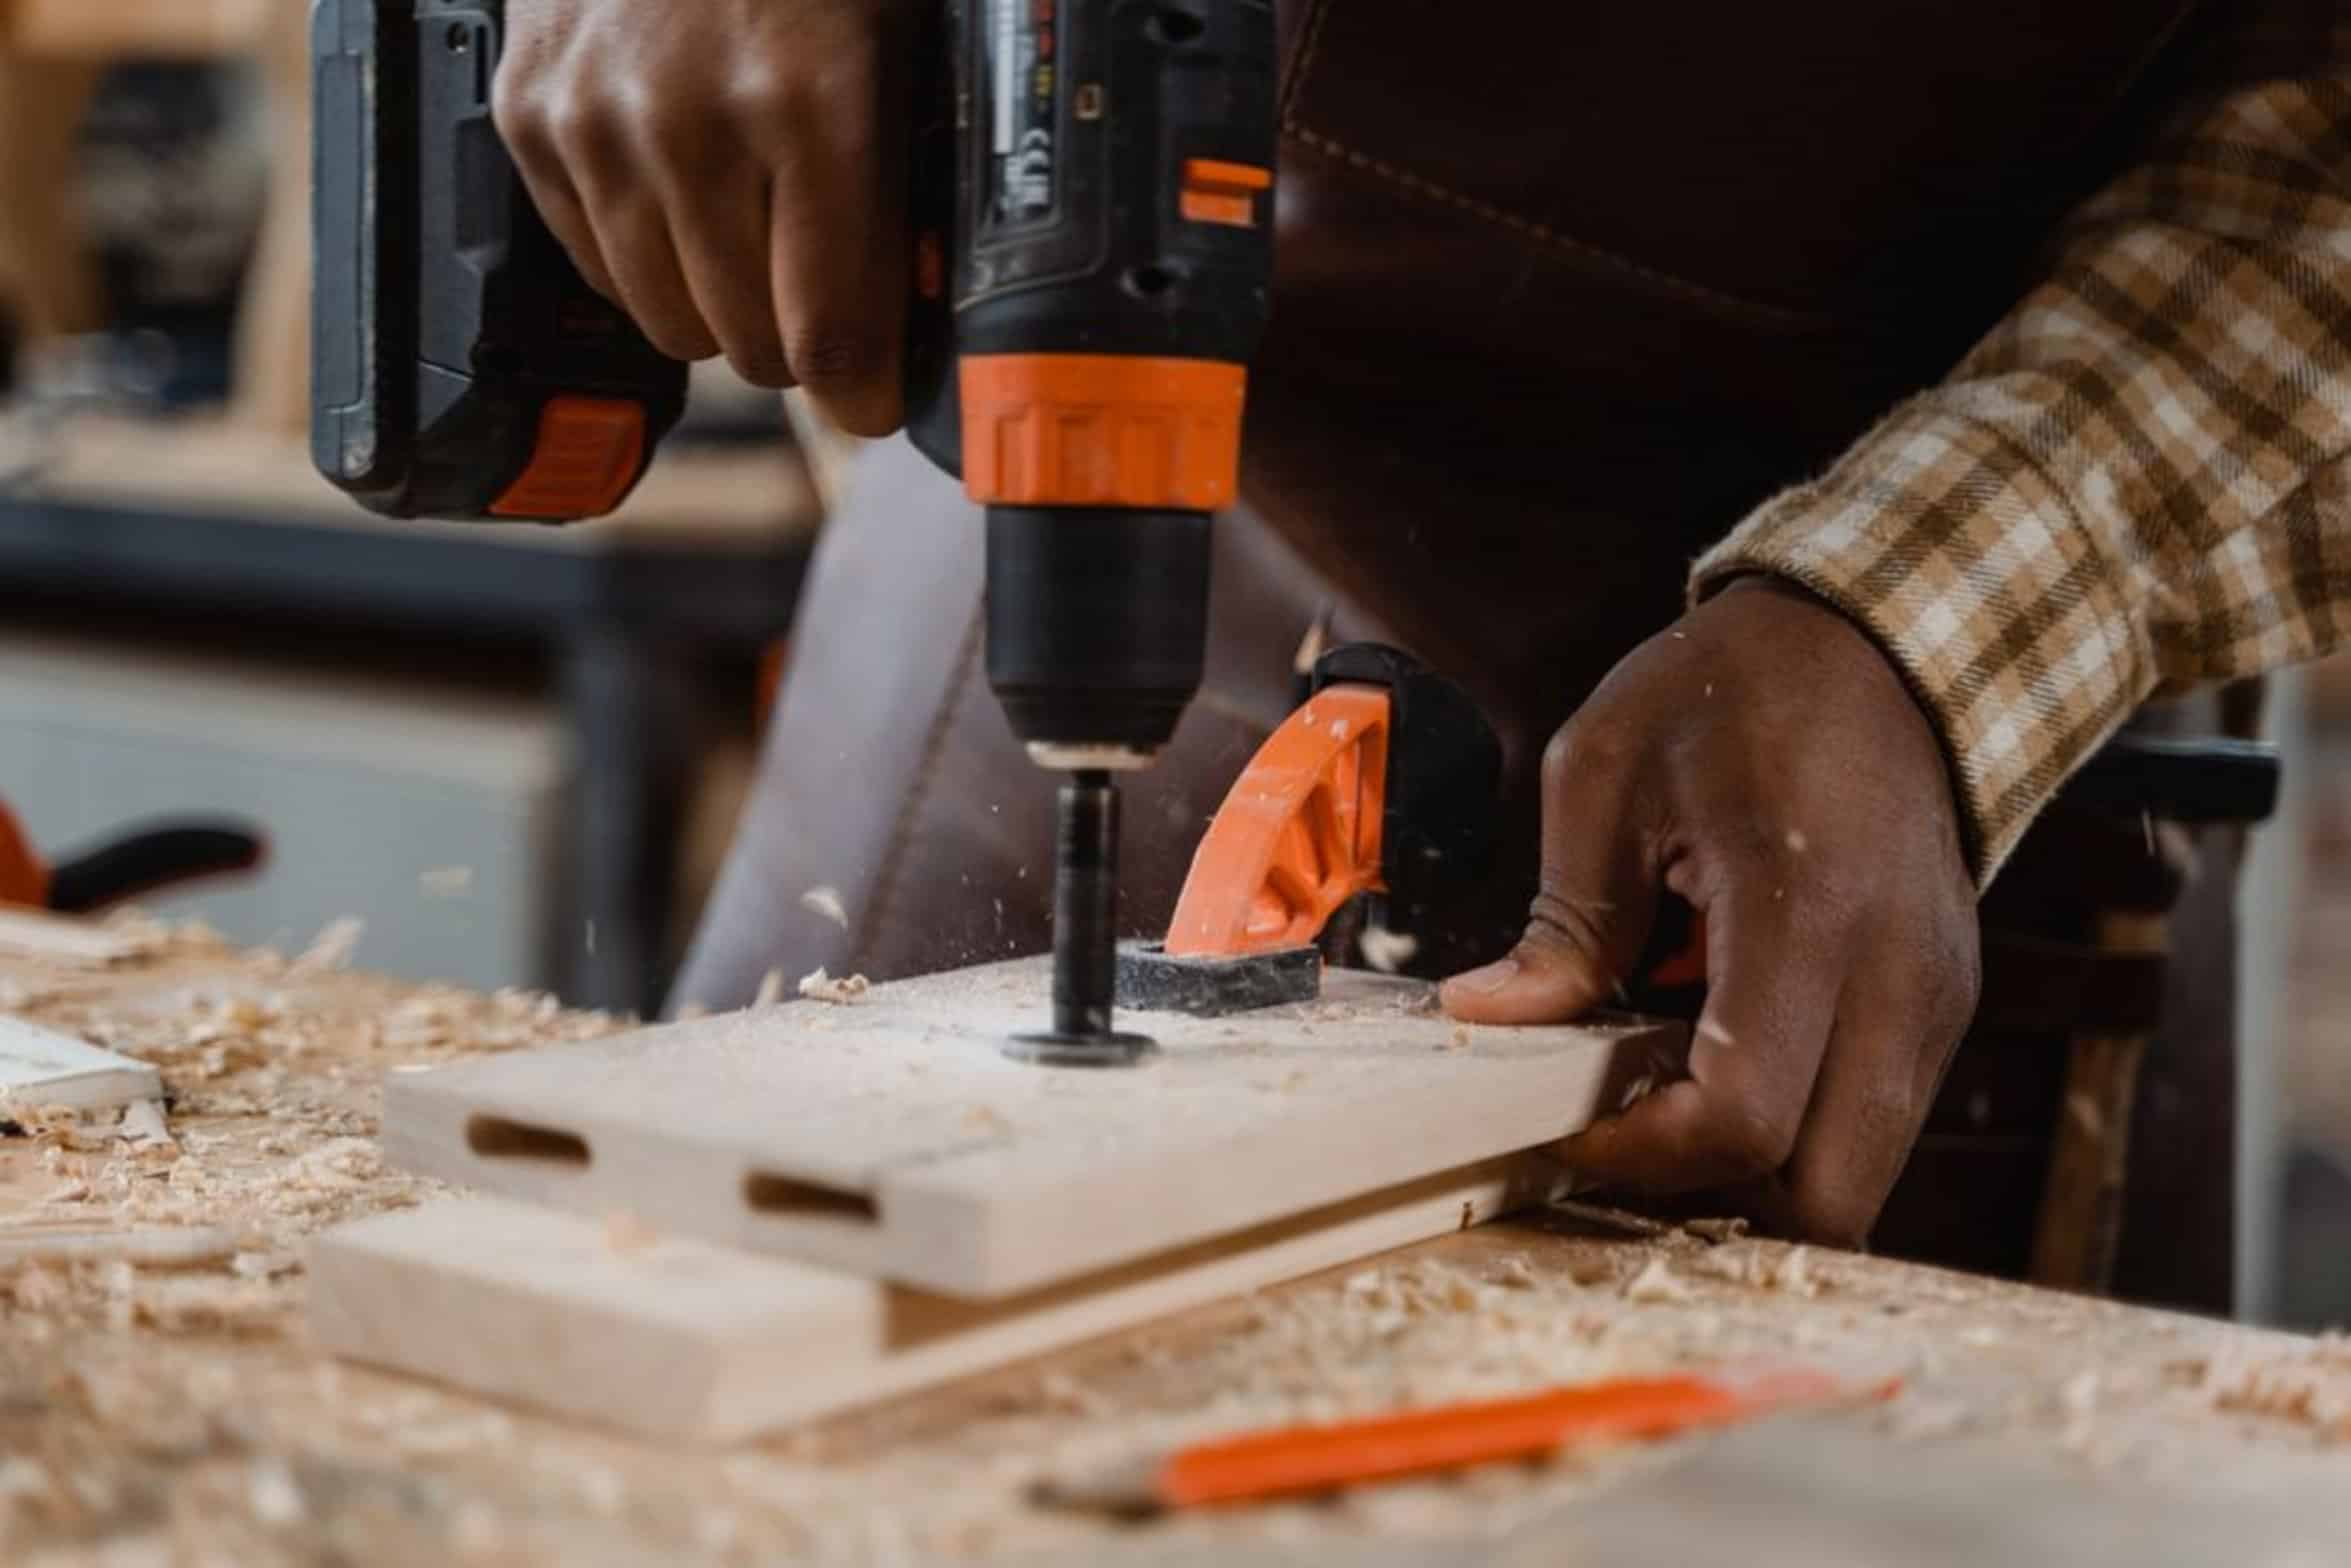
The worst mistake DIYers make are speed.
At high RPMs, those wood bits shines. They cut through it like butter and there’s minimal resistance. But the same isn’t true for metal bits.
Metal require slow speeds. You’re battling a more difficult substance. And speed create heat.
This ruin an edge. I’ve heard this said: You should drill metal at a fraction of the speed you would for wood.
Putting a wood bit in metal is setting yourself up for broken bit.
And putting a metal bit into wood is akin to trying to saw down a tree with a knife. Sure…it’ll work…but it takes FOREVER and your results will be uglyer.
Bit Coatings and Material Compatibility
Then there’s coating.
Metal bits gets coated in either titanium nitride or black oxide. These help cut down on friction. And lengthen life of the edge.
On wood bits, that’s rare. Usually they’re carbon steel or plain high-speed steel. A wood bit just gets covered in sap and resin if you coat it.
It is not a marketing thing as much as functional thing. The coating help protect against the kind of wear the bit see.
Organizing and Labeling Your Drill Bits
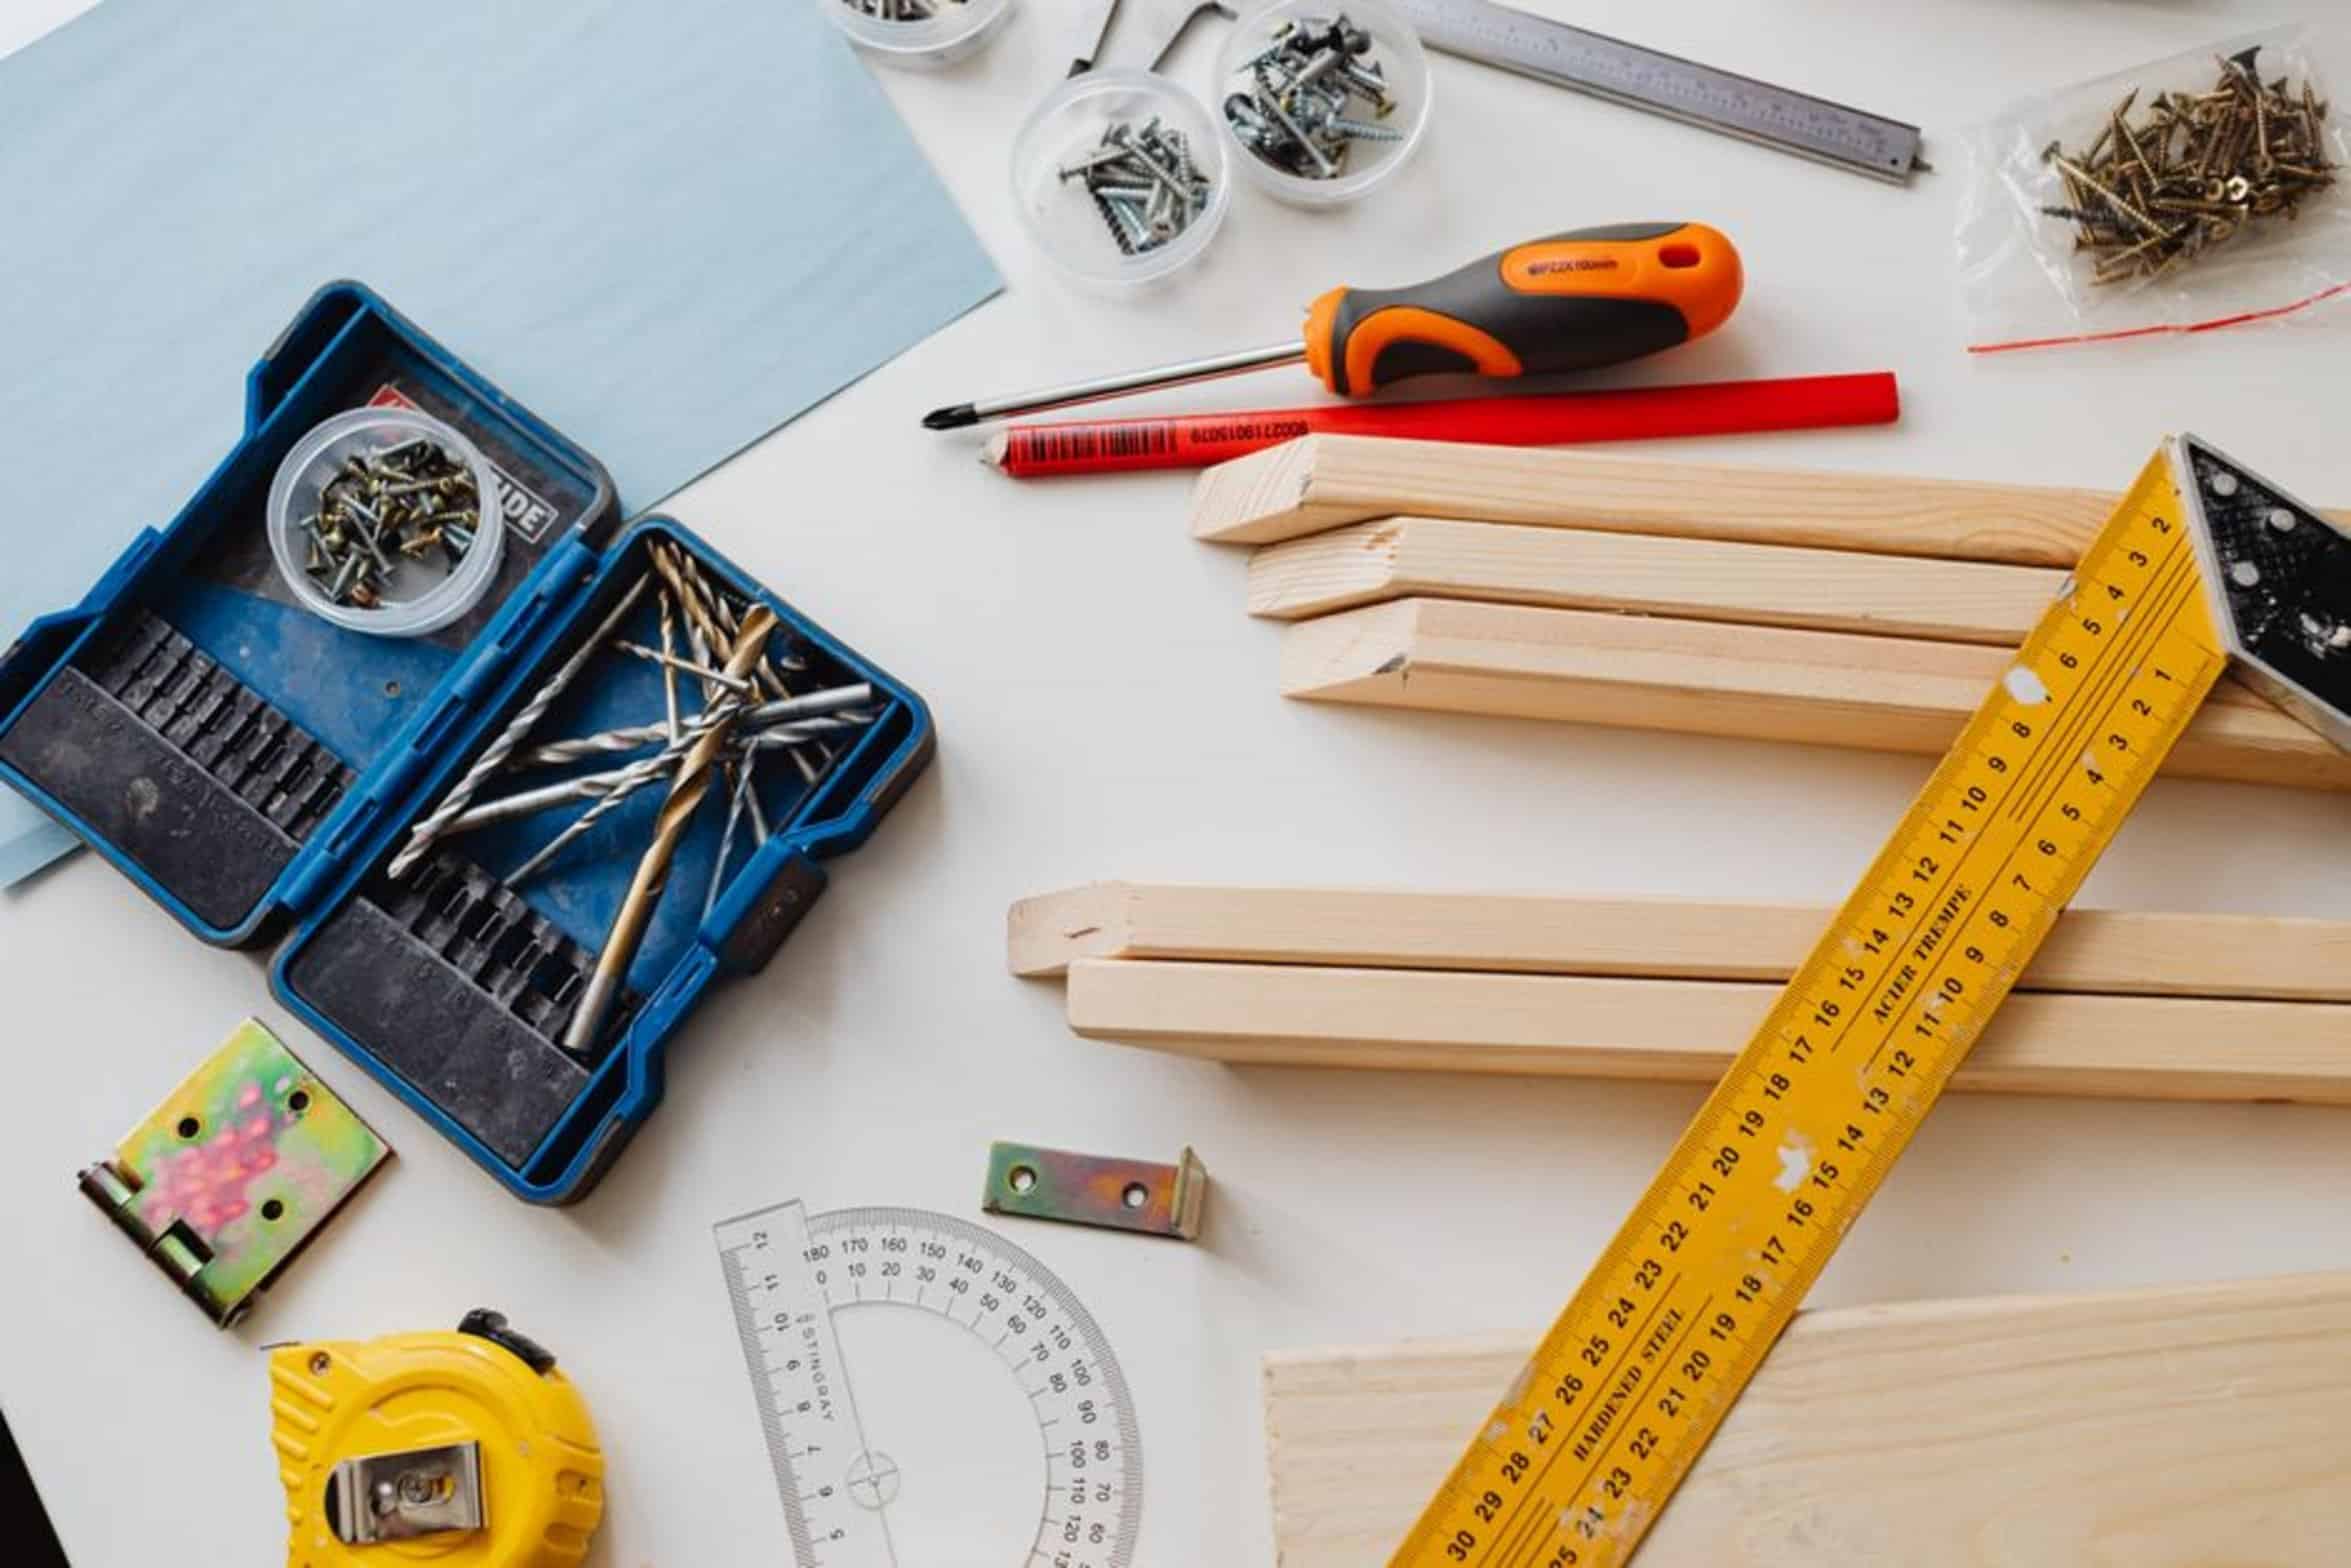
But separate them.
And label your containers! Get yourself one set to keep in hardware store. Get yourself another set for the shop.
When the hole come out clean, you’ll be thanking your future self. The bit’s sharp. The project stay on track.
It’s a little habit. It pays off each time you reach for drill.