
This is a torque wrench. There’s a certain kind of nervousness that comes over you as you snug down a bolt on a top-of-the-line bike frame or an old engine. Tighten it too much and you risk cracking a casting or stripping threads, Not quite tight enough and … well you’ll have a problem with it being loose at some point.
That’s where your Craftsman torque wrench comes into play. It is the tool that keeps a good assembly together instead of making a big, expensive mistake. Unfortunately, most shop guy abuse their torque wrenches, just using ‘em till they die.
Bad idea. Those things are precision instruments that wanders over time. But most people think that if it clicked at 20 foot-pounds, it’s reading 20 foot-pounds.
A Craftsman from the hardware store; they purchase this standard version, and they use it for a year. They think it still reads at 20 foot-pounds, because thats what they bought. But the internal mechanisms wears out.
The spring relaxes. And the click you’re hearing could be as much as two foot-pounds off either way. That’s enough to make the difference between a successful joint and a failure.
How To Calibrate A Craftsman Torque Wrench
Understanding Torque Wrench Accuracy
You don’t have to send it to some pro lab. With some patience and common items, you can calibrate it yourself. To perform this at-home calibration test, you acquire the proper tools.
Gathering Calibration Tools
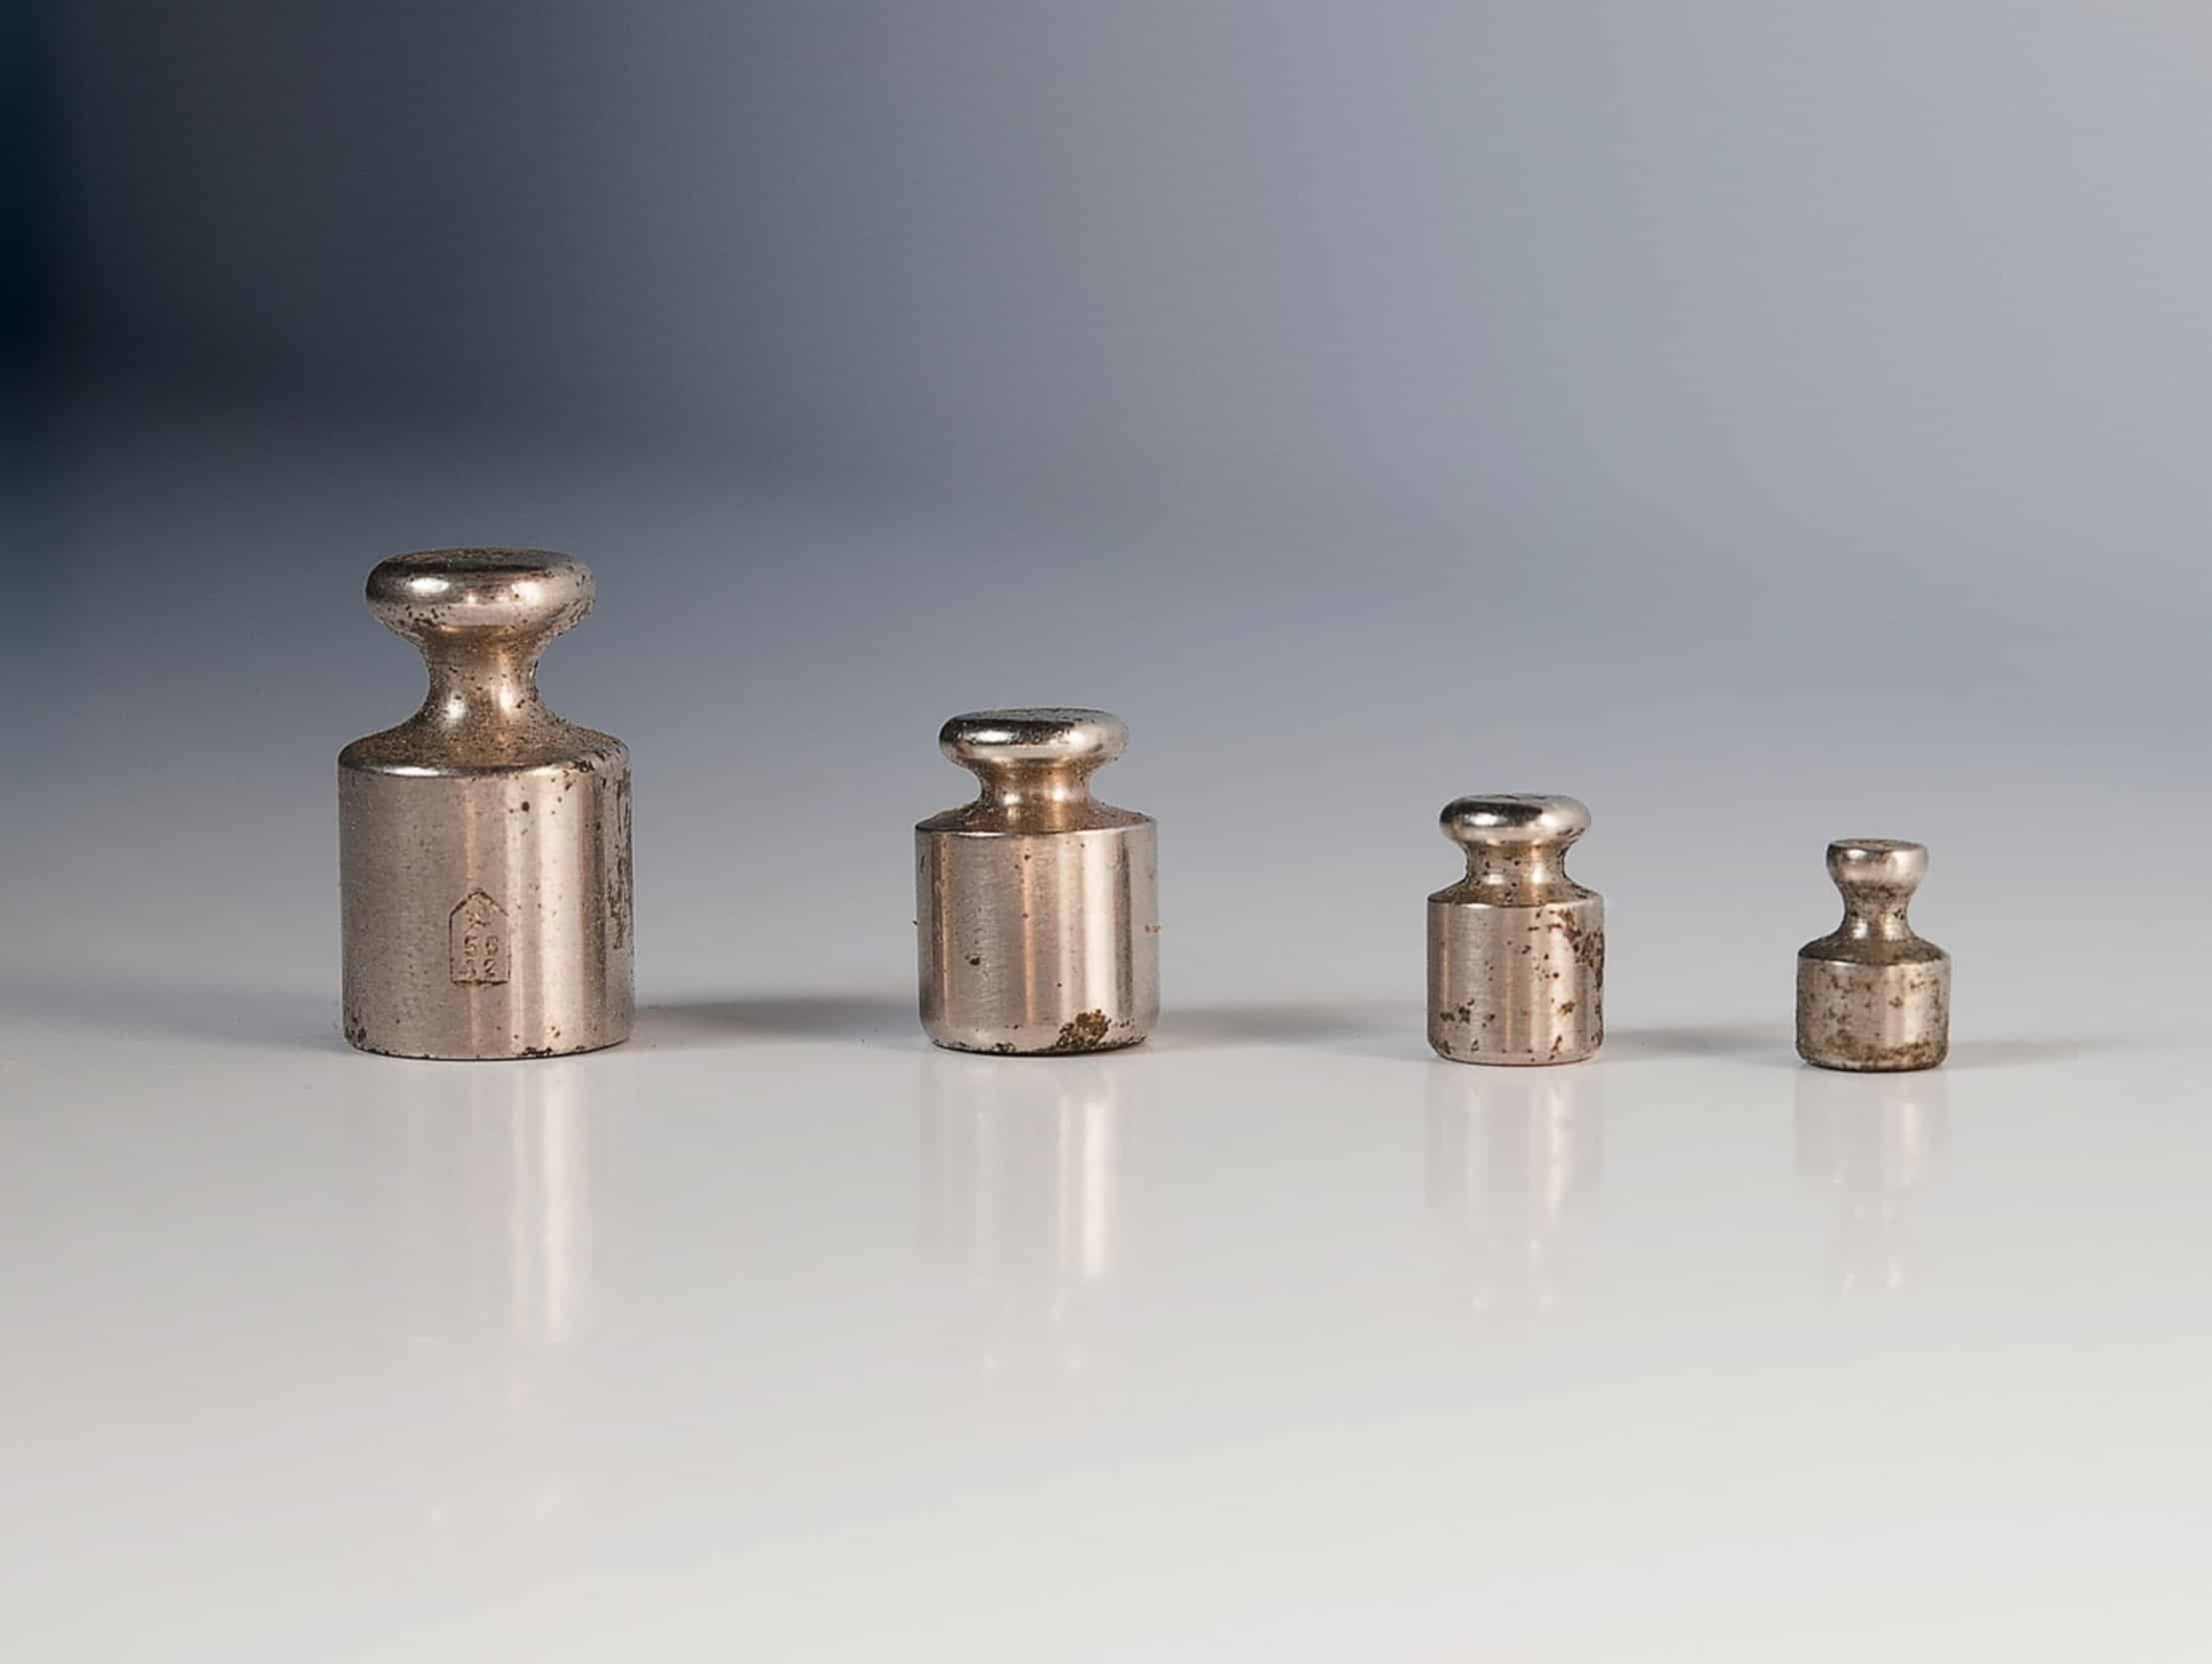
This includes a precise way to measure distance, a strong vertical mount, and some trusted weights with which to calibrate. For the former, a digital bathroom scale that’s been calibrated will do fine; for the latter, something rigid like a heavy workbench or even a solid stud in your wall. You’re essentially building a makeshift test rig here.
Setting Up the Test Rig
Sounds complicated? Doesn’t have to be (because the physics aren’t). Torque = force × distance Now you carefully align the test rig and set it up.
A Craftsman wrench dangles vertically from the drive end of it. Its handle points directly upwards. Hang the weight hanger at the same spot as the mark on the torque indicator line.
This has to be perfectly aligned too. Gravity will introduce an error that looks like a sine wave if the wrench isn’t perfectly vertical. You want to keep it perfectly vertical.
The weight pulls downward, which creates a known force at a known distance from the pivot point. Next you figure out how much torque you expect it to produce. The formula is: Take the weight of your mass.
Testing Torque Settings
Multiply it times the distance from the center of the drive square to the center of the weight hanger. Say you use a ten pound weight. And say the distance is one foot?
That means you are generating ten foot-pounds of torque. So you turn the Craftsman wrench up to ten foot-pounds. Slowly you add weight to the hanger, until you hear the distinct click of the mechanism releasing.
Note exactly how much weight is needed for that click. If your tool is within tolerance the results will tell you that. Most Craftsman warranties indicate a torque wrench is accurate within four percent plus or minus.
Interpreting Calibration Results
So it’s OK if yours clicked at nine point eight pounds or ten point two pounds. Don’t adjust; don’t think anything about it. But if it clicks at nine pounds or even eleven pounds, it’s out of spec.
People mess up on that. Any deviation and they think their tool is broken. No, it’s just time for it to be replaced or calibrated.
Adjusting Beam vs Click Types
The other thing is that a beam-style Craftsman wrench (like this one) is much easier to adjust than a click type wrench. With a beam model, you can just move the indicator up to where it corresponds to what your testing. A click style is a sealed unit and opening it will ruin its calibration and likely void the warranty anyway.
Bottom line: unless you want to buy another click wrench or take it back for professional adjustment, there’s not a whole lot you can do if yours has gone out of whack. That’s just how buying and using hand tools works. Take care of ‘em; they’ll serve well for quite a while.
Proper Storage and Maintenance
Calibration storage is equally critical. Never leave your wrench set at its maximum torque setting. That spring inside is constantly stretched tight.
This speeds up drift and fatigue. After use, you always dial it down to the lowest setting. A little practice will prolong the life of the tool big time.
It costs you nothing, and there is no need for a recalibration next year. Respect the tool and it’ll return the favor with precise results in your projects. You can’t trust what you don’t verify.
And that’s where you get peace of mind from your wrench. It comes from knowing exactly how hard you’re cranking down on something. A torque wrench is only as good as the last time you checked it, but you also gain confidence in your abilities when you set up a quick little test back at home.
It’ll take you twenty minutes to hang some weights and listen for a click, but that peace of mind is worth it. Your parts will stay whole and your bolts will stay tight. Your Craftsman will earn its keep.