
It’s easy to damage material and finish with mistakes made while drilling. The drill bit dig that trench when it isn’t where it should of be. It slips and grab at the material, creating a trench and damaging piece being drilled.
You see it in both amateurs and pros. Torque is sufficient on most moddern drills for home projects. It’s typically about how you use it (technique), what you’re drilling into (material) and what you are using (bit).
How To Prevent Drill Bits From Slipping
Why Drill Bits Slip and Wander
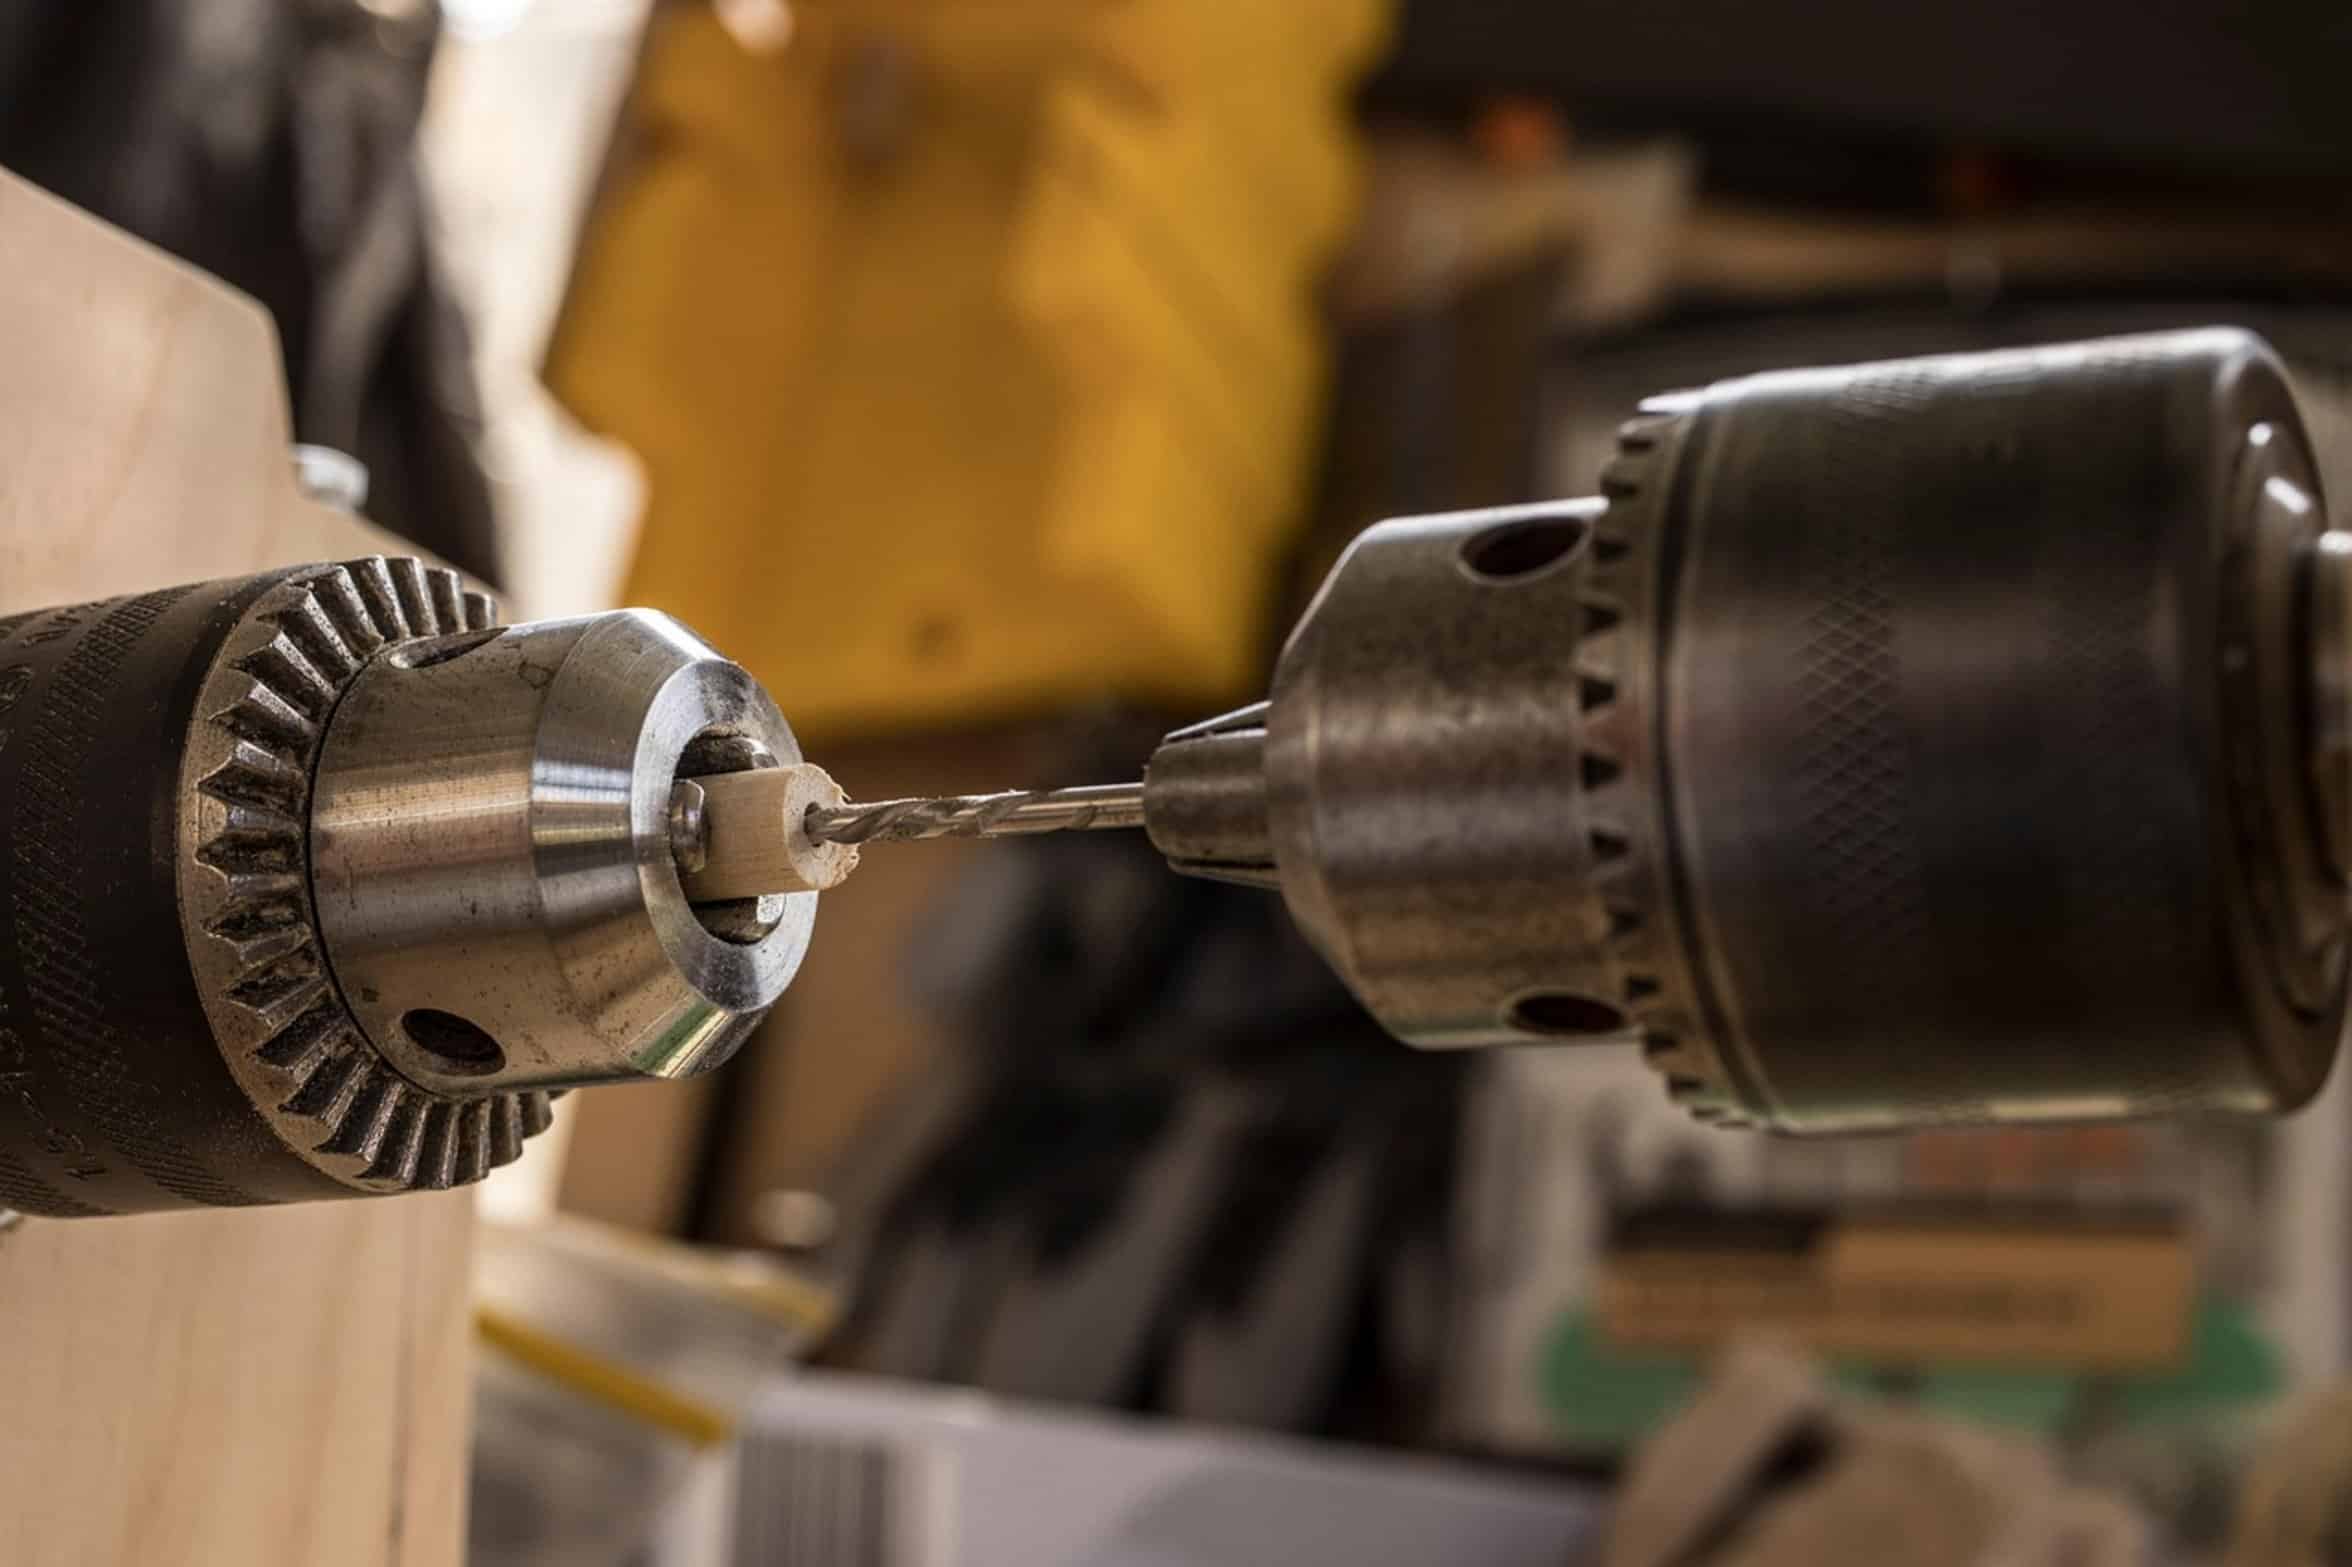
Knowing how they interacts will save your butt on a job. It helps you realize you can control both how fast it spin and how it begins. Most times we slip because of faint pencil lines.
Once the bit contact them, line is gone. Skate away. There is no “toe” for the metal flute to grab hold.
They just slide around sideways. They slide until something provide enough friction to stop them. It is physics 101.
Using a Center Punch to Prevent Slipping
Before starting, put a little dent (dimple) into it with a center punch. The dimple allow the bit to rest in it. It gives the bit something to follow so it doesn’t slip at first.
In the wood, you can also do this with a nail or another bit. It’s only a couple of second and will save you minutes of sanding down the road. It makes huge difference for accuracy.
Drill Angle and Surface Texture
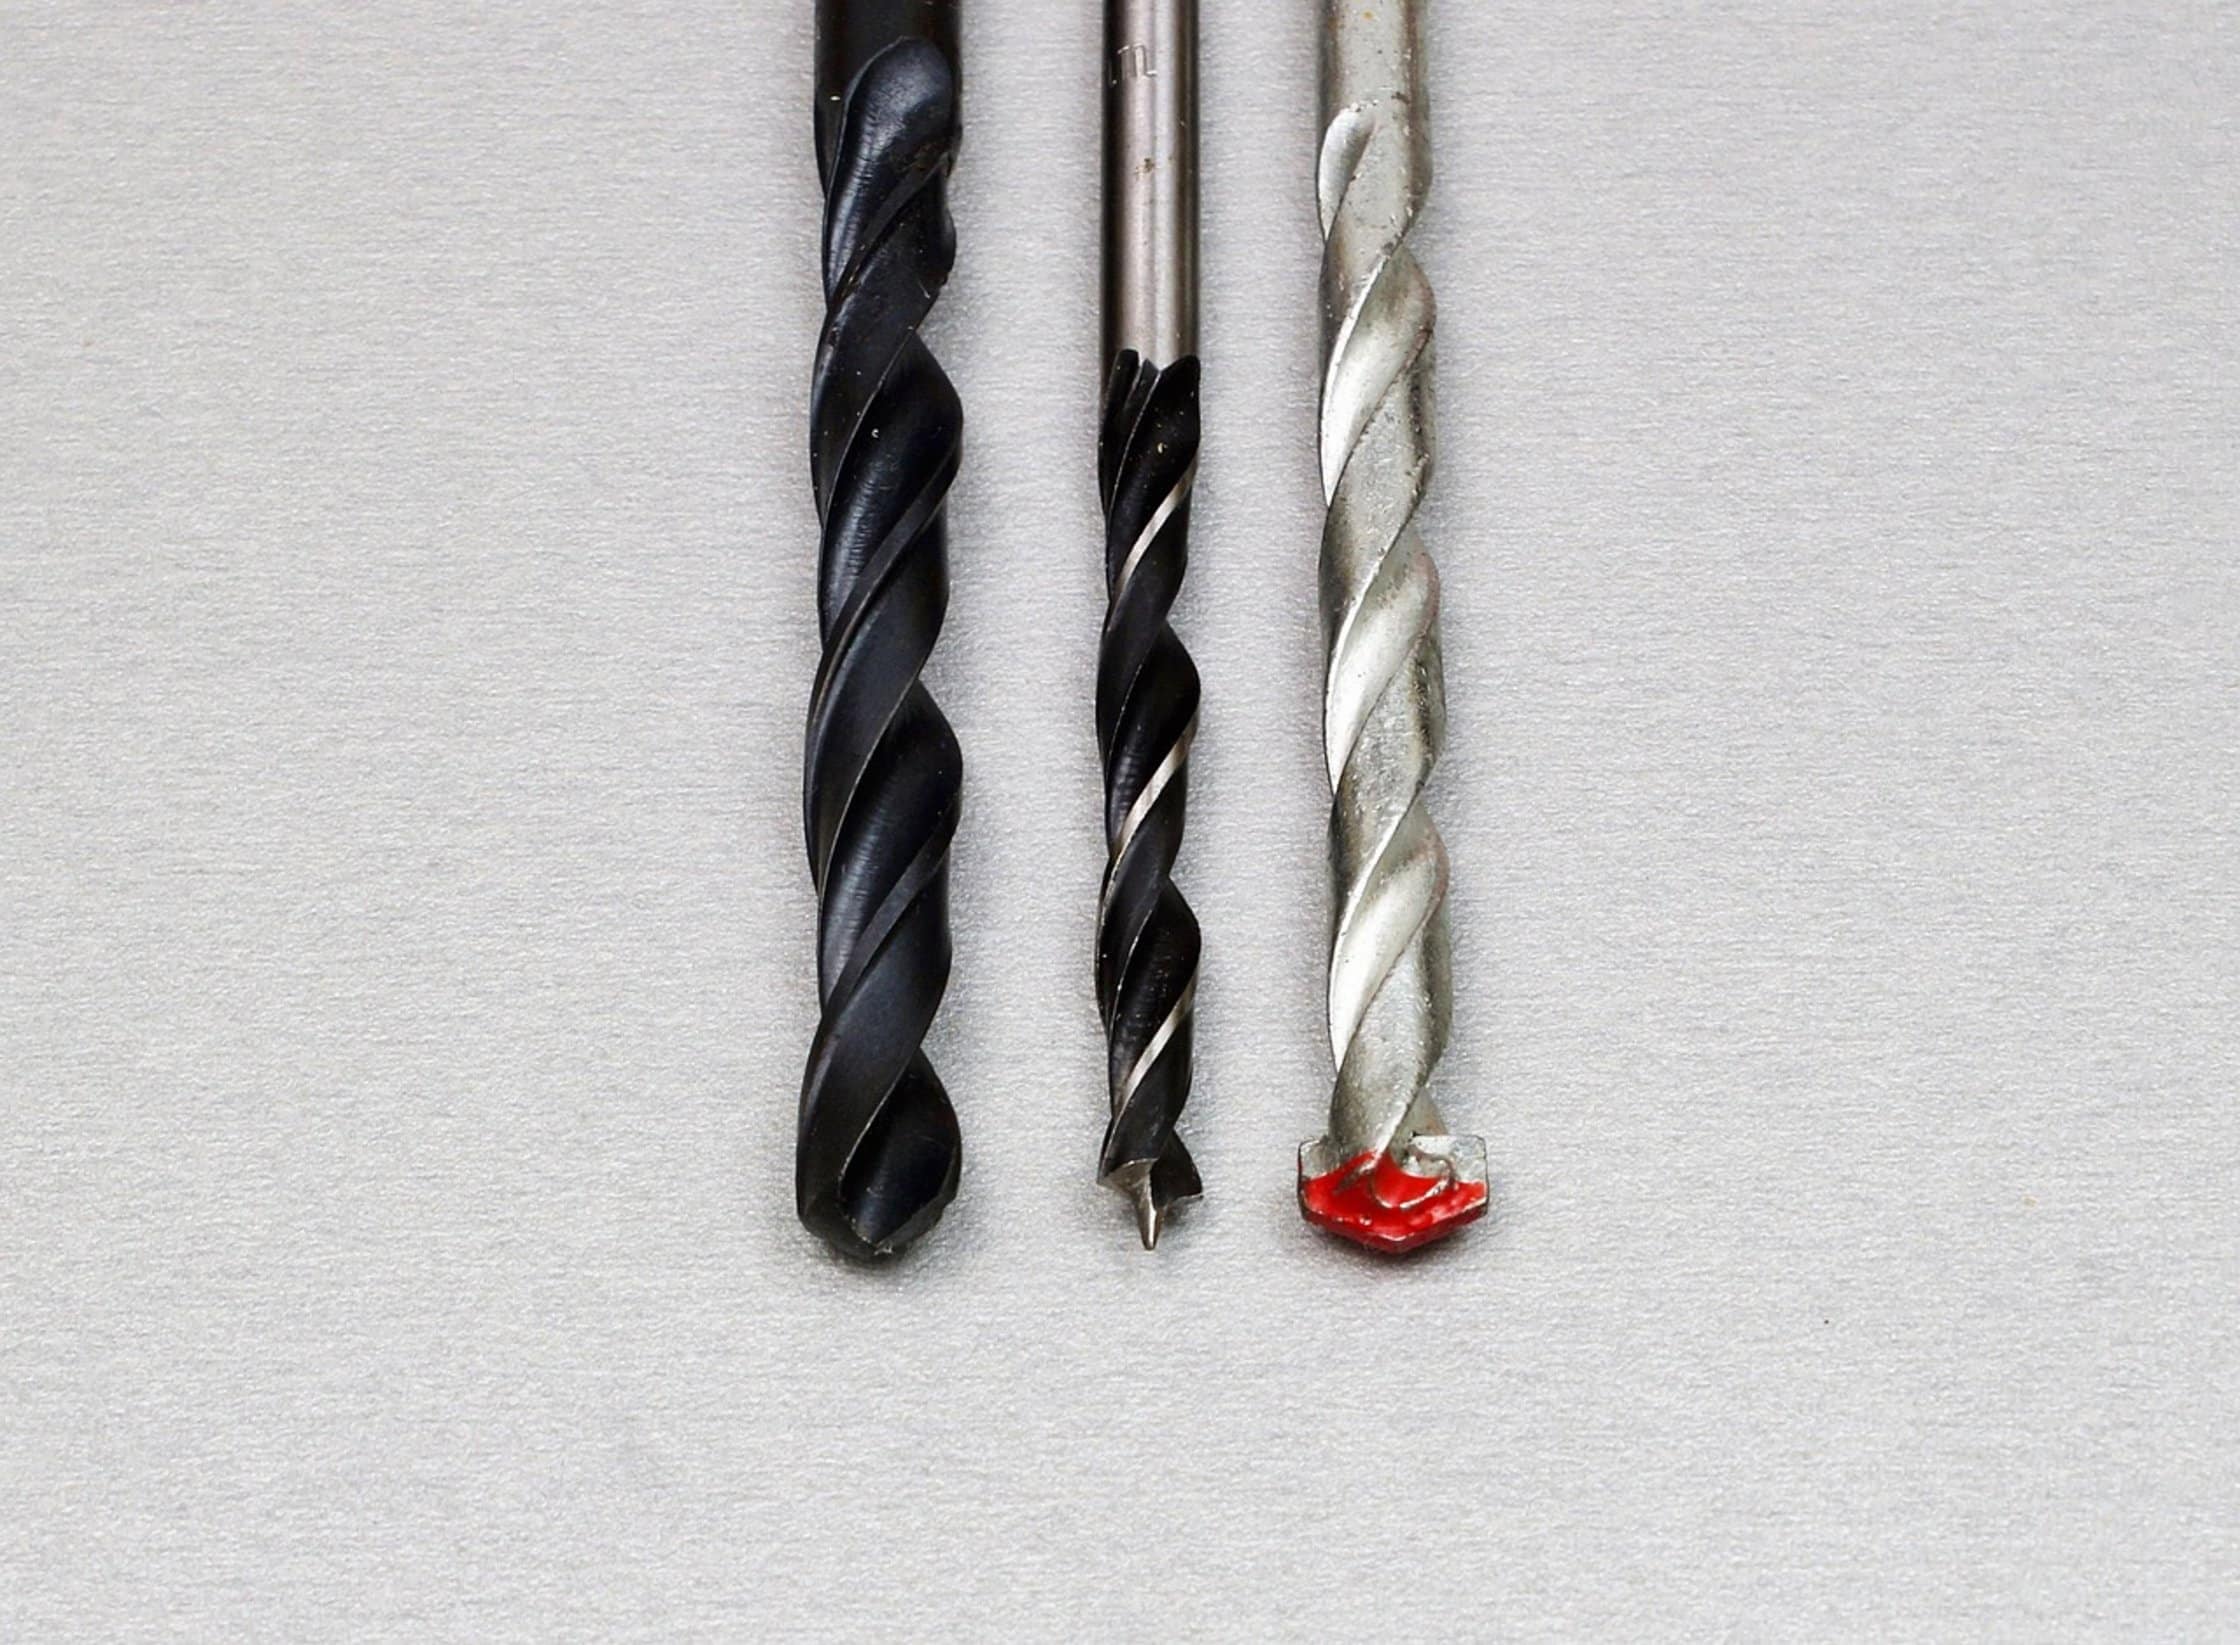
Angle is everything. When you meet the surface at an angle, the flutes pushes on the bit and try to move it sideways. This work against what you are trying to do, which is hold onto it.
When it hits, position the drill so that it is perpendicular to the surface. Push down firmly but steadily. Don’t force the bit sideways, let the bit do the work.
The degree of slip depend on surface texture. Slick surfaces include painted surfaces with a gloss finish, plastic laminates, and sealed wood. Slip drasticly increases.
Choosing the Right Drill Bit Type
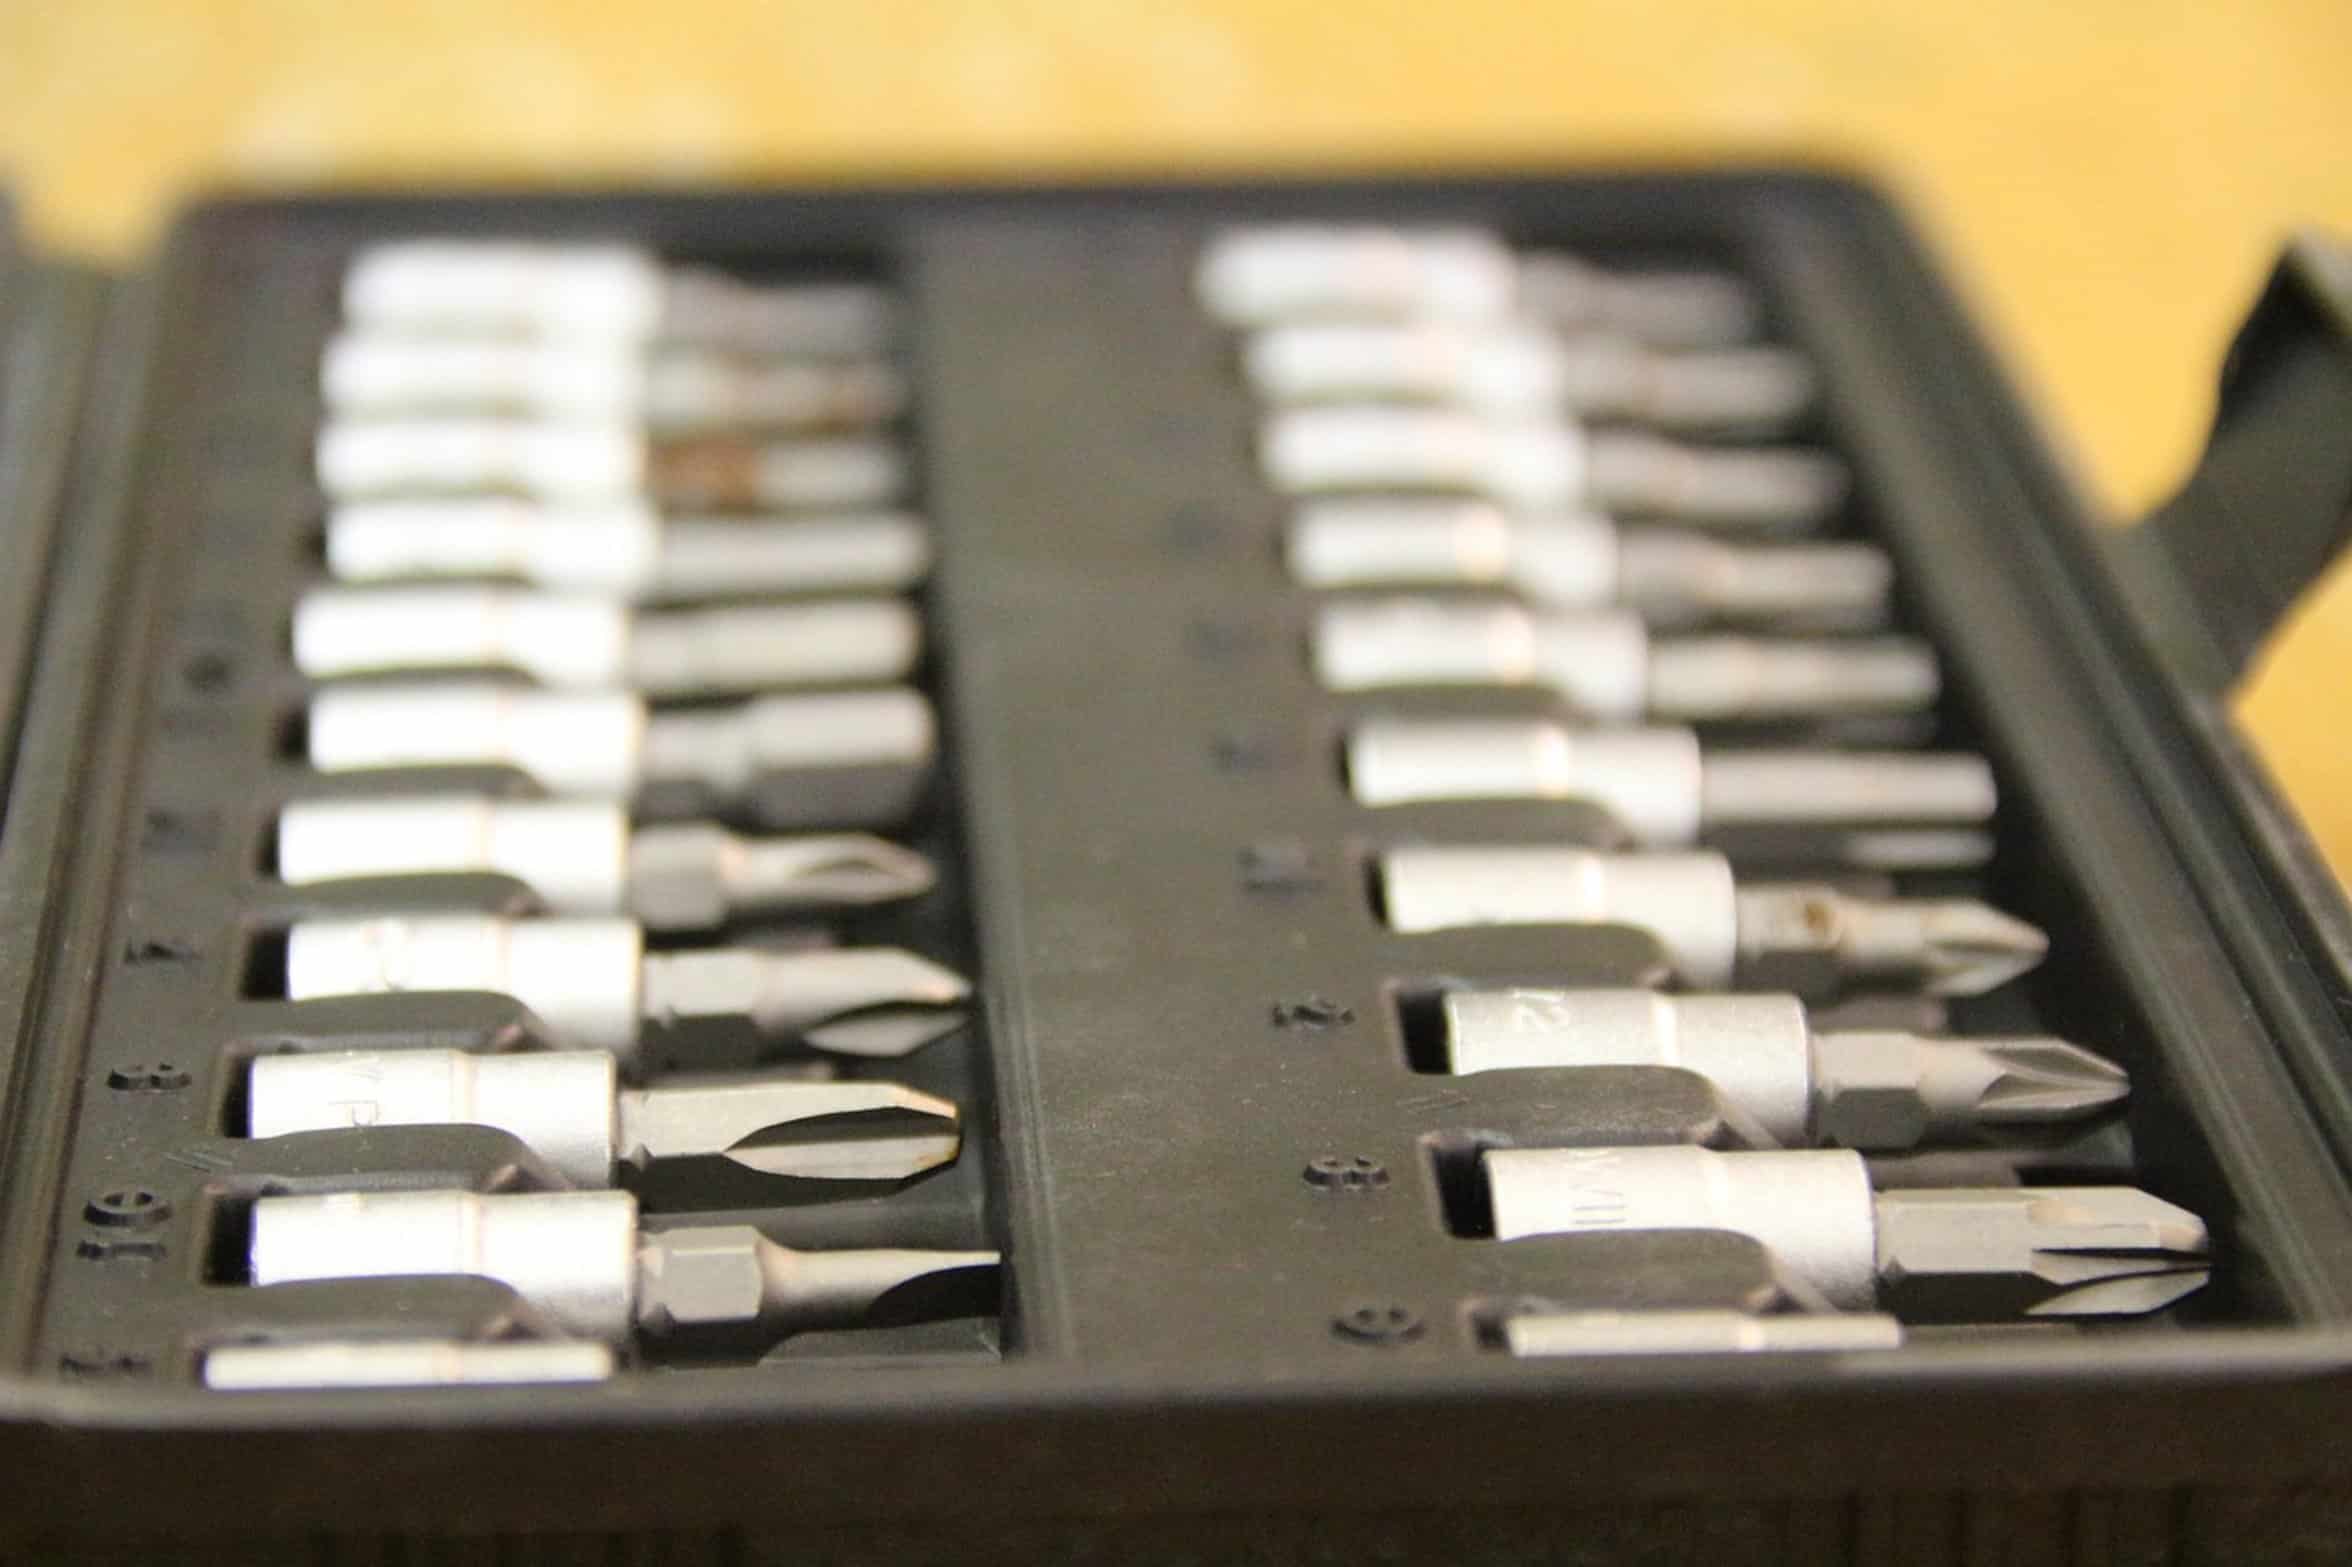
A standard twist bit just slide along a painted surface. Time for a different tool or more grip. On slick surfaces, use a self-centering bit or a sharper pointed bit On wood, a Brad point bit has an immediate anchoring spike in its center.
The point is sharp so they cuts through and do not tear. For metal use a cobalt bit with a 135 degree split point. It walks into place but does not wander around.
Body Stance and Grip Stability
Brute force isn’t as good than selecting the correct geometry. Your stance and grip determine how stable you are. Are you holding onto drill like it’s your best friend?
When you shake that drill around, you transfer wobble to bit which causes it to lose its seal on whatever it is you’re drilling into. Tuck your elbows snugly by your ribs. That will help steady your top half and stop any shaking.
Controlling Speed and Pressure
For a good solid stance, keep feet shoulder-width apart. To be accurate, you need to control your speed. A common mistake is squeezing off the trigger full force from beginning.
The fast speeds produces heat that will make bit burn instead of cut. Begin with a slow speed to get the location of the hole started. Once the bit seats and starts cutting, increase your speed.
Using gradual pressure prevent the bit from jumping. That allows you time to adjust for slight drift before it turn into a major miss. Drilling accurately means going slow not hard.
How you make that initial contact is in your control. Slow down, mark it out, use a center punch or nail to make a dimple, adjust for your angle and go slow. Making these tweaks makes the difference between a nice clean hole and pulling your hair out.
It’s worth it because you know when people see your project they’ll notice you did a good job getting it started naturaly.