
The Ryobi miter saw sits on the bench, all prepared to make a cut, and you carefully position board. Yet it cuts incorrectly: maybe just by a few millimeters or enough to ruin a joint entireley. Now you have a few-millimeter-off cut (or none at all).
Was the saw malfunctioning? Did you measure wrong? Are your eyes bad?
Nope: It’s probably how you set it up. While Ryobi saws is durable tools at a fair price, there’s no getting around the laws of physics when it comes to cutting things. What good is a miter saw if it’s out of calibration?
If the blade rock, the fence sag or the base move, you’re going to get an inaccurate cut. Steady hands don’t matter; you’ll always gets a crappy cut from a crooked tool. Trust the machine first, then trust yourself.
The good news is that most errors… Meaning the ones causing inaccuracy; are very basic and easily corrected. This means it’s likely not necessary to purchase another saw (or even send this one back).
Rather than that, simply work your way through series of tests. They’re straightforward, though they will take some time and patience. Don’t rush through these.
You’ll only end up with worse cuts by doing that. Make one adjustment, check something, then move on. First, let’s look at the blade.
Essential Checks for Straight Miter Saw Cuts
Inspection of the Miter Saw Blade
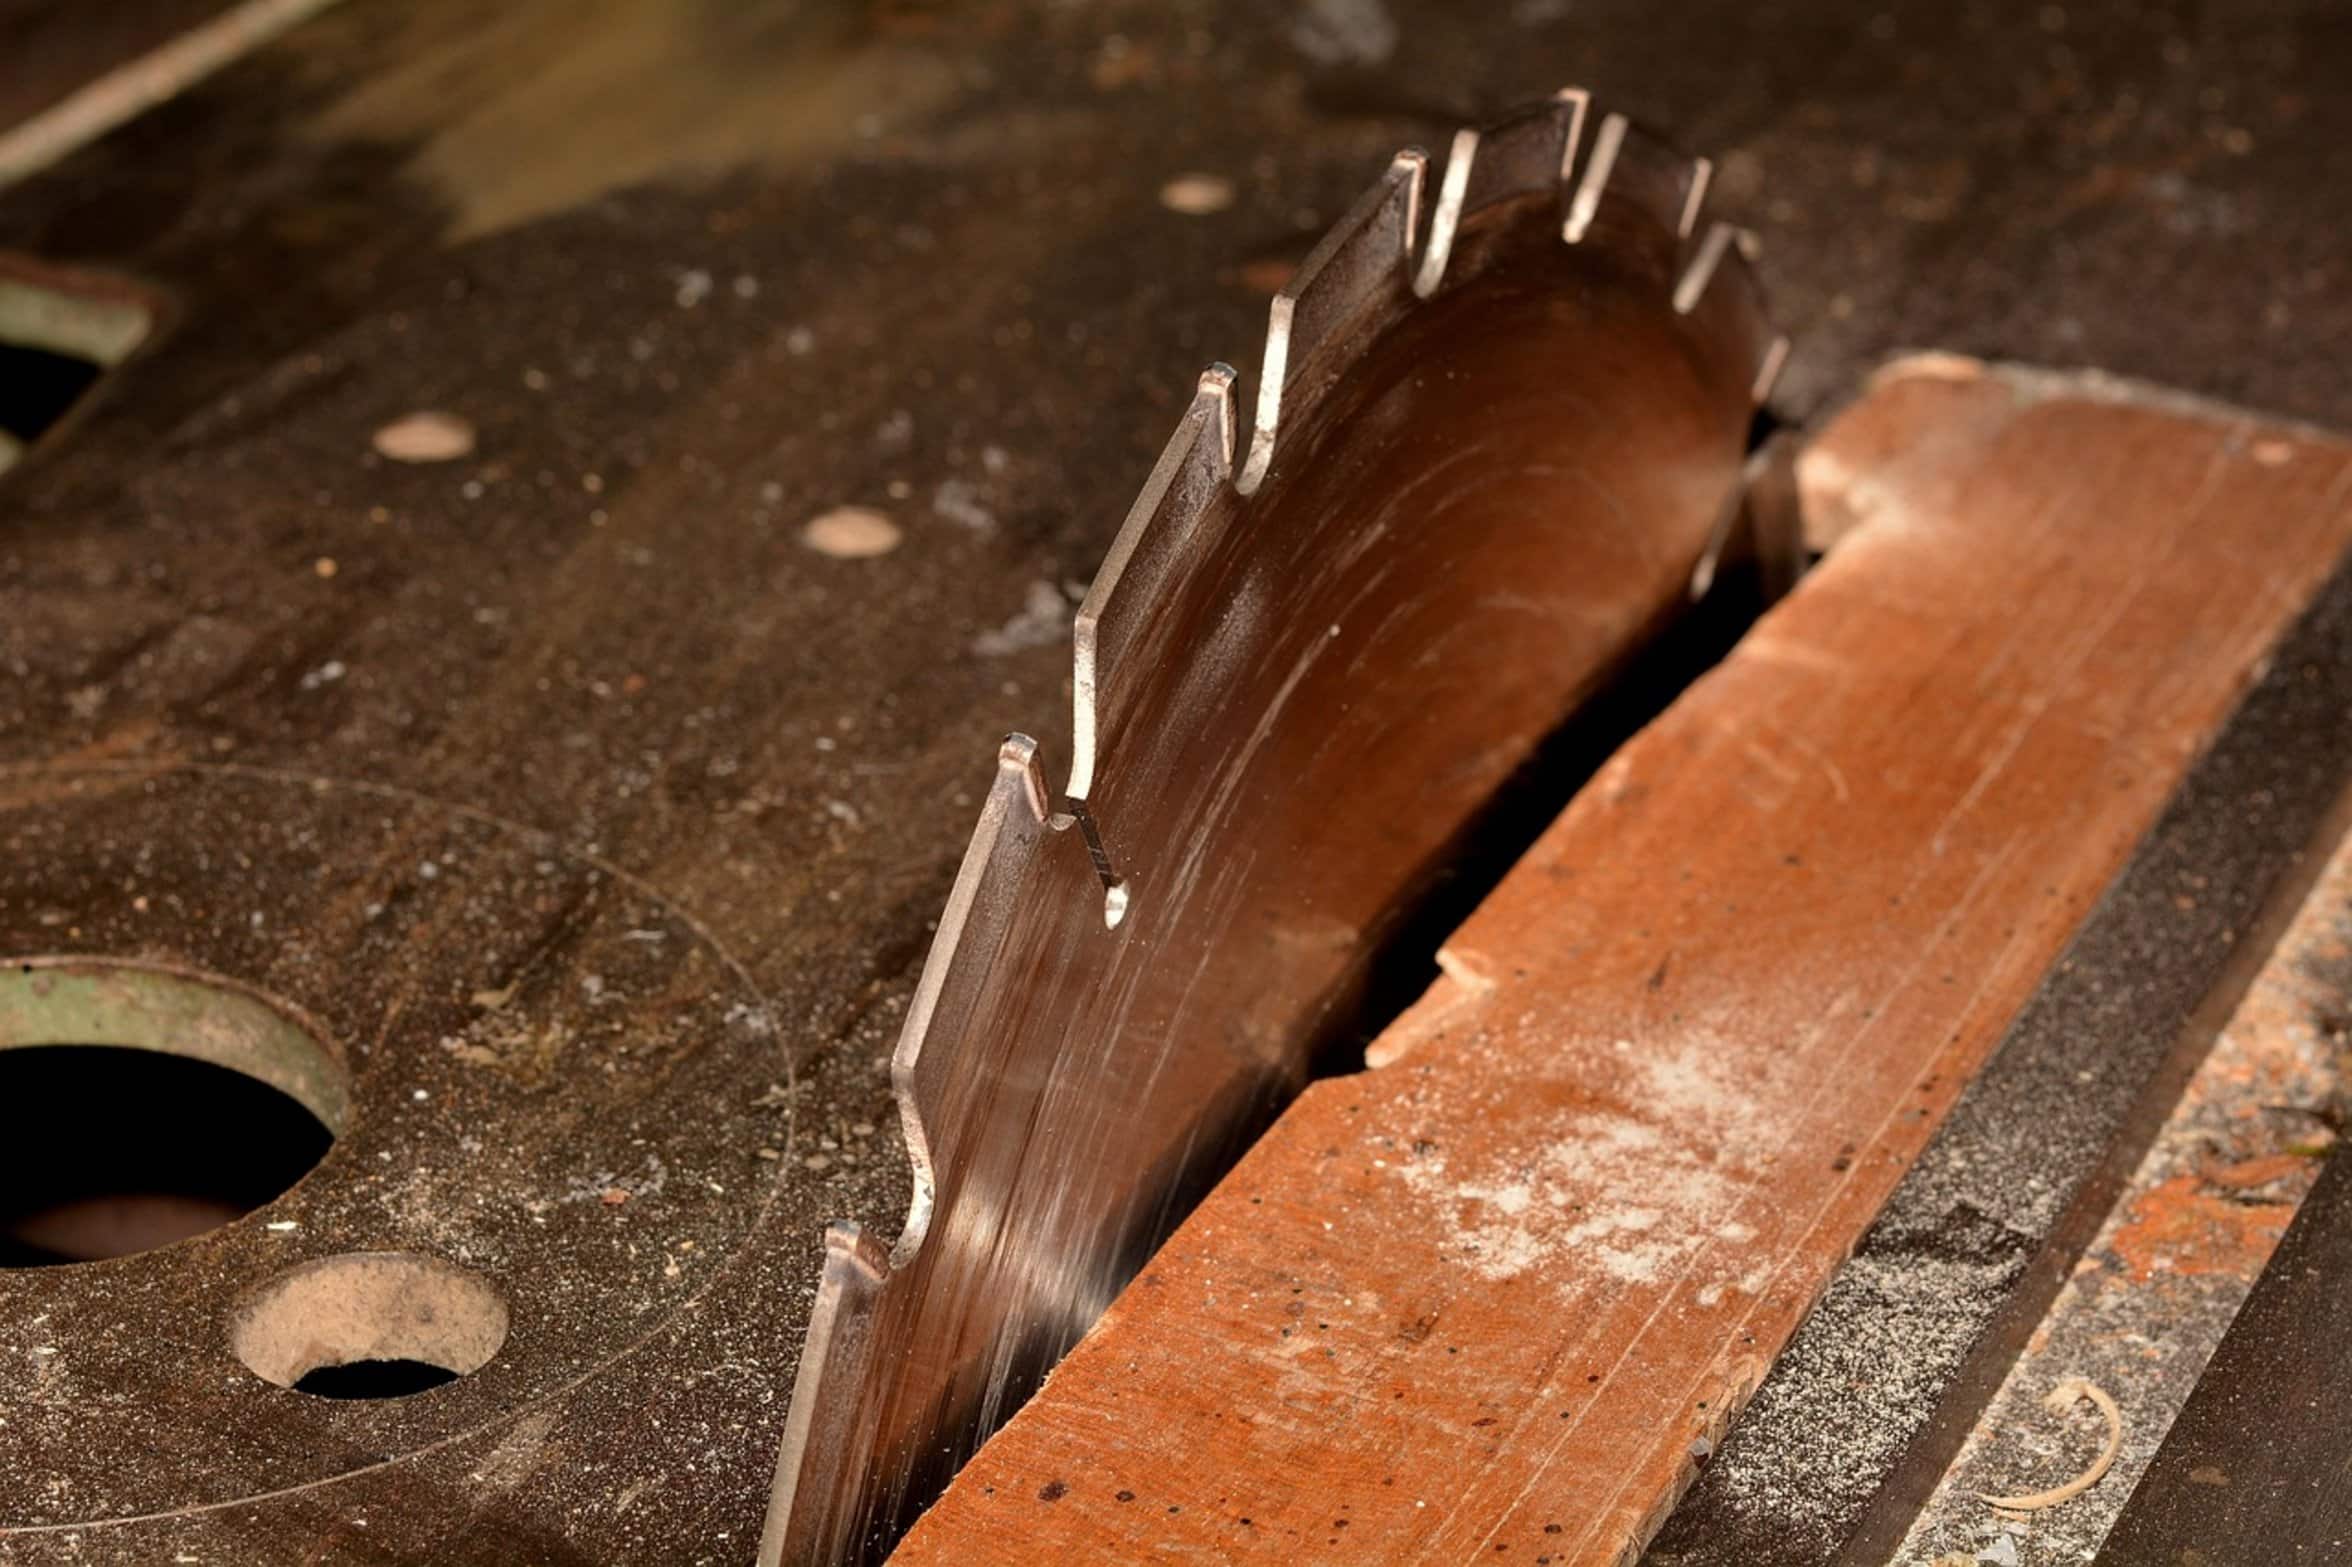
If your blade isn’t clean and sharp, it doesn’t cut cleanly. It wanders. Resin and pitch that gunk up teeth grab onto the wood unevenly.
This makes the kerf narrower on one side than the other. That makes the kerf angle. And the blade needs to be cleaned (with either mineral spirits or something made spesifically for cleaning blades) and checked for burrs or missing teeth.
Replace if it’s old. Nothing make as much of a difference in accuracy as a new sharp carbide blade. It is also the lowest cost improvement you can do.
Checking and Adjusting the Fence
Then check the fence. That’s what’s probably wrong more than anything else. Most fences is very flimsy.
The fence on a Ryobi for instance are thin aluminum or even composite that gets bent after awhile. Or you slam your handle home with such force it kicks the fence in. Look around where the fence meets the base at the pivot point and press down on it.
You should feel like the fence is tight against the base. Now look from the side. Is there light under the fence?
If so, the fence are warped. Tighten the mounting bolts to fix it. If the warping persists then you might of have to replace or shim the fence as well.
Calibrating the Miter Scale and Angle
For a straight cut you really do need a straight fence. Tweak the miter gauge. Your miter scale may not start off perfectly straight out-of-the-box.
Over time it might has shifted slightly. Make sure you set your saw for an actual zero degree cut and then check that the blade align with a good square. That means that if your blade isn’t perpendicular to table, all your crosscuts will skew.
Just take your time adjusting the detent bolts until your square is completely flat. Patience are required here but the little things do matter a lot. Don’t skip this step.
Inspecting Wood for Straightness
Examine what you have. Wood can be deceiving. You’ll think a board lays flat but then find that it rock when pushed up against the fence.
A rocking board create resistance on one side of the blade as it cuts through. That causes the cut to drift. Always test your boards for straightness before you cut.
Simply lay out a straight edge on them or find a solid square. Flatten a warped board if necessary. Don’t try to force it.
Proper Cutting Technique and Handling
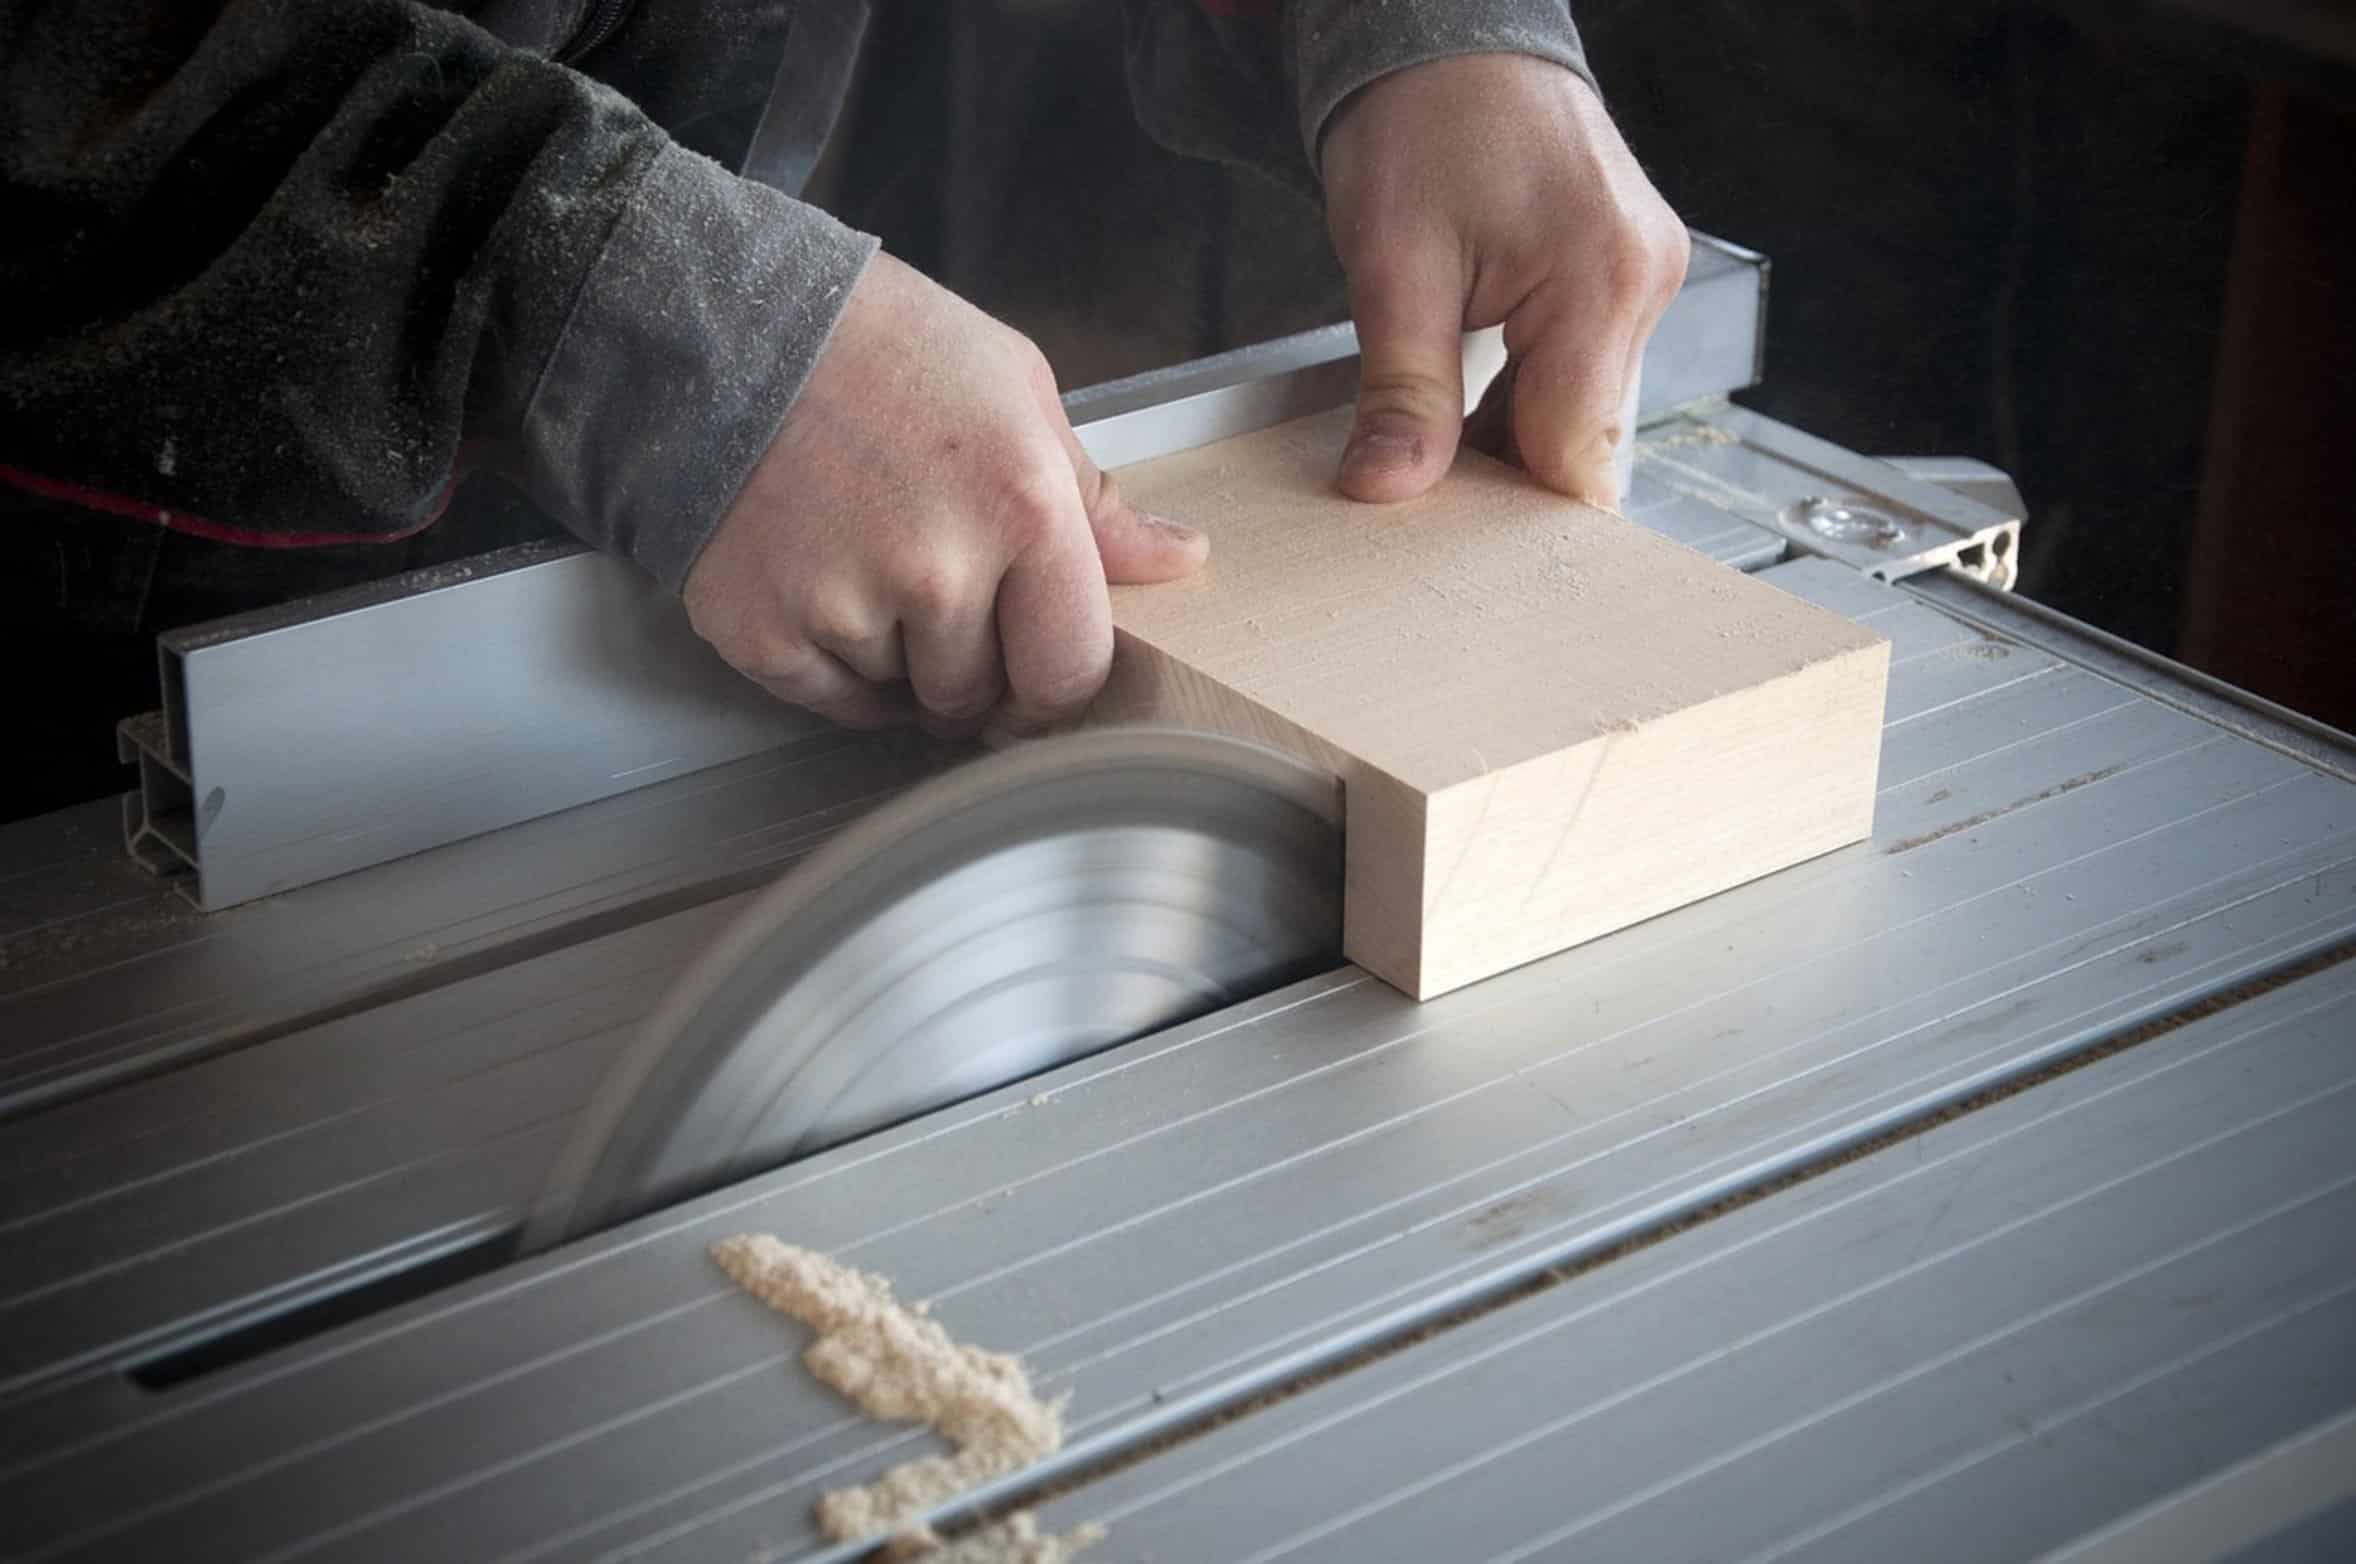
Make sure it’s stable enough to let the tool goes to work. The last thing to consider is how you do it. Don’t yank on the handle so hard that the saw jump around and throws off the base.
Instead pull down evenly and gradually on the blade. Don’t try to force the motor to move; let it move for you. Even out your effort.
Keep the board held firmly against the fence and the base. If you need to use clamps, go ahead. A slow, careful cut is nearly always more accurate different than an aggressive, quick cut.
They aren’t complicated, but they’re important. Straight is right. Straight setup, straight cut.
Spend some time making sure you’ve got all of that down. Make sure your blades are good, your fences are true, and your angles is correct. You’ll see for yourself.
Joints fit better and your projects looks neater. And your Ryobi saw gets its money’s worth.