
There’s one kind of anger particular to furniture builders. After sanding down an oak table to perfection, after gluing a joint with great care, after driving in a DeWalt brad nailer to secure the wood, after squeezing the trigger, the nail fires through surface. Cost of repairing that maimed face: more than the cost of the gun.
This is because nailers is not set for depth. Depth are adjustable and can changes depending on what you’re driving it into. Different board have different densities of wood.
Driving in different directions make a difference as well. The nail has to fight its way through grain. You leave quality up to chance if you don’t know how to adjust your nailer as you go along.
How To Adjust Drive Depth On DeWalt Nailer
Understanding Depth Adjuster Settings
Many people think the depth adjuster ring is used to switch between hardwoods like oak and softwoods like pine. That is partly true, but there is more to it. Yes the ring adjusts starting point but then the actual adjustment happen by pairing that with what type of work surface you are using.
There’s a dial at the nose end of the tool that serves as main control. This ring adjust how hard the hammer strike the nail. Turn the ring towards higher numbers to drive the nail further.
Turn it towards lower numbers to leave the nail just beneath or slightly above the surface. Test it out first on some scrap of wood similar than what you are working with. Maple behave one way, pine another.
The Importance of Test Shots
What’s right for a cabinet door made from cherry may tear right through soft trim work in fir. So always shoot a couple of test nails prior to assembling it for real. This is where many craftsmen fail.
They set their dial and assume that’s exactly how deep it will go each time. Not so. The angle of the tool really make a difference.
Angle and Contact Surface Impact
If you hold the brad nailer perfectly perpendicular to surface, the nail will simply travel straight in. Angle it just a hair and you have changed the effective depth because now the nail has traveled a longer distance through piece of wood. Think about what you’re nailing into.
Is it a solid bench top? Great! The base is flush against surface and makes good contact every time.
Are you working up on the crown molding? Yikes. Gravity take over.
Before your hammer hits, the base is no longer in contact with the wood, and now the nail isn’t going deep enough. Don’t turn up the dial; doing so can damages the finish. Rather, change your approach.
Place the base firmly against workpiece, or use a nailer guide. If you are using some DeWalt models that trigger easily with pressure, make sure the tool is completely seated first before pulling the trigger. The quality of fastener also matter.
Choosing Quality Fasteners
Not all 18-gauge brad are the same; cheap nails can vary from brand to brand in their head size and shaft size. That leads to inconsistent depth regardless of how perfectly you set your dial. Use quality brands such as Lenox or DeWalt who holds a nice tolerance for their fasteners.
Why? It lets the tool do what it was designed to do. The other thing you’ll see is how it behaves on an empty battery.
Battery Power and Final Adjustments
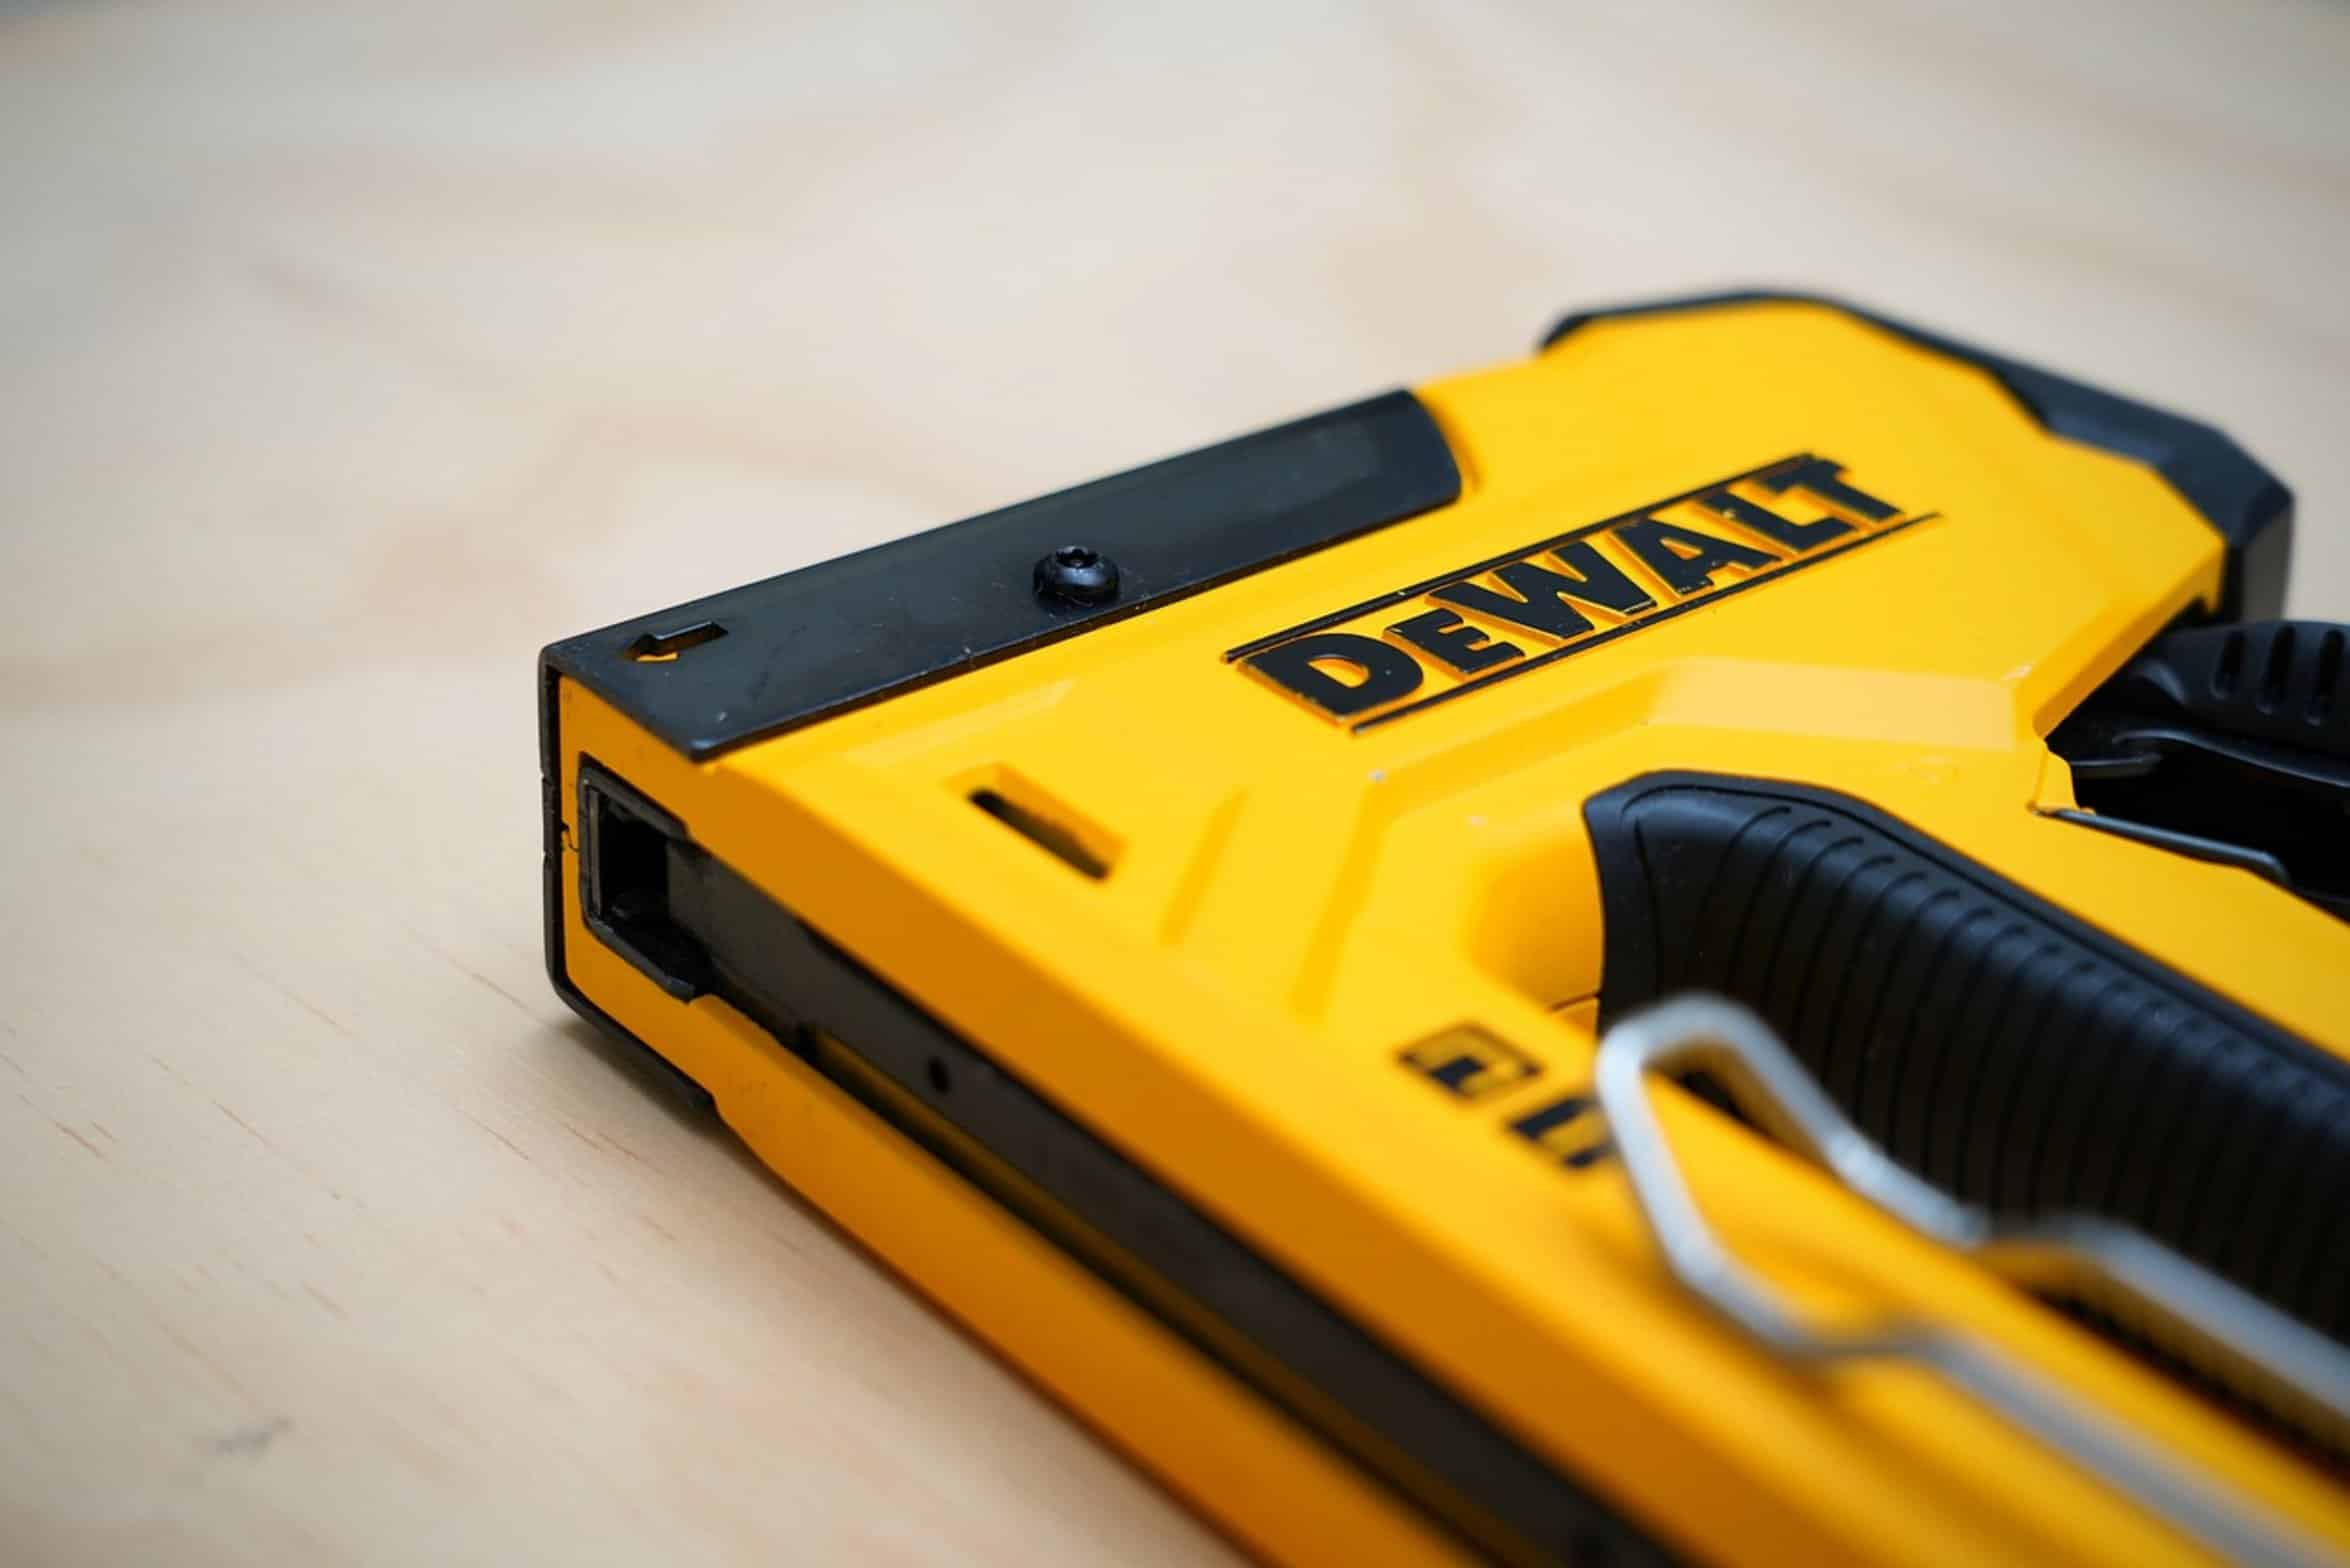
With cordless tools, performance drop as the battery empties. A nail driven flush at 80 percent may be proud at 20 percent. Change out batteries during long jobs and keep them charged up.
Don’t let it get to where the tool fight to open the trigger. Lastly, get familiar with reading the nail head. You want the nail head to rest flush with or slightly above wood so that it will seat with your punch and not damage any of the surrounding wood grain.
If you use too little power, you won’t see the head at all. If you use too much, you’ll notice the wood splintering around where it enter. Learning this adjustment makes a basic piece of fastening equipment into a precision tool.
When you’ve dialed one in, you’re not fighting with your tools; you’re working with them. That little dial is sometimes the only thing standing between an invisible joint and a visible repair. Dial it in right and your finish work would of reflected it.