
Ah, there you are. Staring into the eyes of a dead Ryobi battery on the ground in your garage. It didn’t work today.
But yesterday it did, so you think it has got juice. There must be a switch somewhere. So you turn it around.
Look. There is no switch. There are no button to push.
Homeowners that has used the One+ system know this is one of those moments when frustration sets in. And the tool’s silence feel personal. But here’s the thing: most of the Ryobi batteries lacks any sort of “traditional” reset button.
And that can be confusing for folks who aren’t familiar with the tool but are used to resetting things by simply flipping some kind of switch in hardware. Usually, there isn’t anything obvious to flip; it’s an electronic state handled within management chip. This is where your confusion lie.
This is why people think their battery is broken when it realy isn’t. If only they knew about this difference, they would save time and stop trying to tear apart their batteries looking for something that’s not there. How does all this work?
We’re going to explain it. This is actualy a safety feature of the battery. The battery has a protection circuit on it.
How to Reset Ryobi Batteries That Won’t Charge
Understanding the Protection Circuit
It’s a little board inside each lithium-ion pack that watch for temperatures and voltages. When the cell get too hot or drops too low, it cuts off immediately as a safety measure. It is not a malfunction, but a safety feature.
Once conditions return to normal, it reset and allows the power to flow again. In the summer, they gets thermal shutdown all the time. You’ve got the battery sitting in a hot truck.
Thermal Shutdown and Overheating
It heats up inside and get too warm for safety. The chip cuts off the connection to save the cells. Pushing the button doesn’t bring it back on.
All you can do is wait. In this case the best way to reset is to cool down the pack till it’s at room temp again. Your weapon is patience.
Voltage Protection and Deep Discharge
Voltage protection kicks in if cell get too low. With lithium, they don’t like being deep discharged; it’s permanent damage. So the protection board cut off any more drain and separates the cells from each other.
It may wake back up with a simple charging cycle. Or maybe the pack are finished. If you let it sit there for a while, the charger will realize what happened.
However, it won’t recognize it after several minutes. This means the protection board has locked it down for good. In some cases there is physical switches.
Older Models with Physical Switches
For example, in earlier years the packs for the older HP40 pack had a slide switch. This was used to turn the power on or off to the tool. Bump that switch and it would look like your battery was dead.
Look carefuly around the bottom and sides of those older ones. Sometimes it’s just a slight click. Today most of them don’t do that anymore.
This is especially true for the 40V and 18V pack. It’s strictly electronic inside. Chargers tell a story.
Diagnosing with the Charger Light
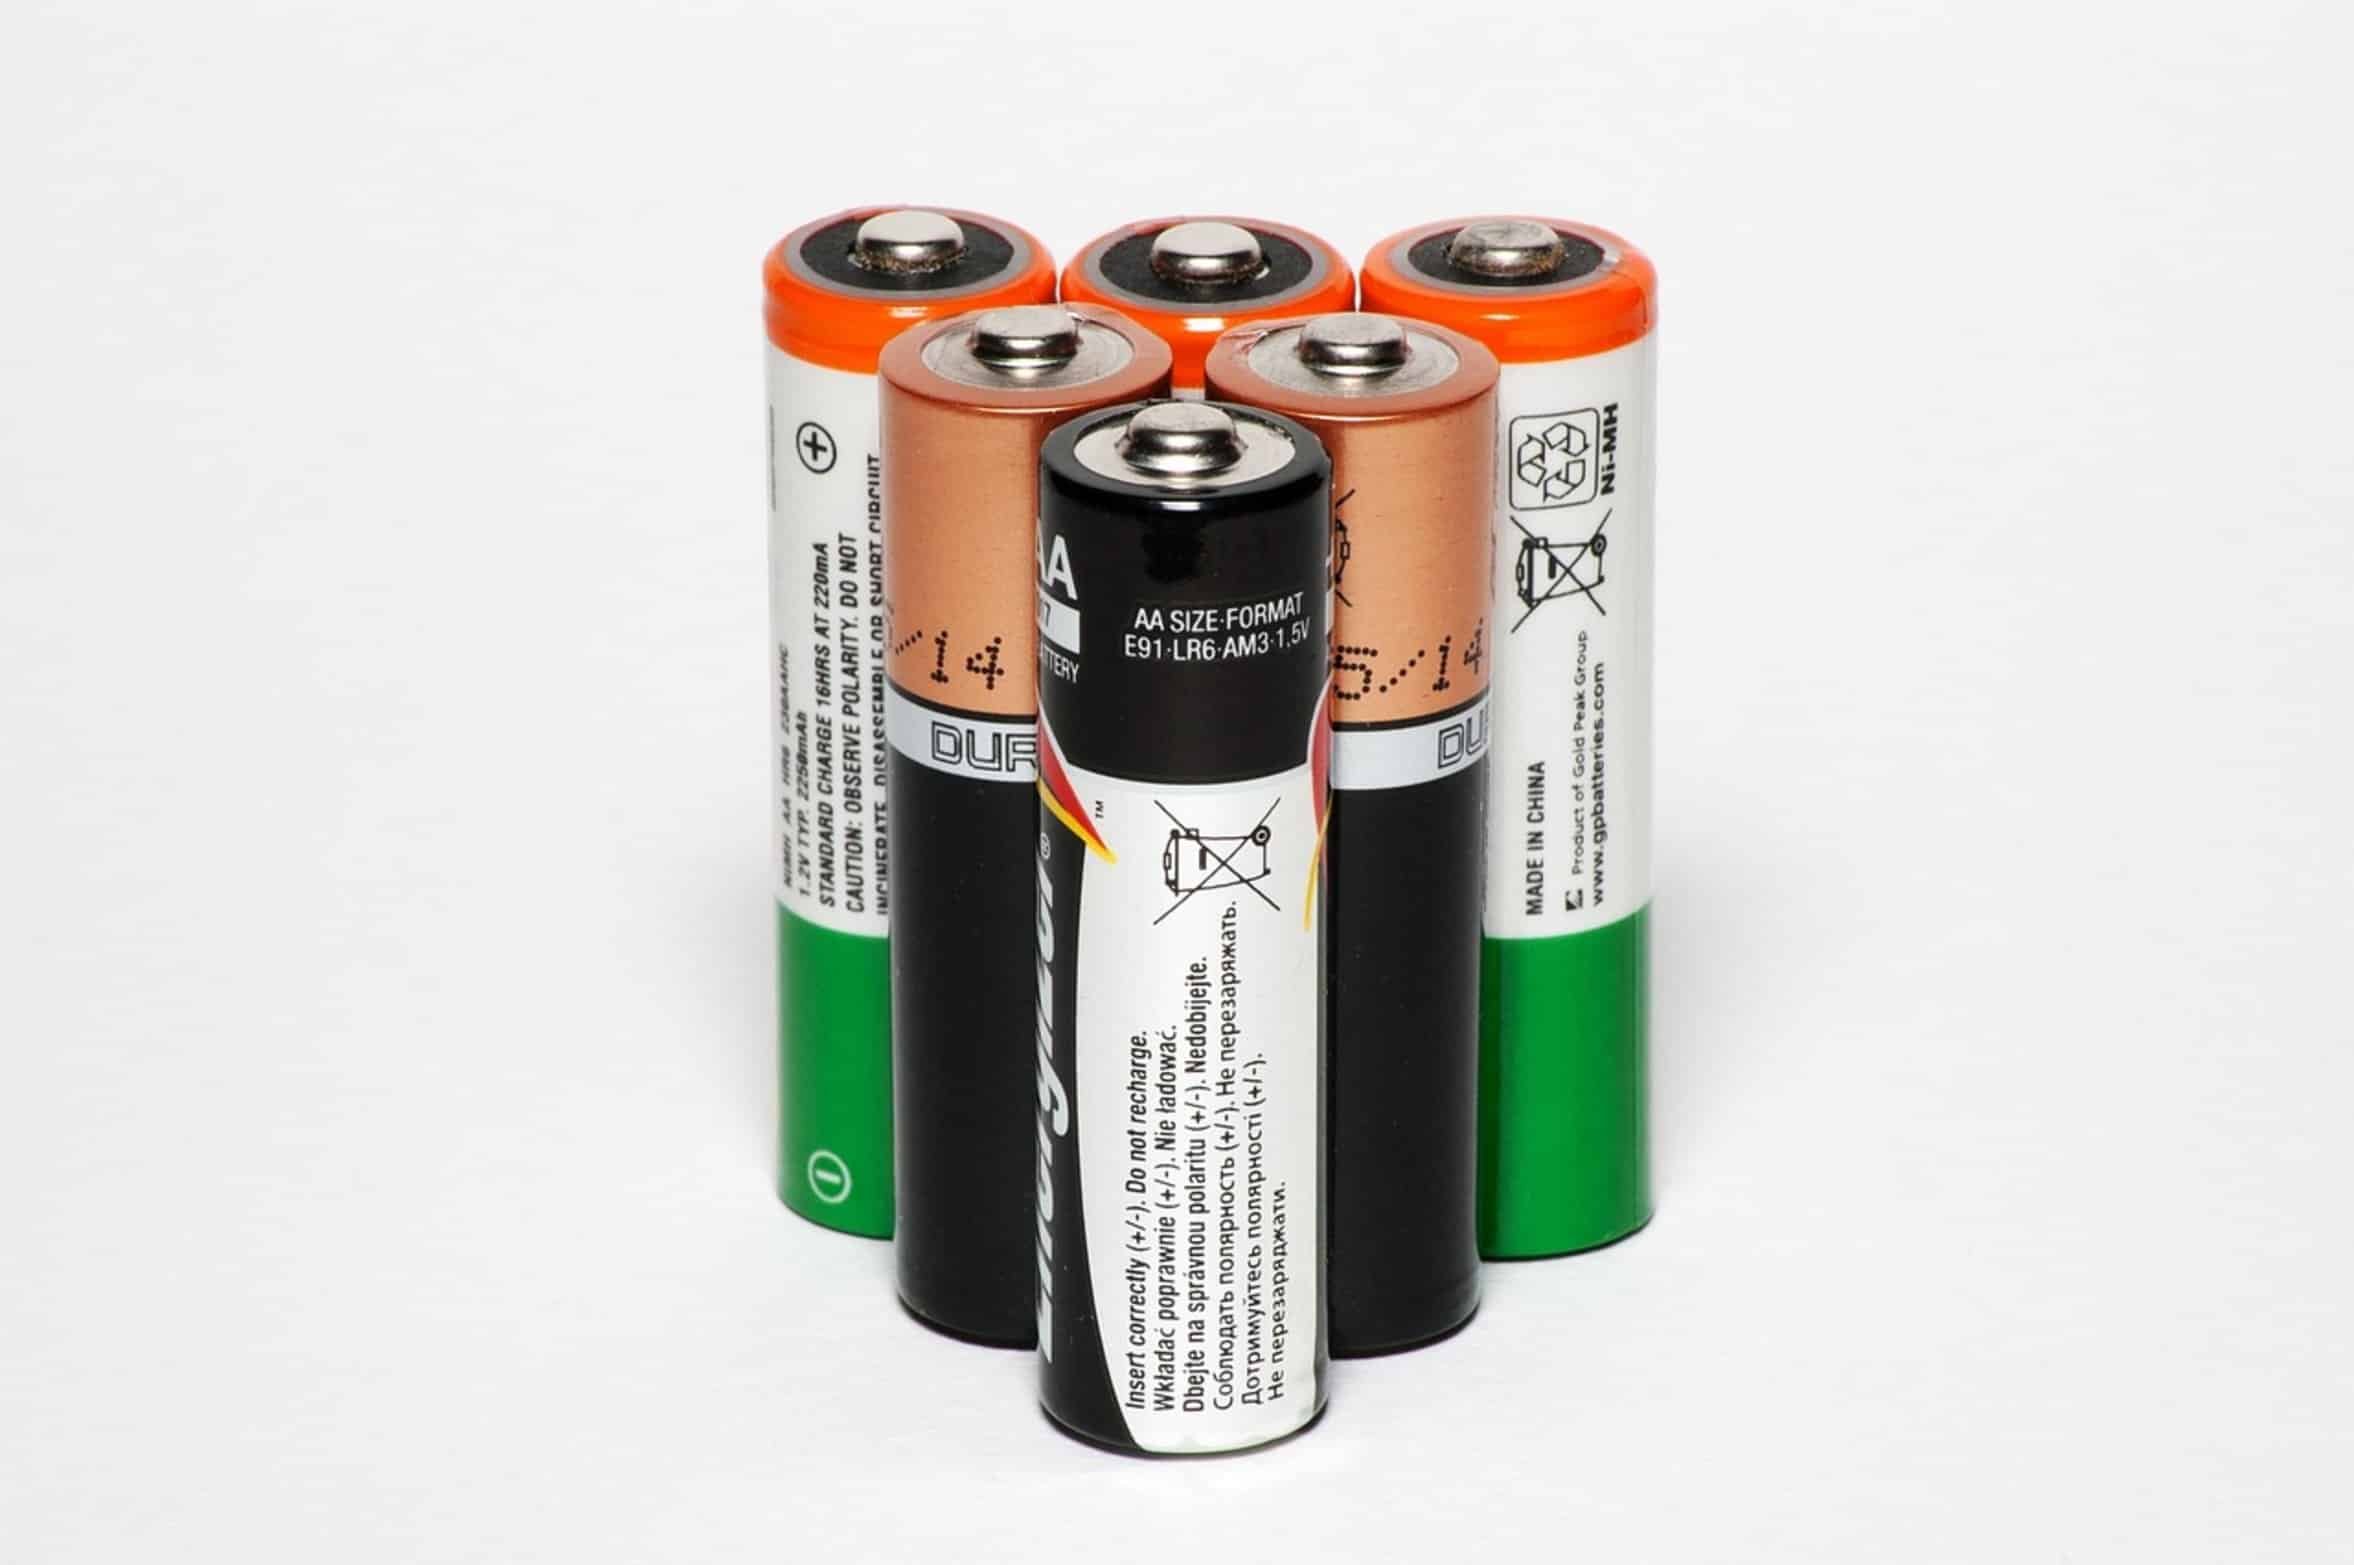
Connect the suspect battery to a known good charger. Observe the behavior off the lights. If the pack is accepted, the charger will have a steady green light.
If the battery has a fault, the charger light will be flashing red. Don’t continue. This isn’t a reset issue.
This is a hardware failure. The chip has identified an internal problem that it cannot safely ignore. Resetting forces.
Safety Warnings Against Forcing Reset
It’s risky business. Don’t attempt to short out the contacts. Don’t take apart the case and get at the board inside.
Mischandling lithium cells are asking for trouble. Puncture one, and you could of have fire. Risking your hand for the slim chance of salvaging the battery just isn’t worth it.
Let the safety mechanisms do their jobs. There’s a reason they’re there. Contact issues can be mistaken for a dead battery at times.
Cleaning Contacts and Maintenance
Dirt and rust builds up on the terminals and they don’t connect. The tool believe it’s missing the battery. Use a dry cloth to clean the contacts.
Make sure the prongs are straight. This is not a reset, but maintenance. It solve more problems than people realize.
A clean tool perform better. And then there’s recycling: Letting go is an option if the charger continues to reject the pack.
Recycling and Trade-In Options
Some retailers has trade-in programs that Ryobi participates in.
Store credit maybe? Better than leaving it in the drawer. Dead batteries don’t retain their value well.
Regardless of usage, the chemistry go bad over time. Pressing a reset button is like searching for hope. The tool should work right?
Keep going with the project? Electronics have rules. They don’t mess around.
You see that it’s about acceptance, which shows through the pack’s status. Check the temps. Clean the contacts.
Have faith in the charger. If that fails move on. You’ll find yourself another project.