
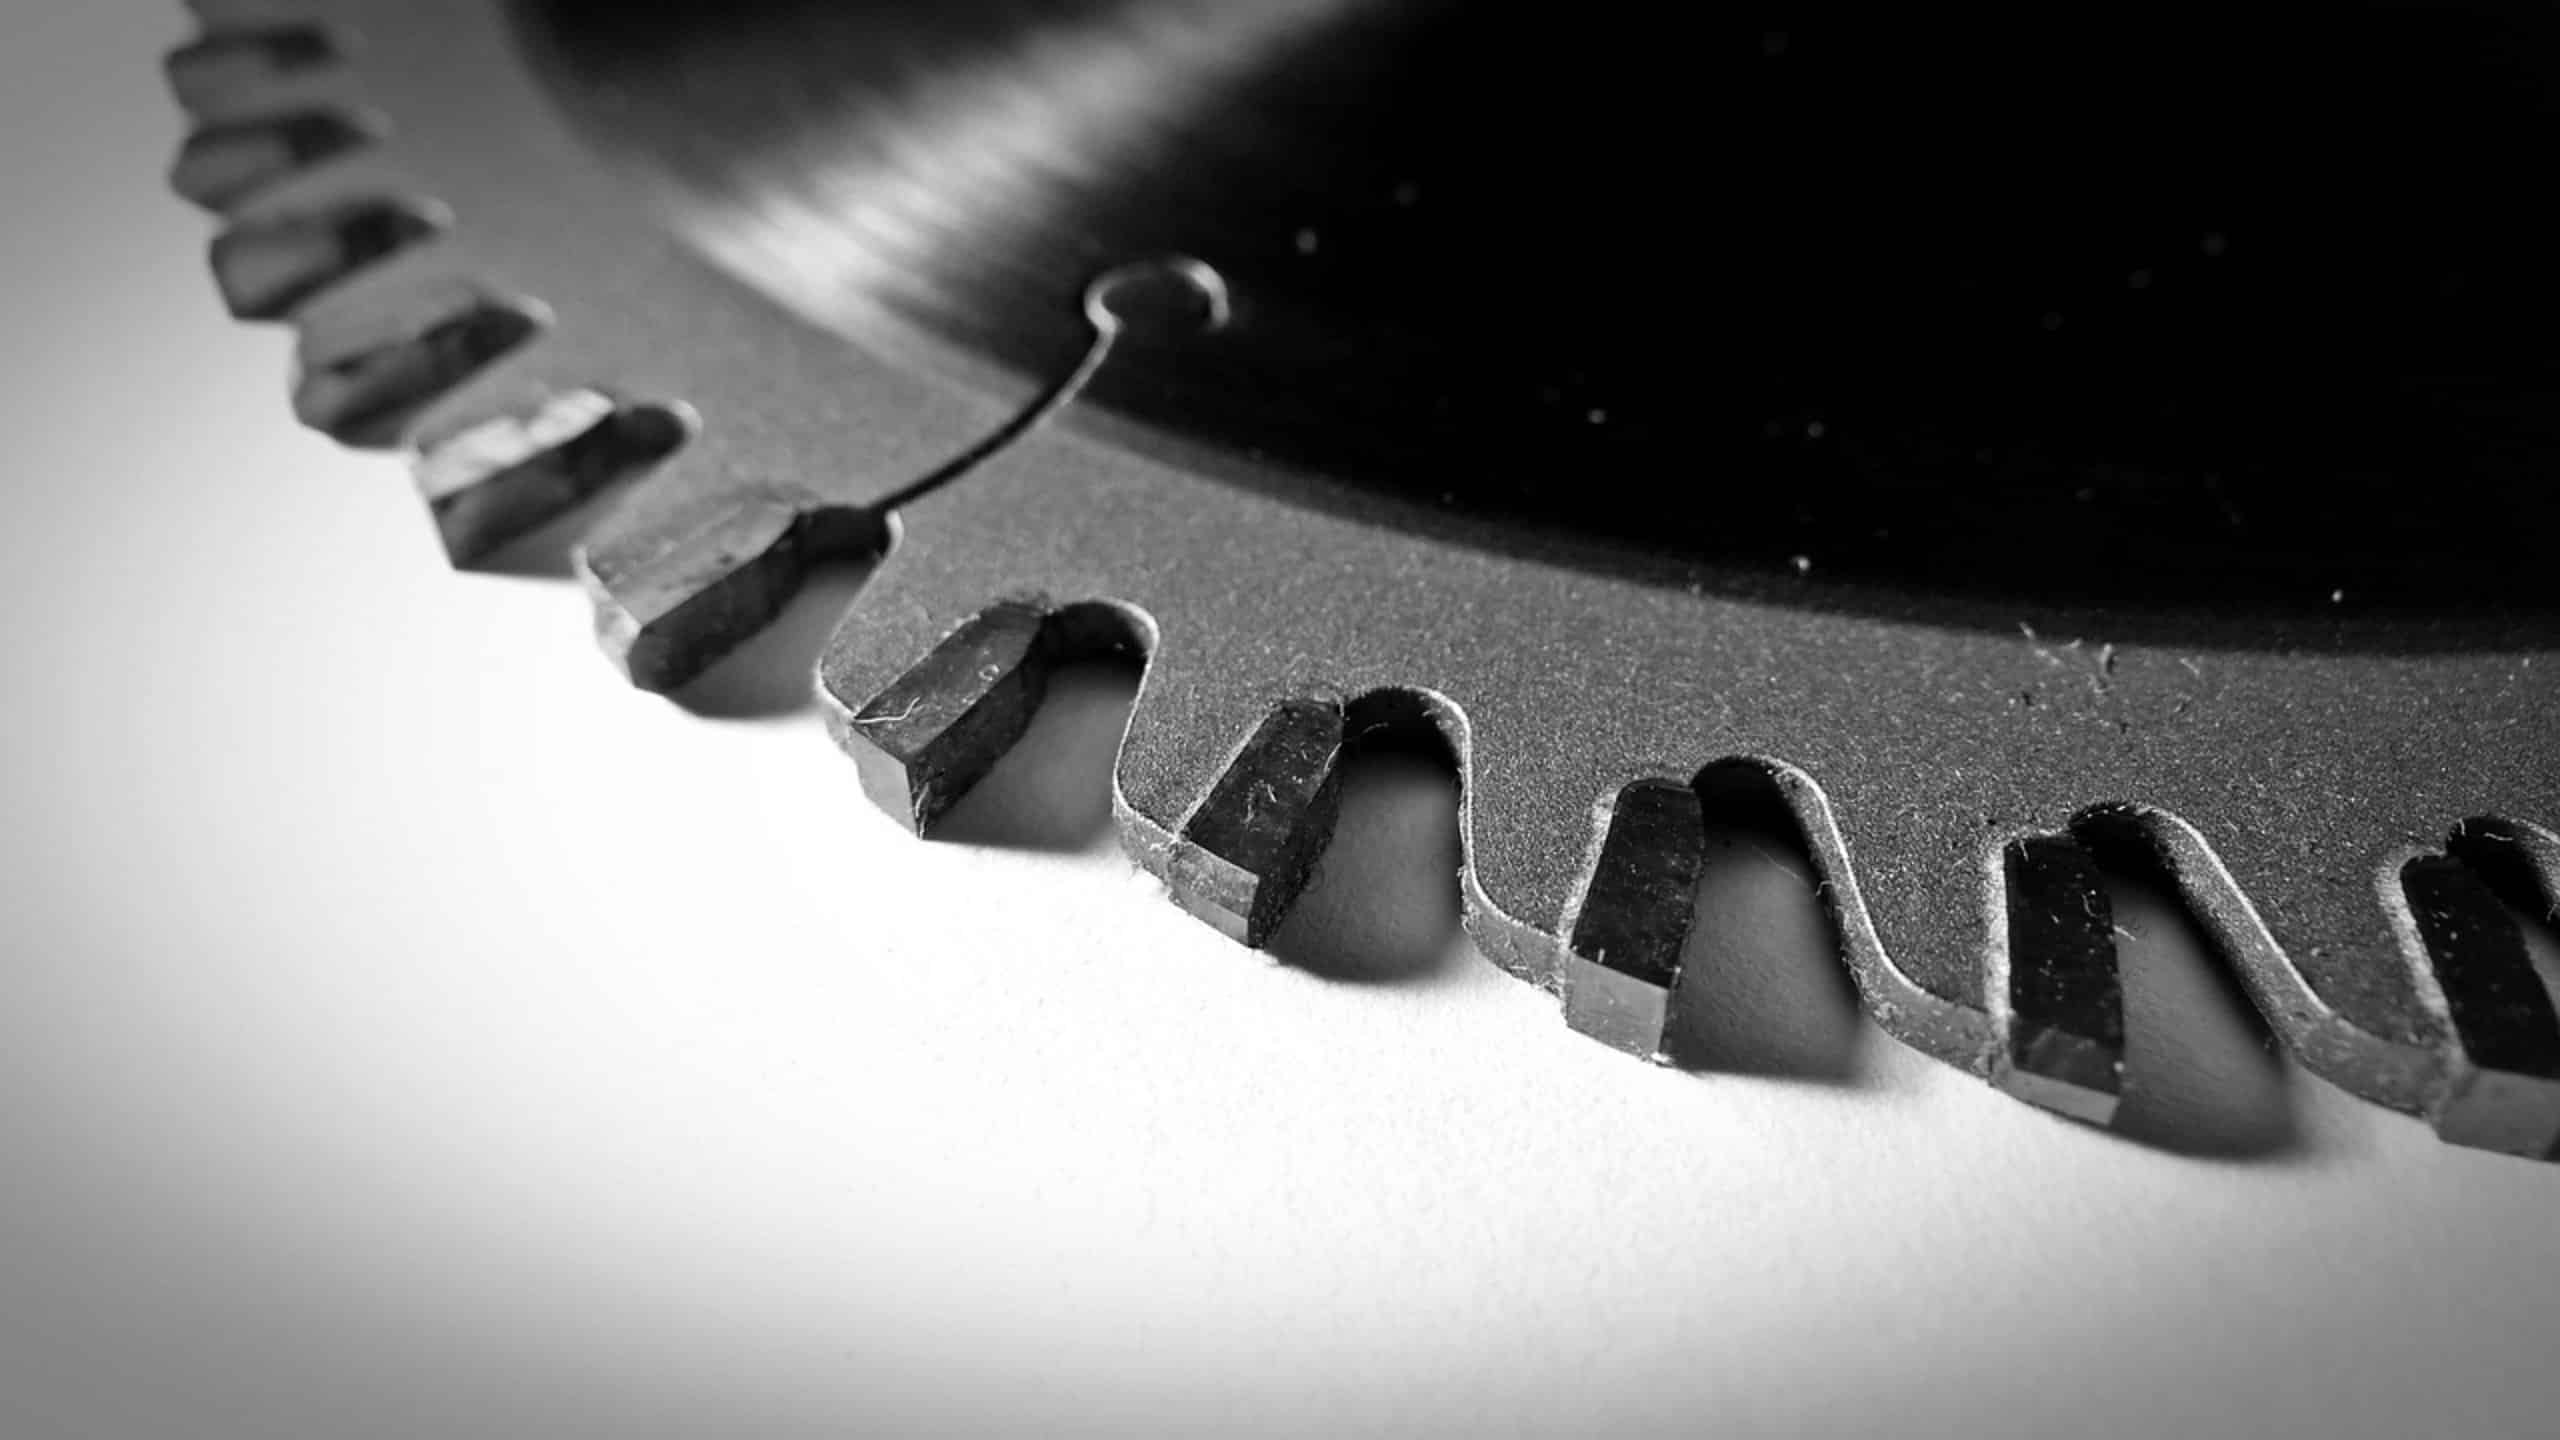
When you hear the blade grinding against metal, it’s a red flag. The teeth has dulled or the diamond finish has been ground away to reveal steel below. That roughens the cutting edge and requires it to be smoothed off.
This force the motor and burns out the brushes. When changing out a blade on a chop saw I find it a very satisfying maintenance job. It only cost money and time, but it makes the cuts accurate again in no time at all.
The reason why most folks won’t do it is because the arbor nut seem scary. They worry about dropping the heavy blade or stripping the threads. Truth is, it’s not.
If you have a wrench in hand and a clear head, switching blades on a Milwaukee or a DeWalt saw takes less time then making a pot of coffee. That’s the trick: the thing is standardized. It wasn’t made for special robots; it was made for humans to use their hands on.
Step By Step Guide To Changing Chop Saw Blades
Recognizing Signs of a Dull Blade
When you hear the blade grinding against metal, it’s a red flag. The teeth has dulled or the diamond finish has been ground away to reveal steel below. That roughens the cutting edge and requires it to be smoothed off.
This force the motor and burns out the brushes. When changing out a blade on a chop saw I find it a very satisfying maintenance job. It only cost money and time, but it makes the cuts accurate again in no time at all.
Ensuring Safety Before Starting
The reason why most folks won’t do it is because the arbor nut seem scary. They worry about dropping the heavy blade or stripping the threads. Truth is, it’s not.
If you have a wrench in hand and a clear head, switching blades on a Milwaukee or a DeWalt saw takes less time then making a pot of coffee. That’s the trick: the thing is standardized. It wasn’t made for special robots; it was made for humans to use their hands on.
Safety first and there’s no negotiation here before you even pick up the wrench. Turn off the saw. I mean, pull the plug from the wall.
Don’t trust the trigger switch. In the shop, muscle memory can get you in trouble. You may reach over for something and bump the handle.
The next thing you know, that spinning blade go right into your hand. Pulling it out is one less thing to account for. Remove the battery if it’s a battery powered one.
It seems like common sense but when in a rush we all sometimes does this. Don’t be that guy. Find the arbor nut The arbor nut is what connects it all and is located right in the middle of the blade.
Locating the Correct Wrench Size
The size is pretty standard amongst most chop saws. A 14 millimeter or an inch (hex) are common. If you’re not sure, consult the manual.
However, know that most include a spanner wrench as part of the housing. These will have small holes in them near the blade guard. Insert the included tool into these holes.
Locking the Arbor to Remove the Nut
This will lock the arbor shaft and prevent the blade from turning while you loosen the nut. This is a clever design feature, so you do not need someone else to hold it still. Now what do you do if your saw doesn’t have one?
Get creative. A rubber grip on the blade helps, but only if it isn’t coated with metal shavings; if there is oil on the teeth, you have a bad situation! Use a block of something soft like a 2×4 of scrap wood.
Brace the blade and apply pressure to keep it from turning while you spin the nut. And the key part is you has to know which way the blade turns. Here’s why: The arbor nut is reverse threaded most of the time.
Understanding Reverse Threads on Arbor Nuts
To loosen it, you go clockwise. That sounds backwards but keeps the nut from tightening up when the blade turns forward. It sounds backward, but it makes sense.
Now, back off on the nut until it’s loose, but be careful to remove the washers in the right order. Some saws has a retaining ring, then a spring washer, and finally a flat washer. Take a picture of them with your phone before you take things apart.
That way when you go to put it back together, you know which goes where without having to guess. The blade will come out easily after that. Just give the hub a gentle rap or two with your rubber mallet if it seems like it want to stick.
Removing Washers and Taking Off the Old Blade
You shouldn’t of hammer it, because then you’ll distort the mounting surface and screw yourself. Look at the new blade first. Check for teeth direction.
The teeth need to run opposite the direction the blade turns or they will sweep backwards away from turn direction. There is usually an arrow painted on the face of most blades to tell which way that is. Read the arrow.
Checking Blade Direction and Installation
If installed backwards the saw will vibrate and buck. It is bad news both ways and a waste of money. Now line up the arbor shaft with the holes on the blade.
Slide washers back on in the same order they was pulled off. Don’t over tighten the nut; you want it tight enough that it won’t slip, but if you go too hard you’ll warp the blade plate or strip the threads. Generally speaking, a good wrench grip will do it.
Once tightened down, engage the locking mechanism to hold it in place. Now grab the blade with your hand and spin it. It should turn freely without rubbing on the guard.
Does it wobble? If so, there might still be something caught up on the arbor shaft. A bit of stray metal dust will throw the whole thing out of whack.
Tightening the Nut and Final Testing
Plug the saw back in and test it on a piece of scrap material. Run it through some scrap material. What does it sound like?
Is it screaming? No, it’s supposed to hum steadily. Did it make a nice clean cut?
Check your install again if it’s still screaming. It is either a loose nut or probably a washer out of place. Changing a blade is an easy skill, but it pays huge rewards in keeping your shop humming right along.
Don’t ignore that screeching next time you hear it. Grab the wrench.