
When it comes to a dowel, there’s something about having one so long it splits or you’re out of them. You look at the shelf where you store hardware. Nothing.
Then you look at the scrap bin. Nada on that shelf either. The pieces is too small.
So what? Common wisdom says to get a doweling cutter for your lathe. That is if you had a lathe.
Chances are, most people don’t (even though many woodworkers is skilled). They just hasn’t got the floor space for a heavy machine dedicated to turning cylinders. Still, you want some reinforcement and pins to keep things aligned.
A lathe is nice to have but not essential to making a dowel. Using tools you likely possess, you can take a square piece of wood and shape it into a perfect cylinder. Here’s the trick: A dowel is nothing more than a circle.
And circles are simple to create… If you systematically round off corners. Choosing the proper stock is as important as how you cut it.
How To Make Wooden Dowels By Hand
Choosing the Right Wood Stock
Begin with solid block of wood (square) with dimensions just larger than what you’re looking for in a finished dowel. If I’m making a 1/2 inch dowel, begin with a 5/8 inch wide by whatever length piece of wood you want. Be sure the grain runs perpendicular to the long axis of the dowel.
That is, the grain will run along the length of the final dowel. This gives the dowel strength on its axis, which is where we want it. Hardwoods like cherry, maple, or oak are preferred because they hold their shape under pressure.
They tend to keep their shape better under compression force. Soft woods may bends while being shaped. Choose a clear piece of wood without any knots or other imperfections.
Knots make a weak spot and could pop off when you pound the pins home. It’s a minor detail but makes all the difference between a joint that lasts for decades and one that fails when stressed. With the block in hand, start planing off excess material.
Shaping the Dowel with a Plane
First, roughly shape the circle with the block plane. Next, plane each corner down until the block is shaped like an octagon. Don’t sweat making things perfect at this point.
We’re only taking off majority of the wood. Taking larger cuts now versus later will be quicker. As you get closer to desired size switch to a slightly more shallow cut.
Use your fingertips for feedback. The high areas should feel raised relative to pad of your thumb. At this point, nothing will measure better than how the wood feels.
When it feels round to the touch, measure its diameter. Is it still too large? Go back to the block plane.
Close? Time to proceed to step 2. By going slow, you’ll gain control over the process in a way a machine cannot.
Smoothing the Surface
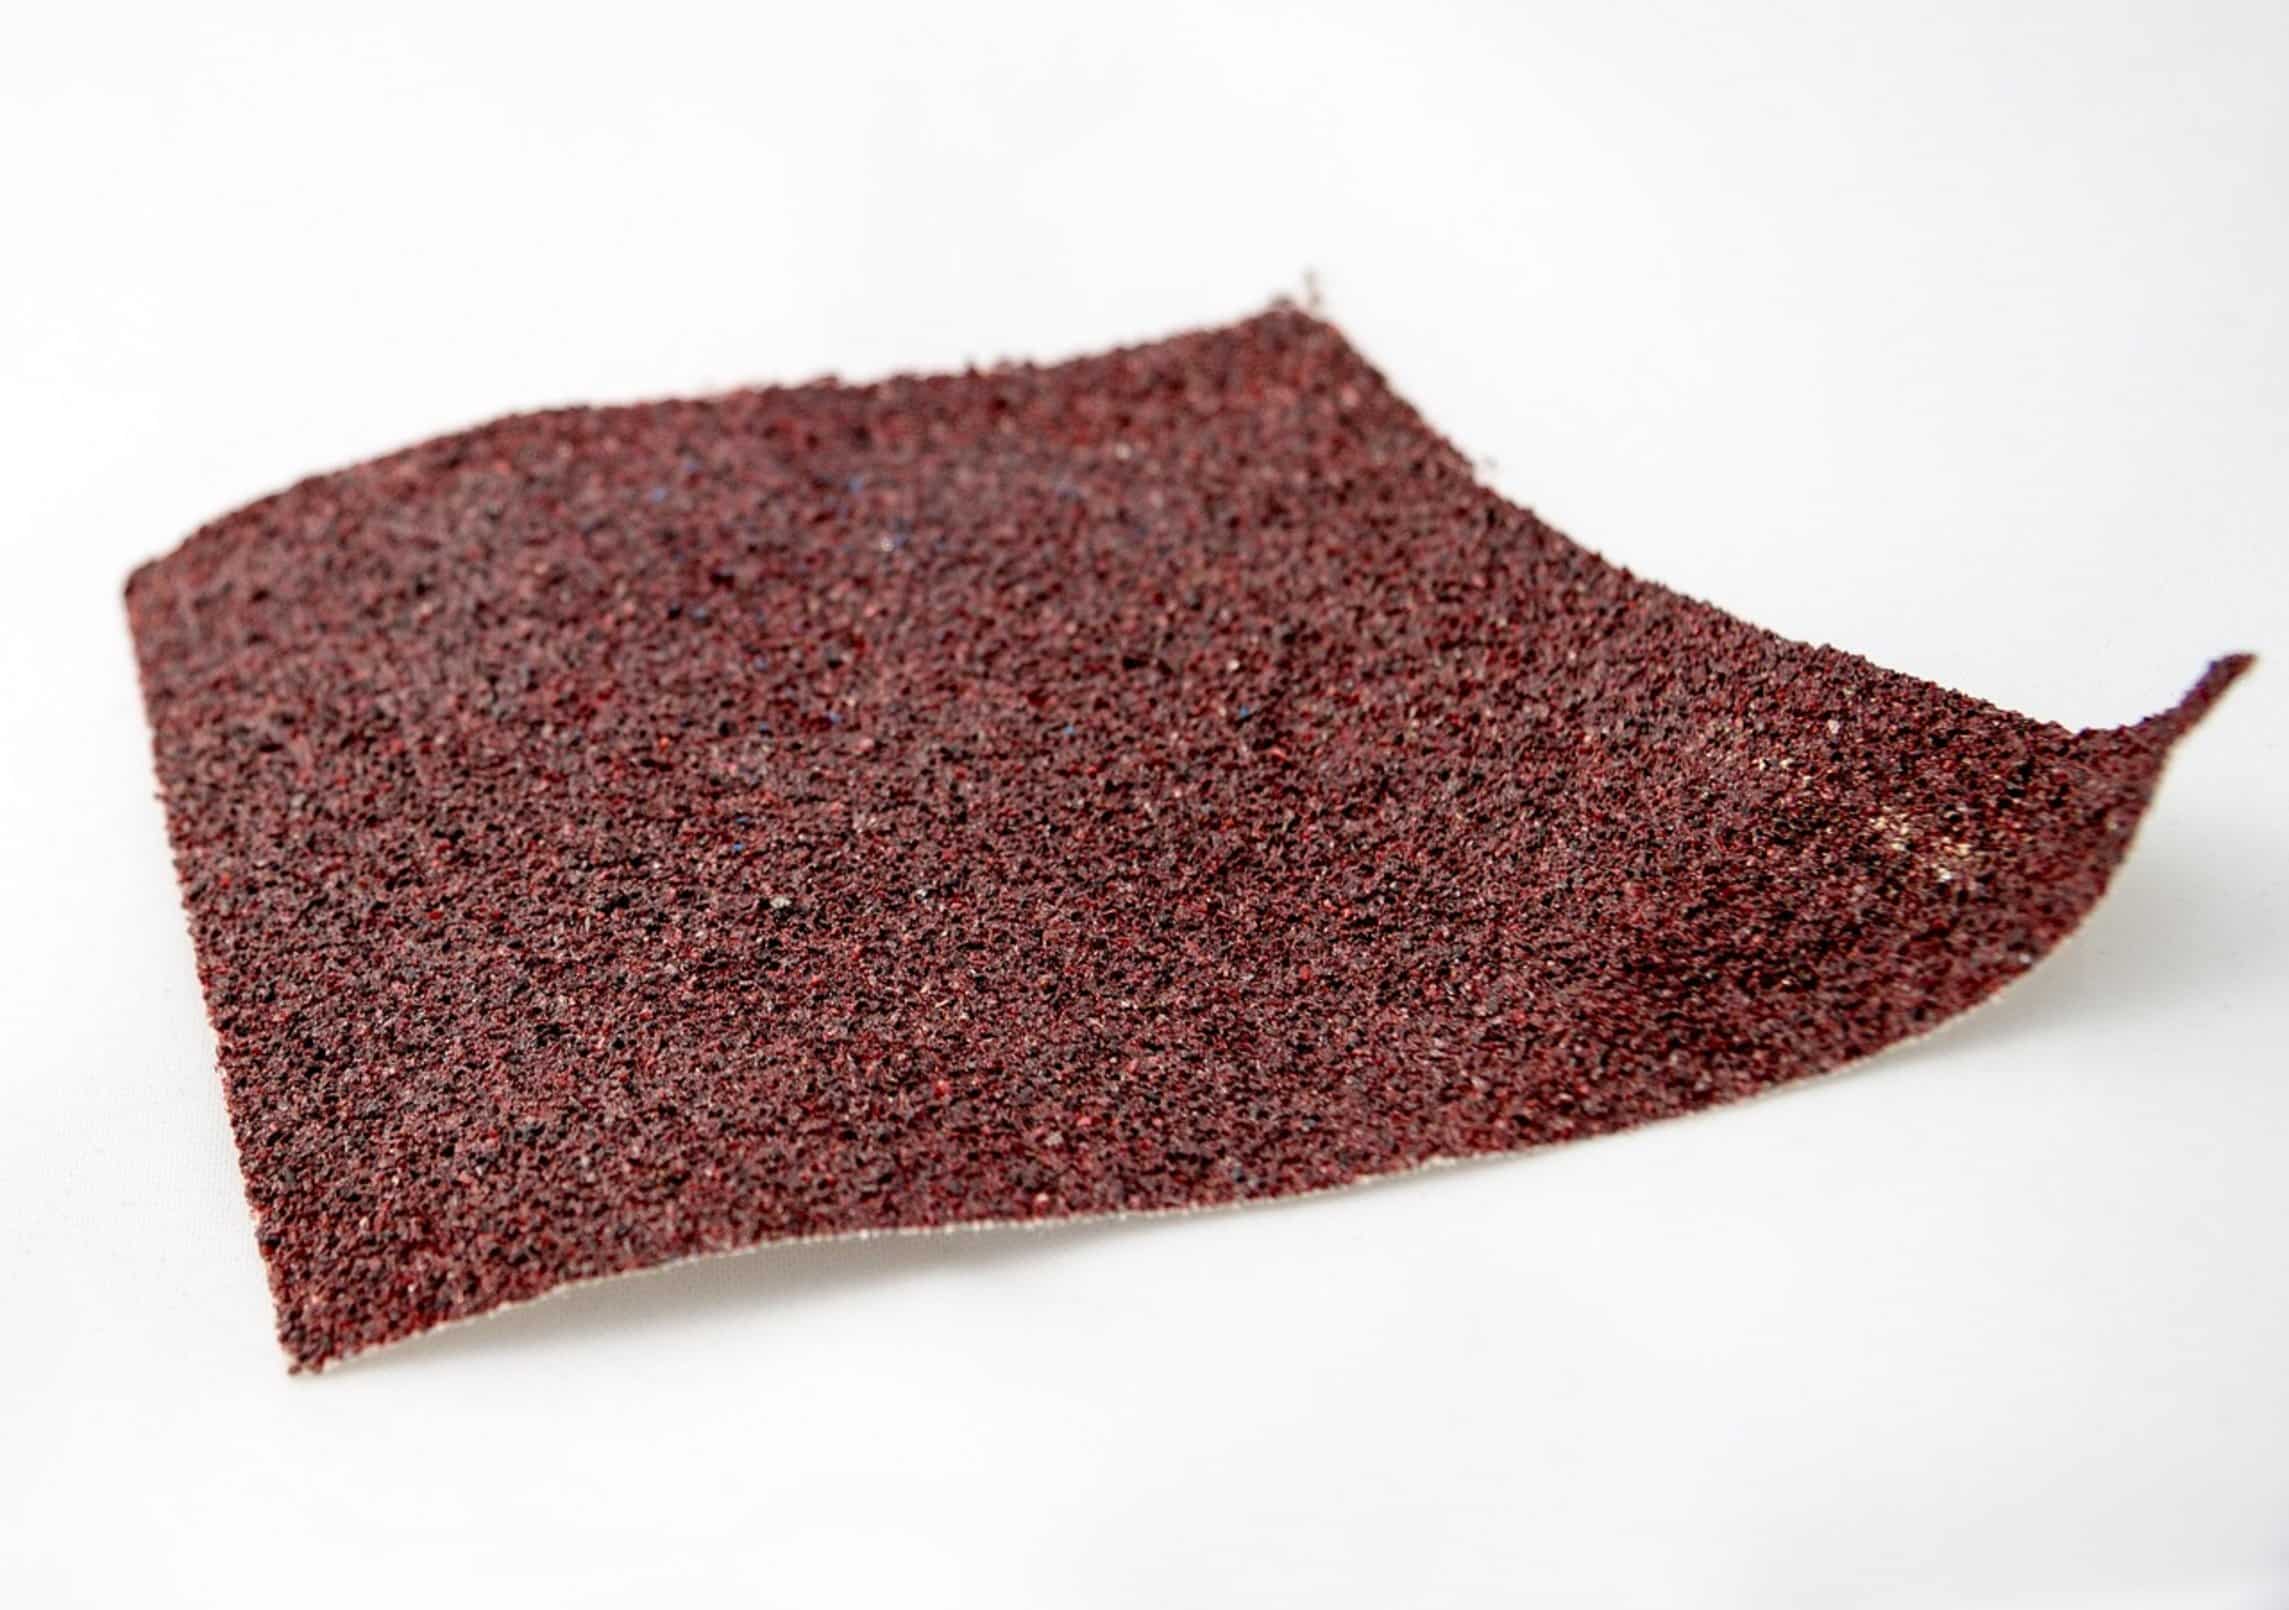
It’s time now to bring your cylinder up to snuff. To make the surface smooth and to really round out that cylinder, some good old-fashioned sanding is what’s called for. You can use a block of MDF or any other hard flat surface (I used a benchtop), then wrap some sandpaper around it.
Then wrap the sandpaper around the edge until you get a flat surface against which to sand. Apply even pressure as you roll the dowel back and forth. Don’t groove into the wood, just rotate the wood slightly at each stroke.
Begin by removing any unevenness or plane marks using something in the 120 grit range. Finish off with 220 grit to create a smooth surface. Because this is a hand-sanding process, it’s gentle but also forgiving.
If there are slight high spots, you can correct them here without taking off too much of the surrounding wood. Consistency is the name of the game. Each point along the circumference should be touching the sandpaper equally.
Testing for Precision Fit
The last obstacle is precision. And for this, you want a tool that’s easy to use. Take a piece of hardboard or plywood.
With a saw, cut out a notch whose width equals diameter of your dowel. Then slide the dowel through the notch. Does it slip through easily?
That is good. Does it catch on anything? Find the high spot and gently sand it away.
Do that again. Keep repeating till it slips right through with very slight resistance. That means when you put the dowel into a hole, it’ll grip tight.
Too much slop and the joint won’t be strong. So this test ensures all your dowels match. One process becomes easy to do again.
What you get are a set of custom fit pins that behave as if they’re manufactured. And you got them without spending extra on custom made hardware. You didn’t have to make a run down to the hardware store either.
More importantly, you learned how to do something useful for any cylindrical object, such as tool handles or furnitures legs; the possibilities is endless. It’s not quite as fast as chucking it into a lathe, sure. But the satisfaction is instant.
Your hands made this happen. You can feel the grain, the shape forming, and the texture. The next time you want a pin, grab the plane and the square block.
A perfect circle isn’t far away at all.